Husqvarna 235 1. - Repair, and much more
This project is already about half a year old, and in fact this happened before the Stihl 051 restoration, so I write this retrospectively as a documentation for myself, and I have some more ideas to implement with this machine, let’s not get ahead of ourselves
Repair
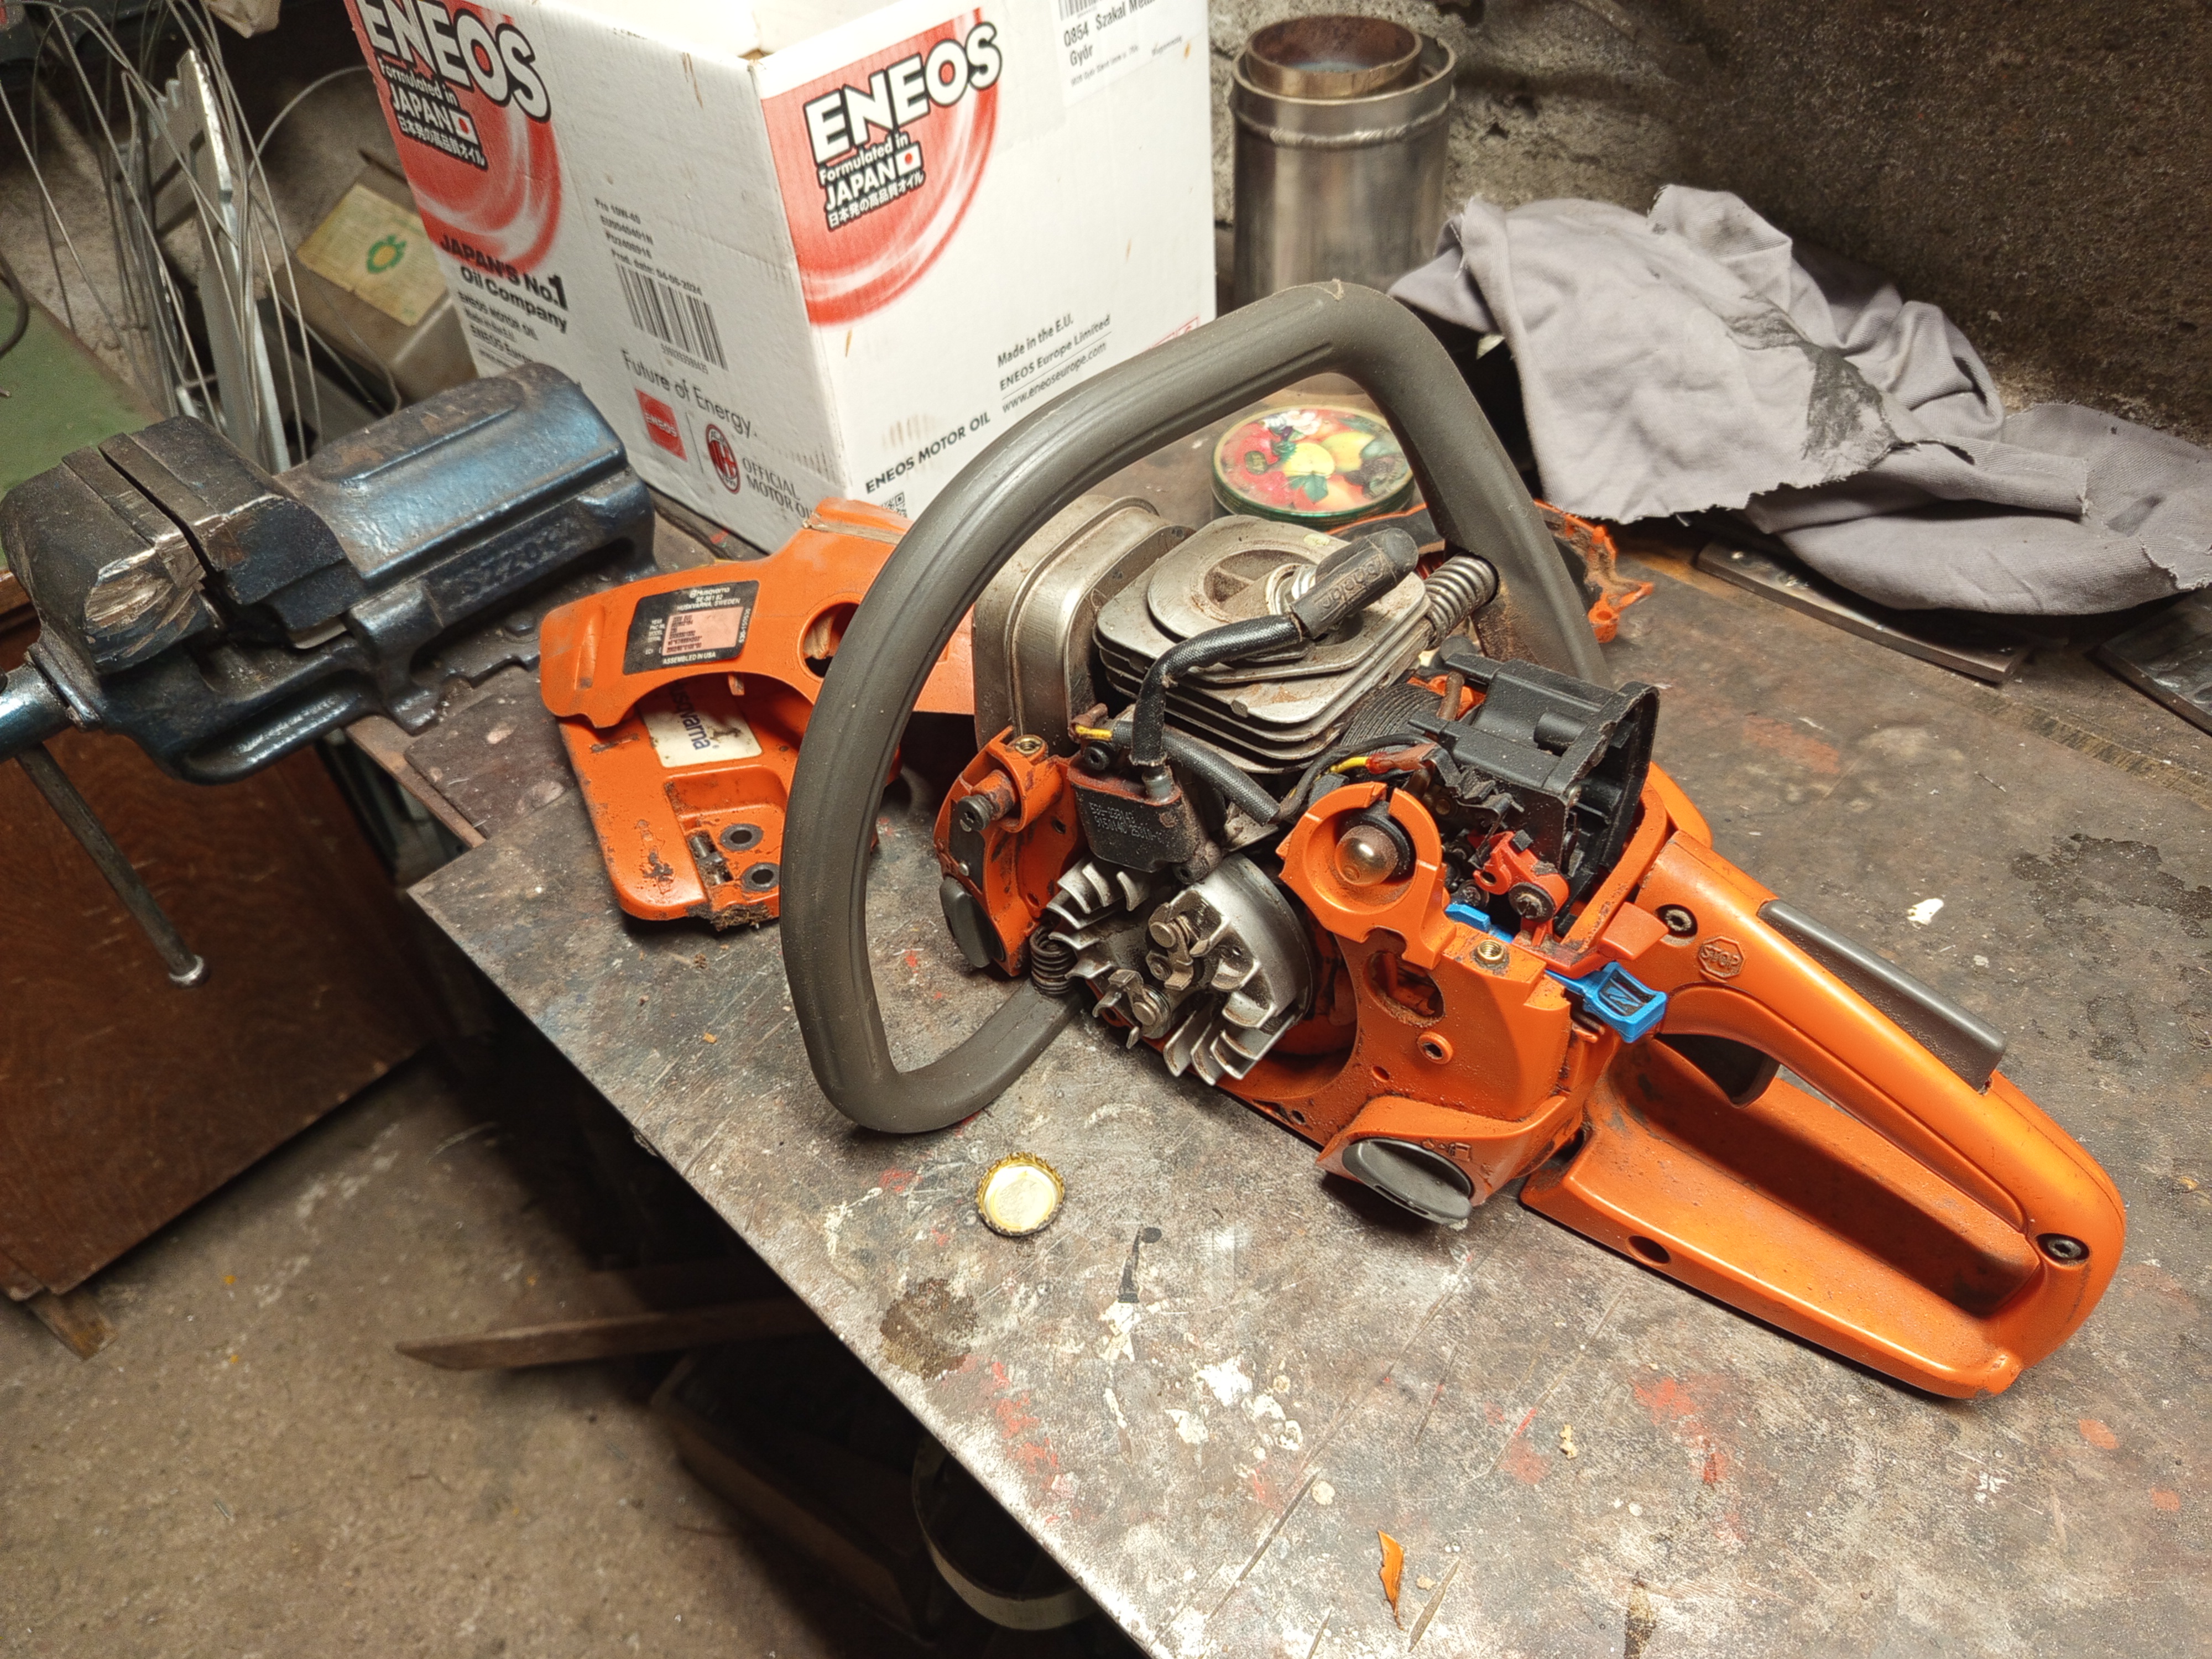
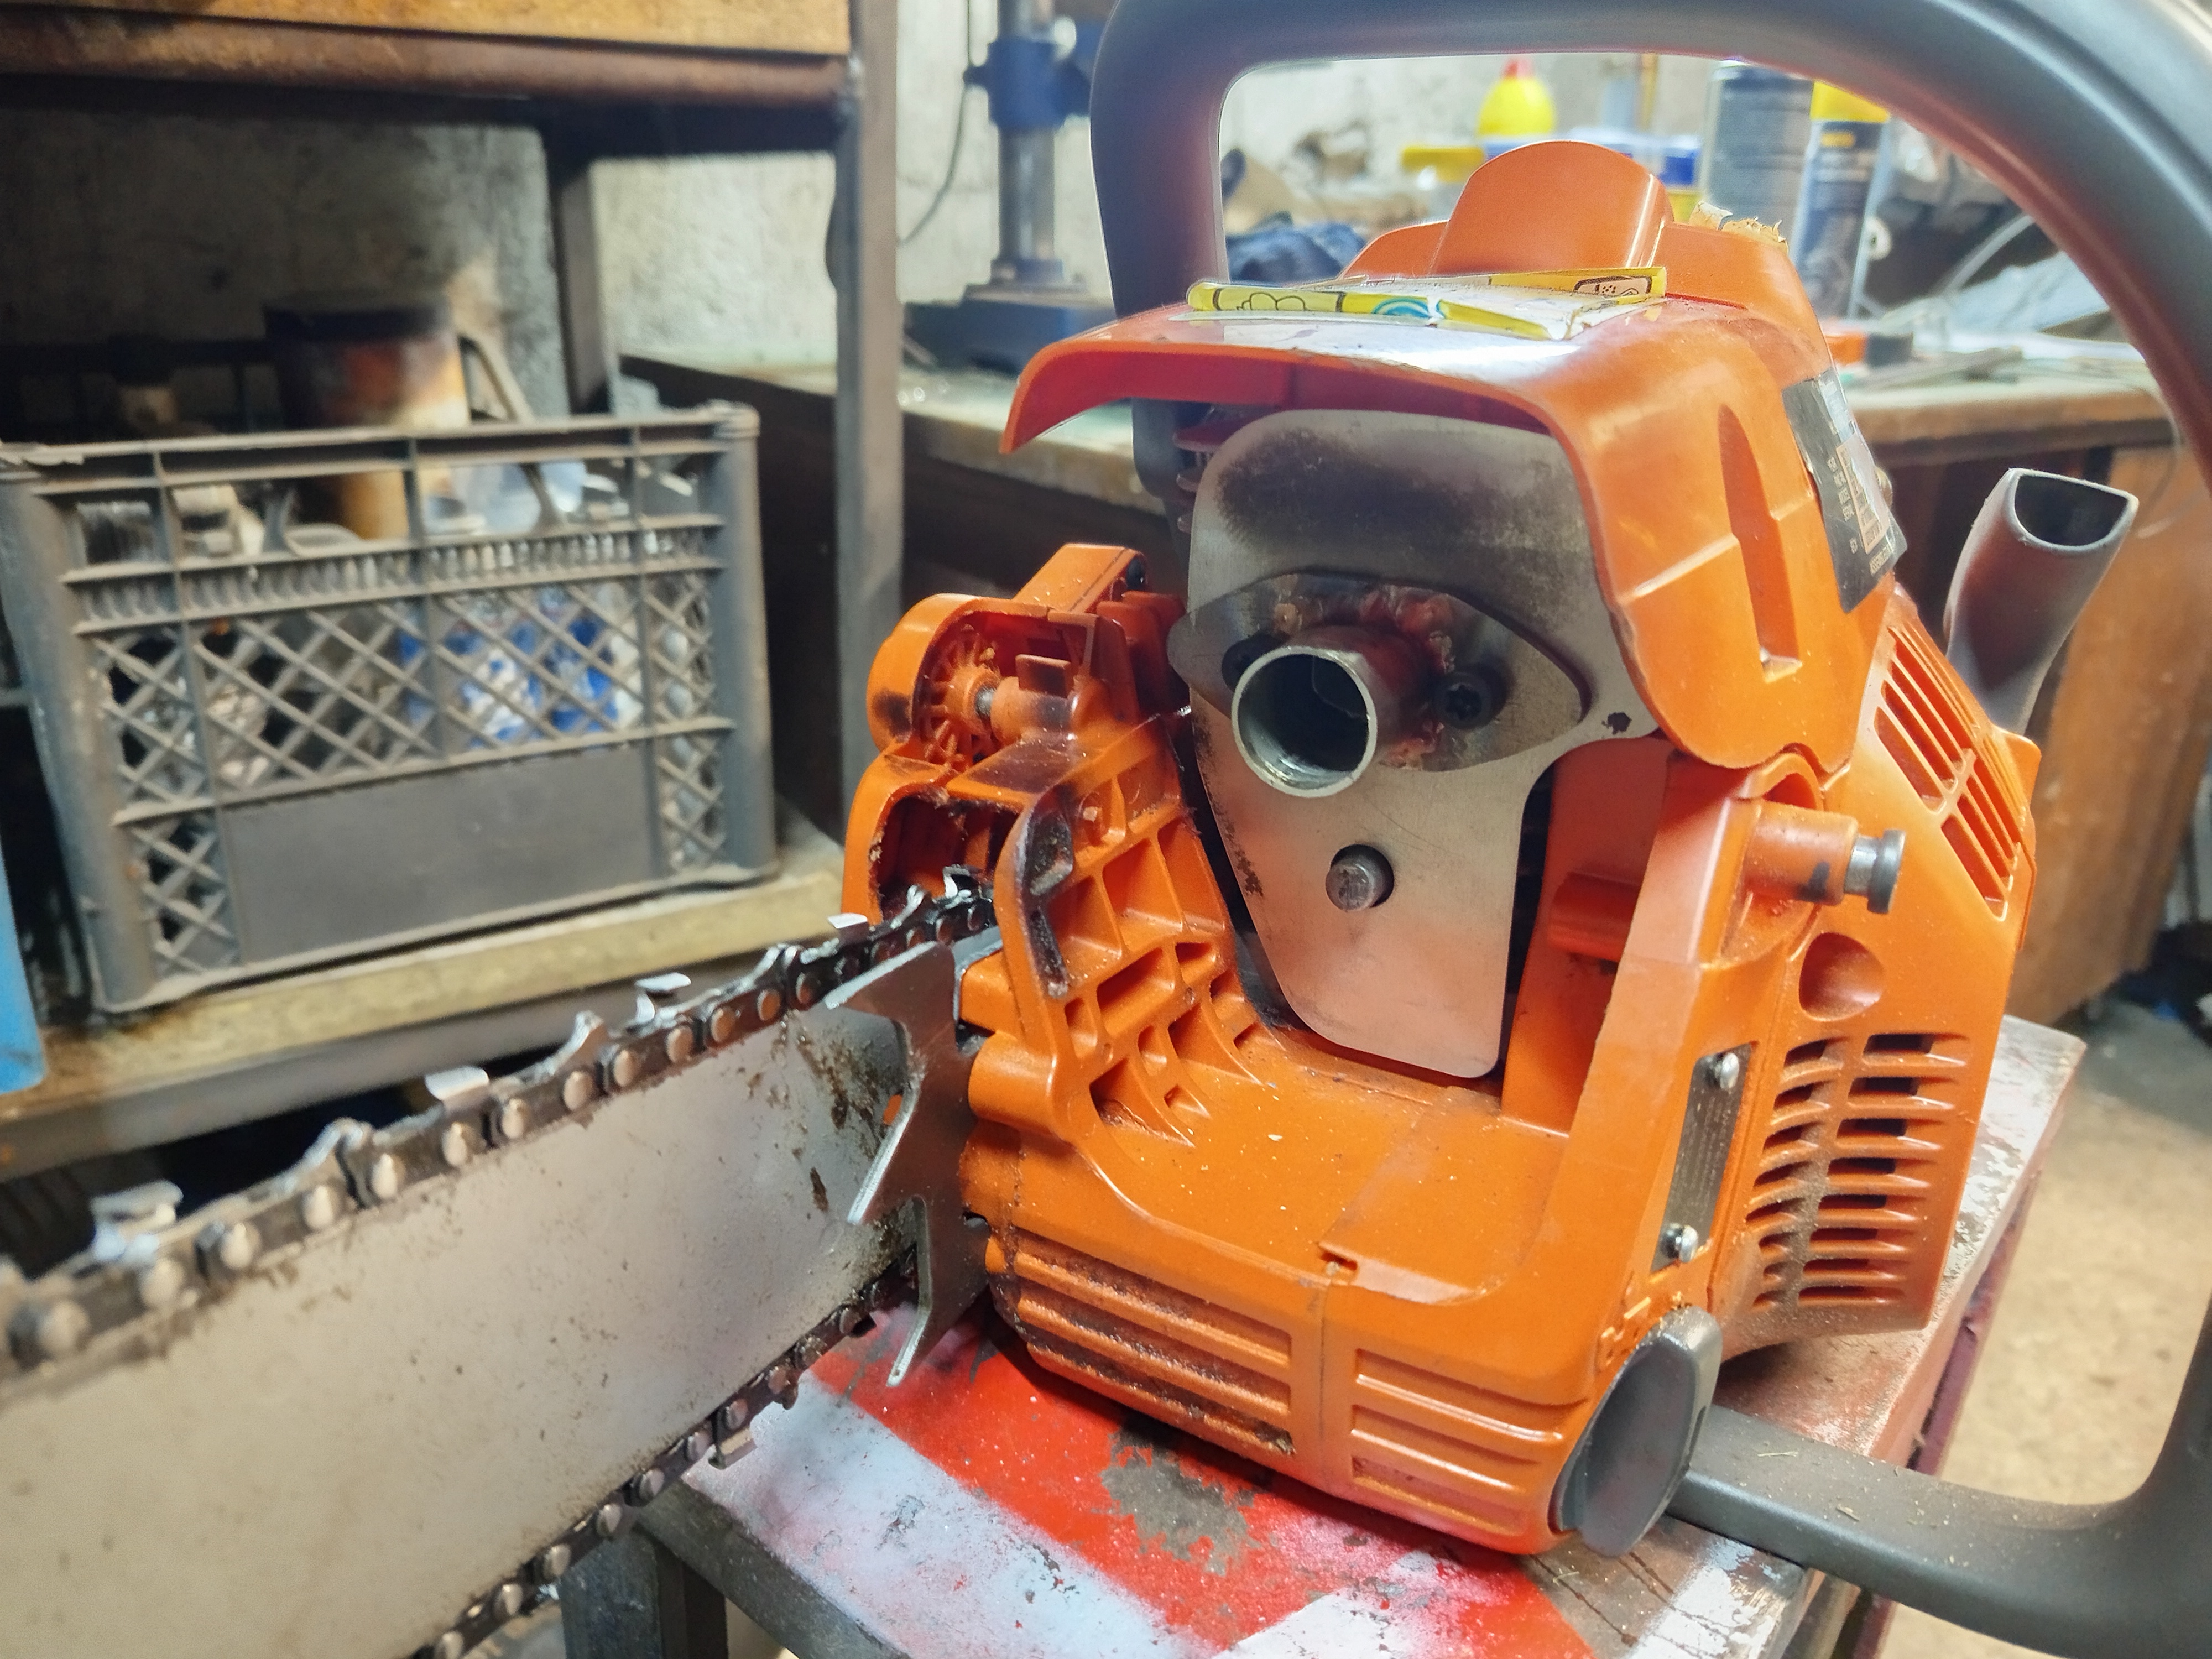
I had this saw for roughly 10 years, but it had some issues many years ago, couldn’t start easily, or run properly. It hasn’t been repaired at that time, and was replaced with a slightly bigger one. However I decided to give it a shot, and see if I can get it running instead of just throwing it away.
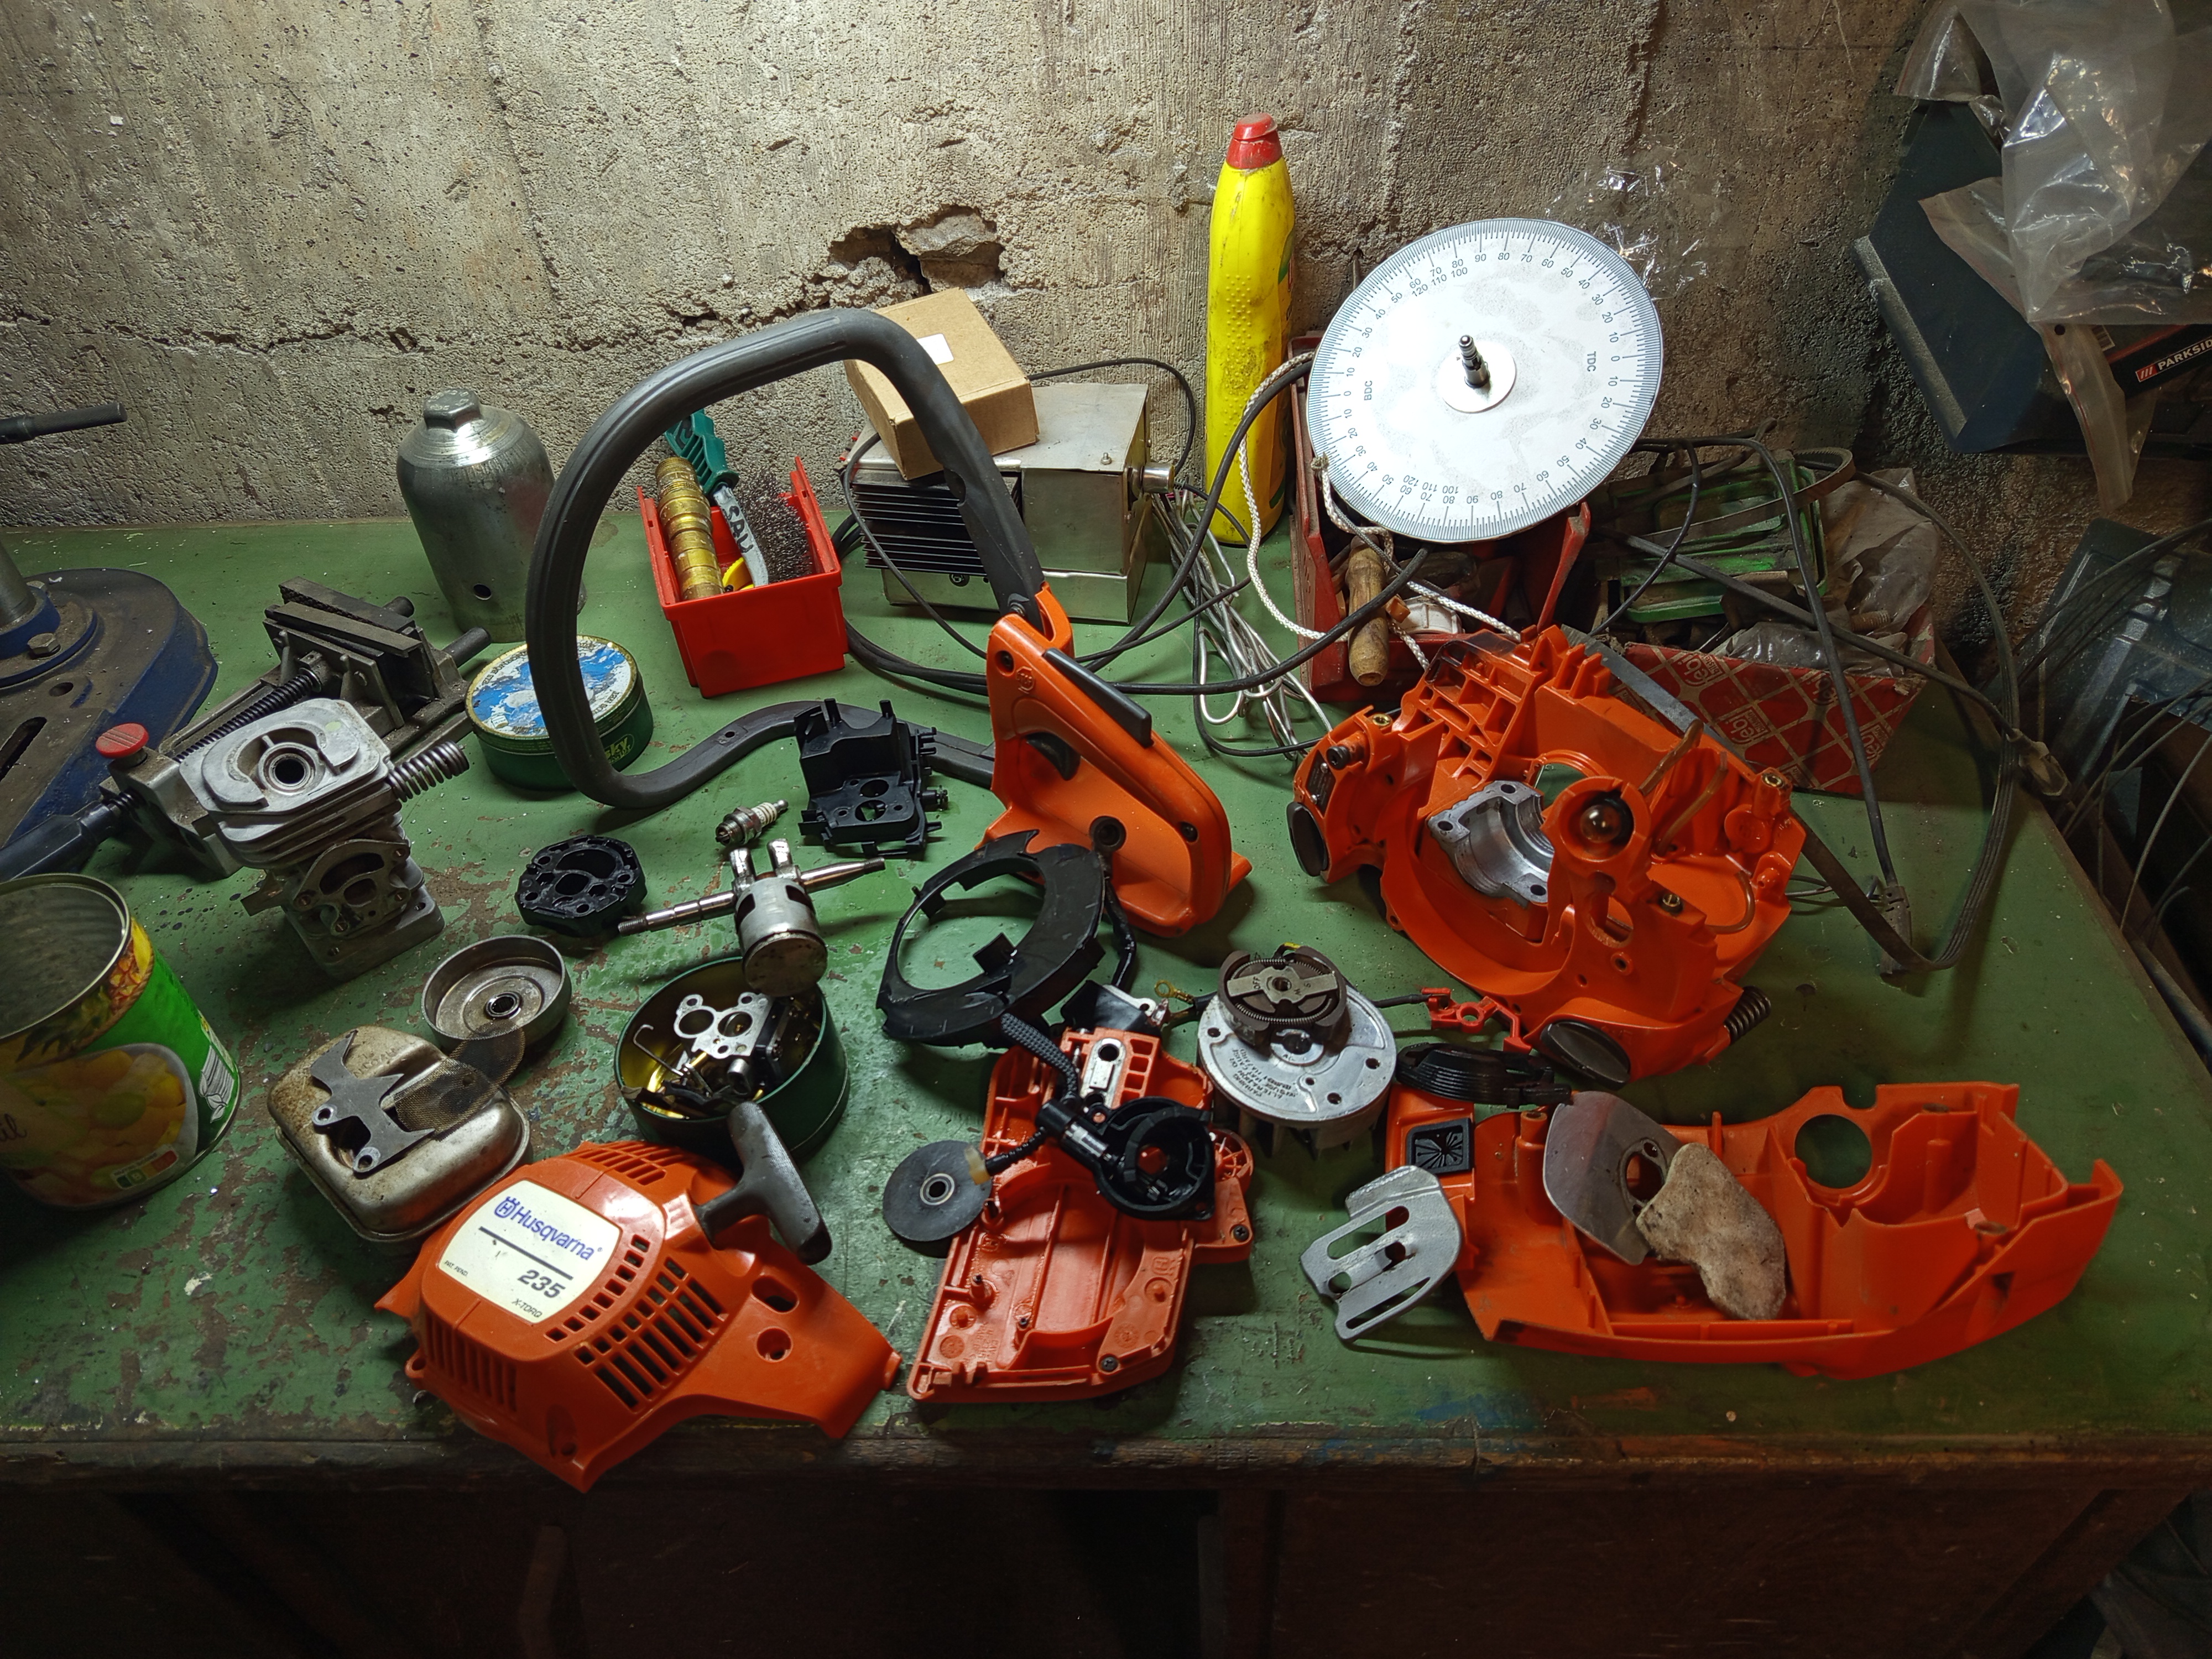
First logical step is to check the fuel system, give it a throughout cleaning, and replace the diaphragms if necessary. This should be easy, right? Well, not with this one, just to remove the carburetor you have to basically disassemble half of the machine, which is little bit of a pain. Anyway, this procedure did not help much, and the hard starting and being unable to keep it alive issues still remained.
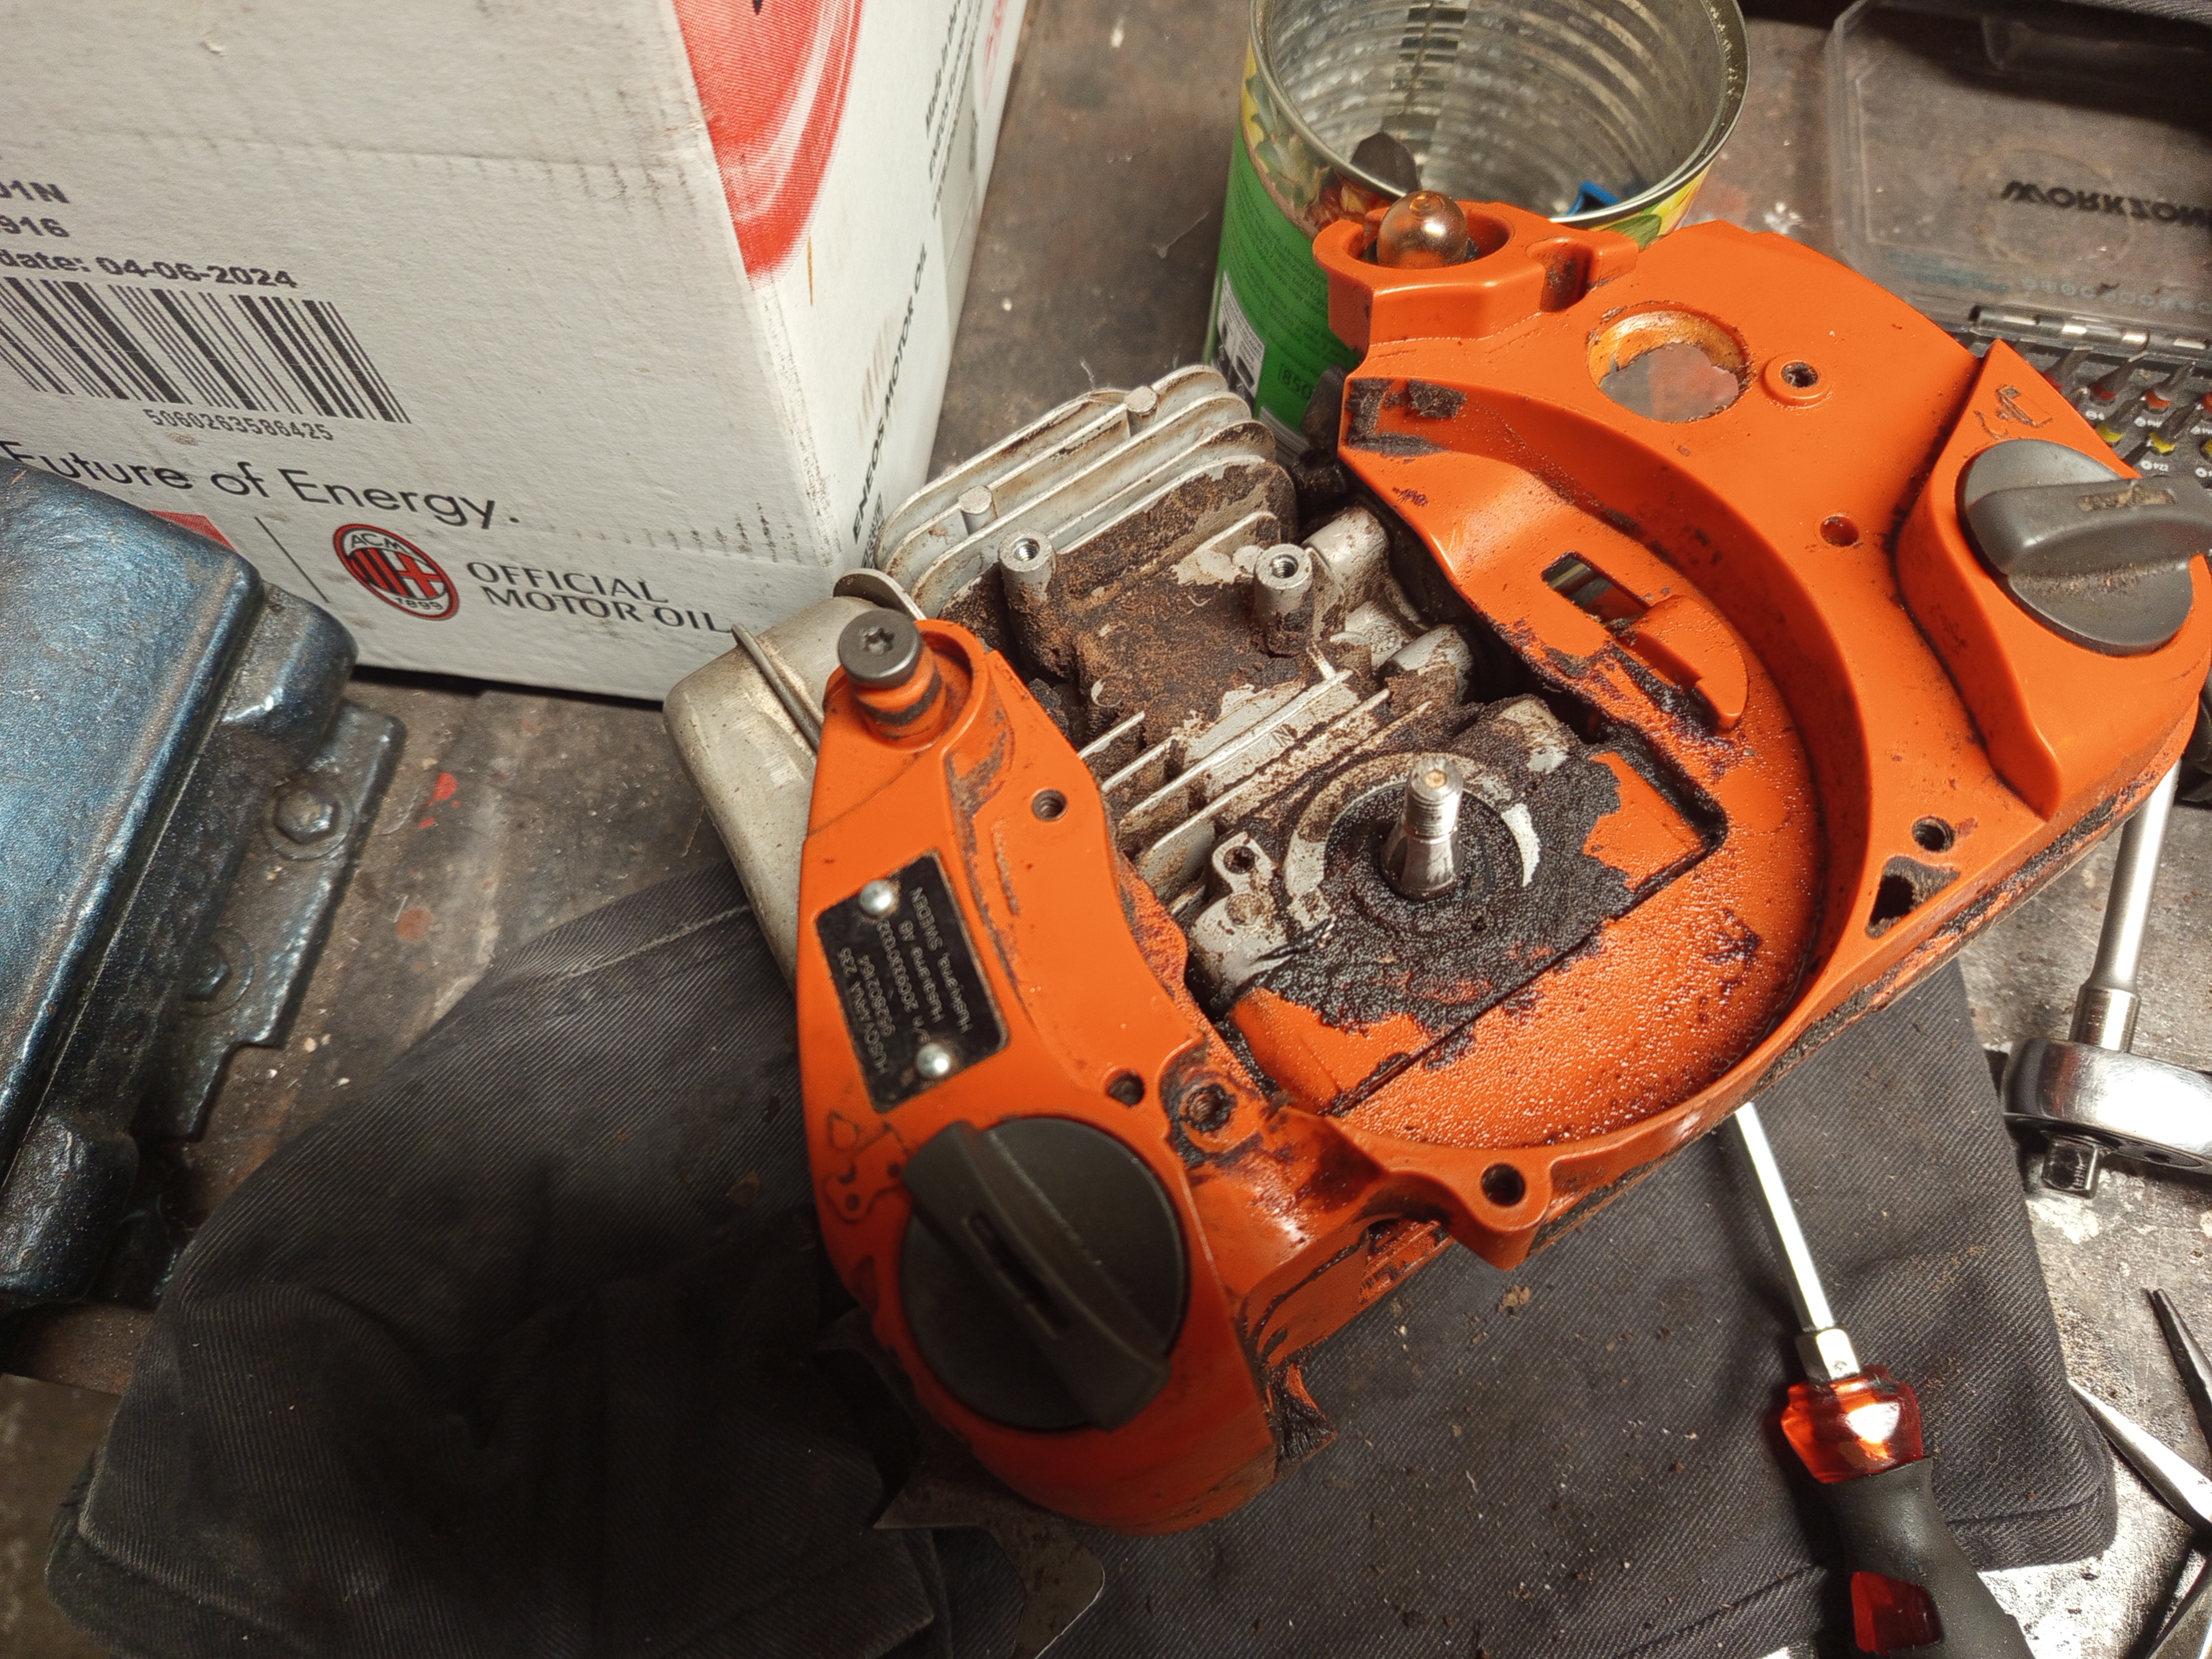
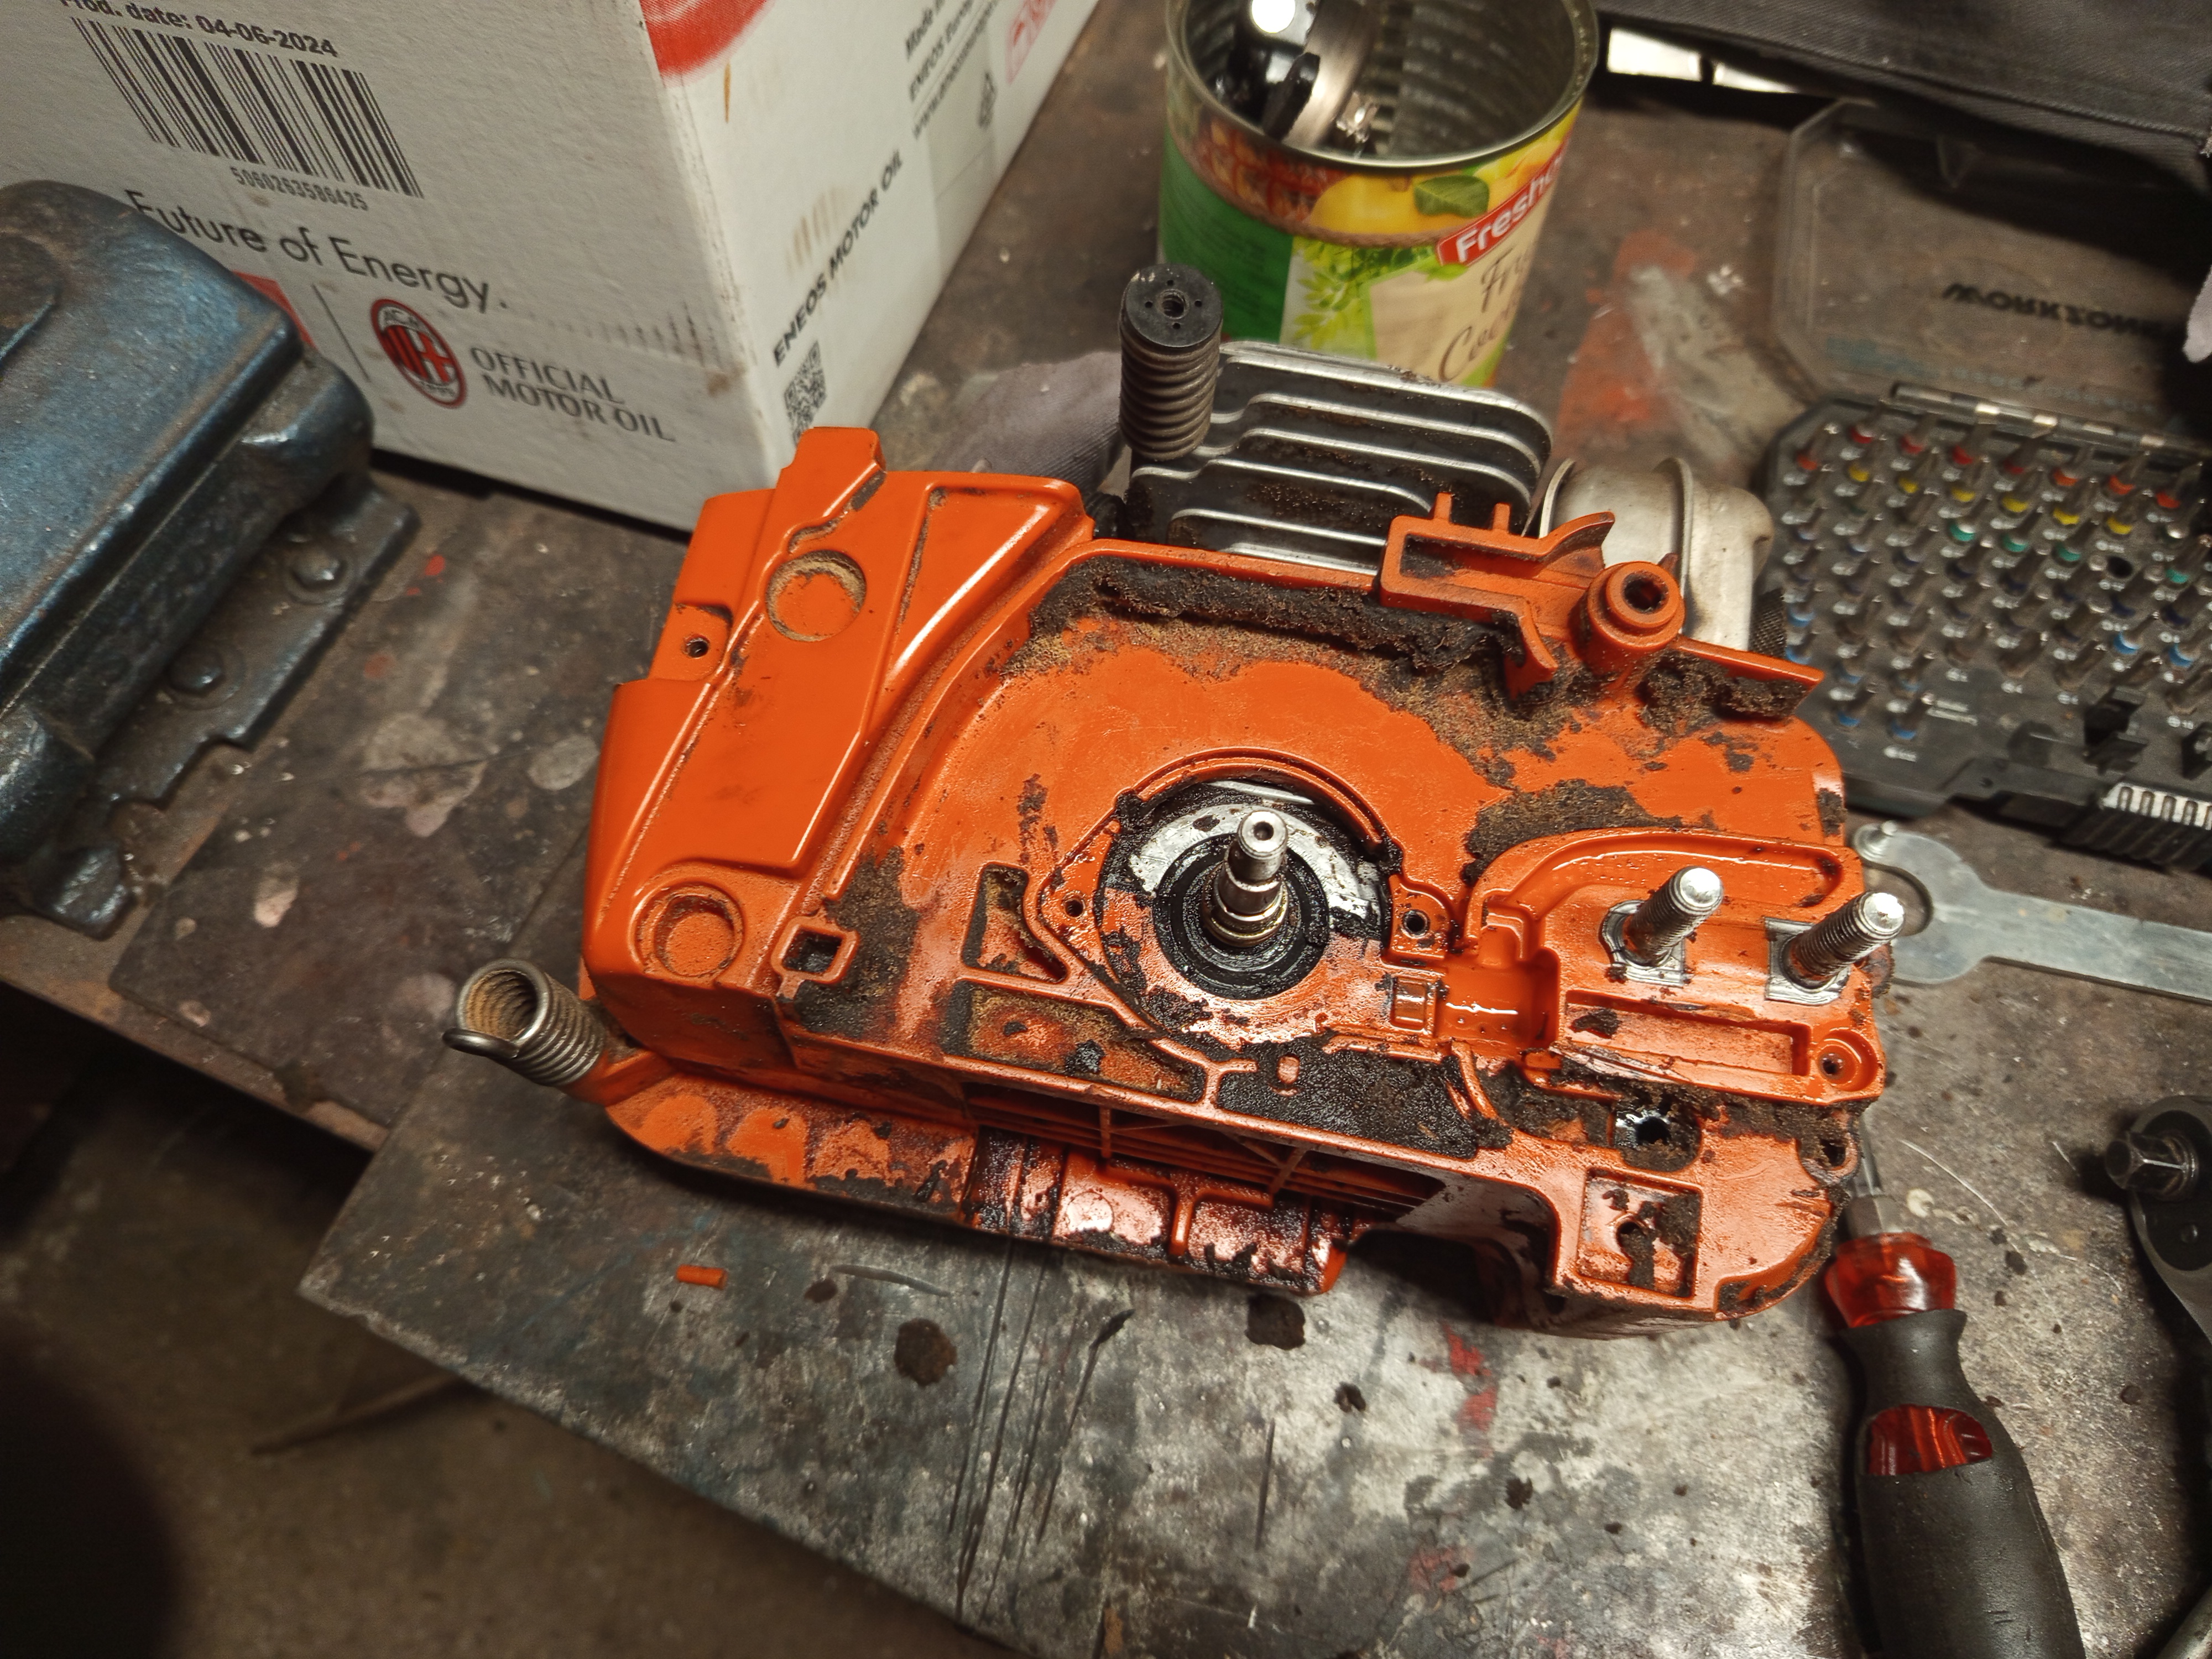
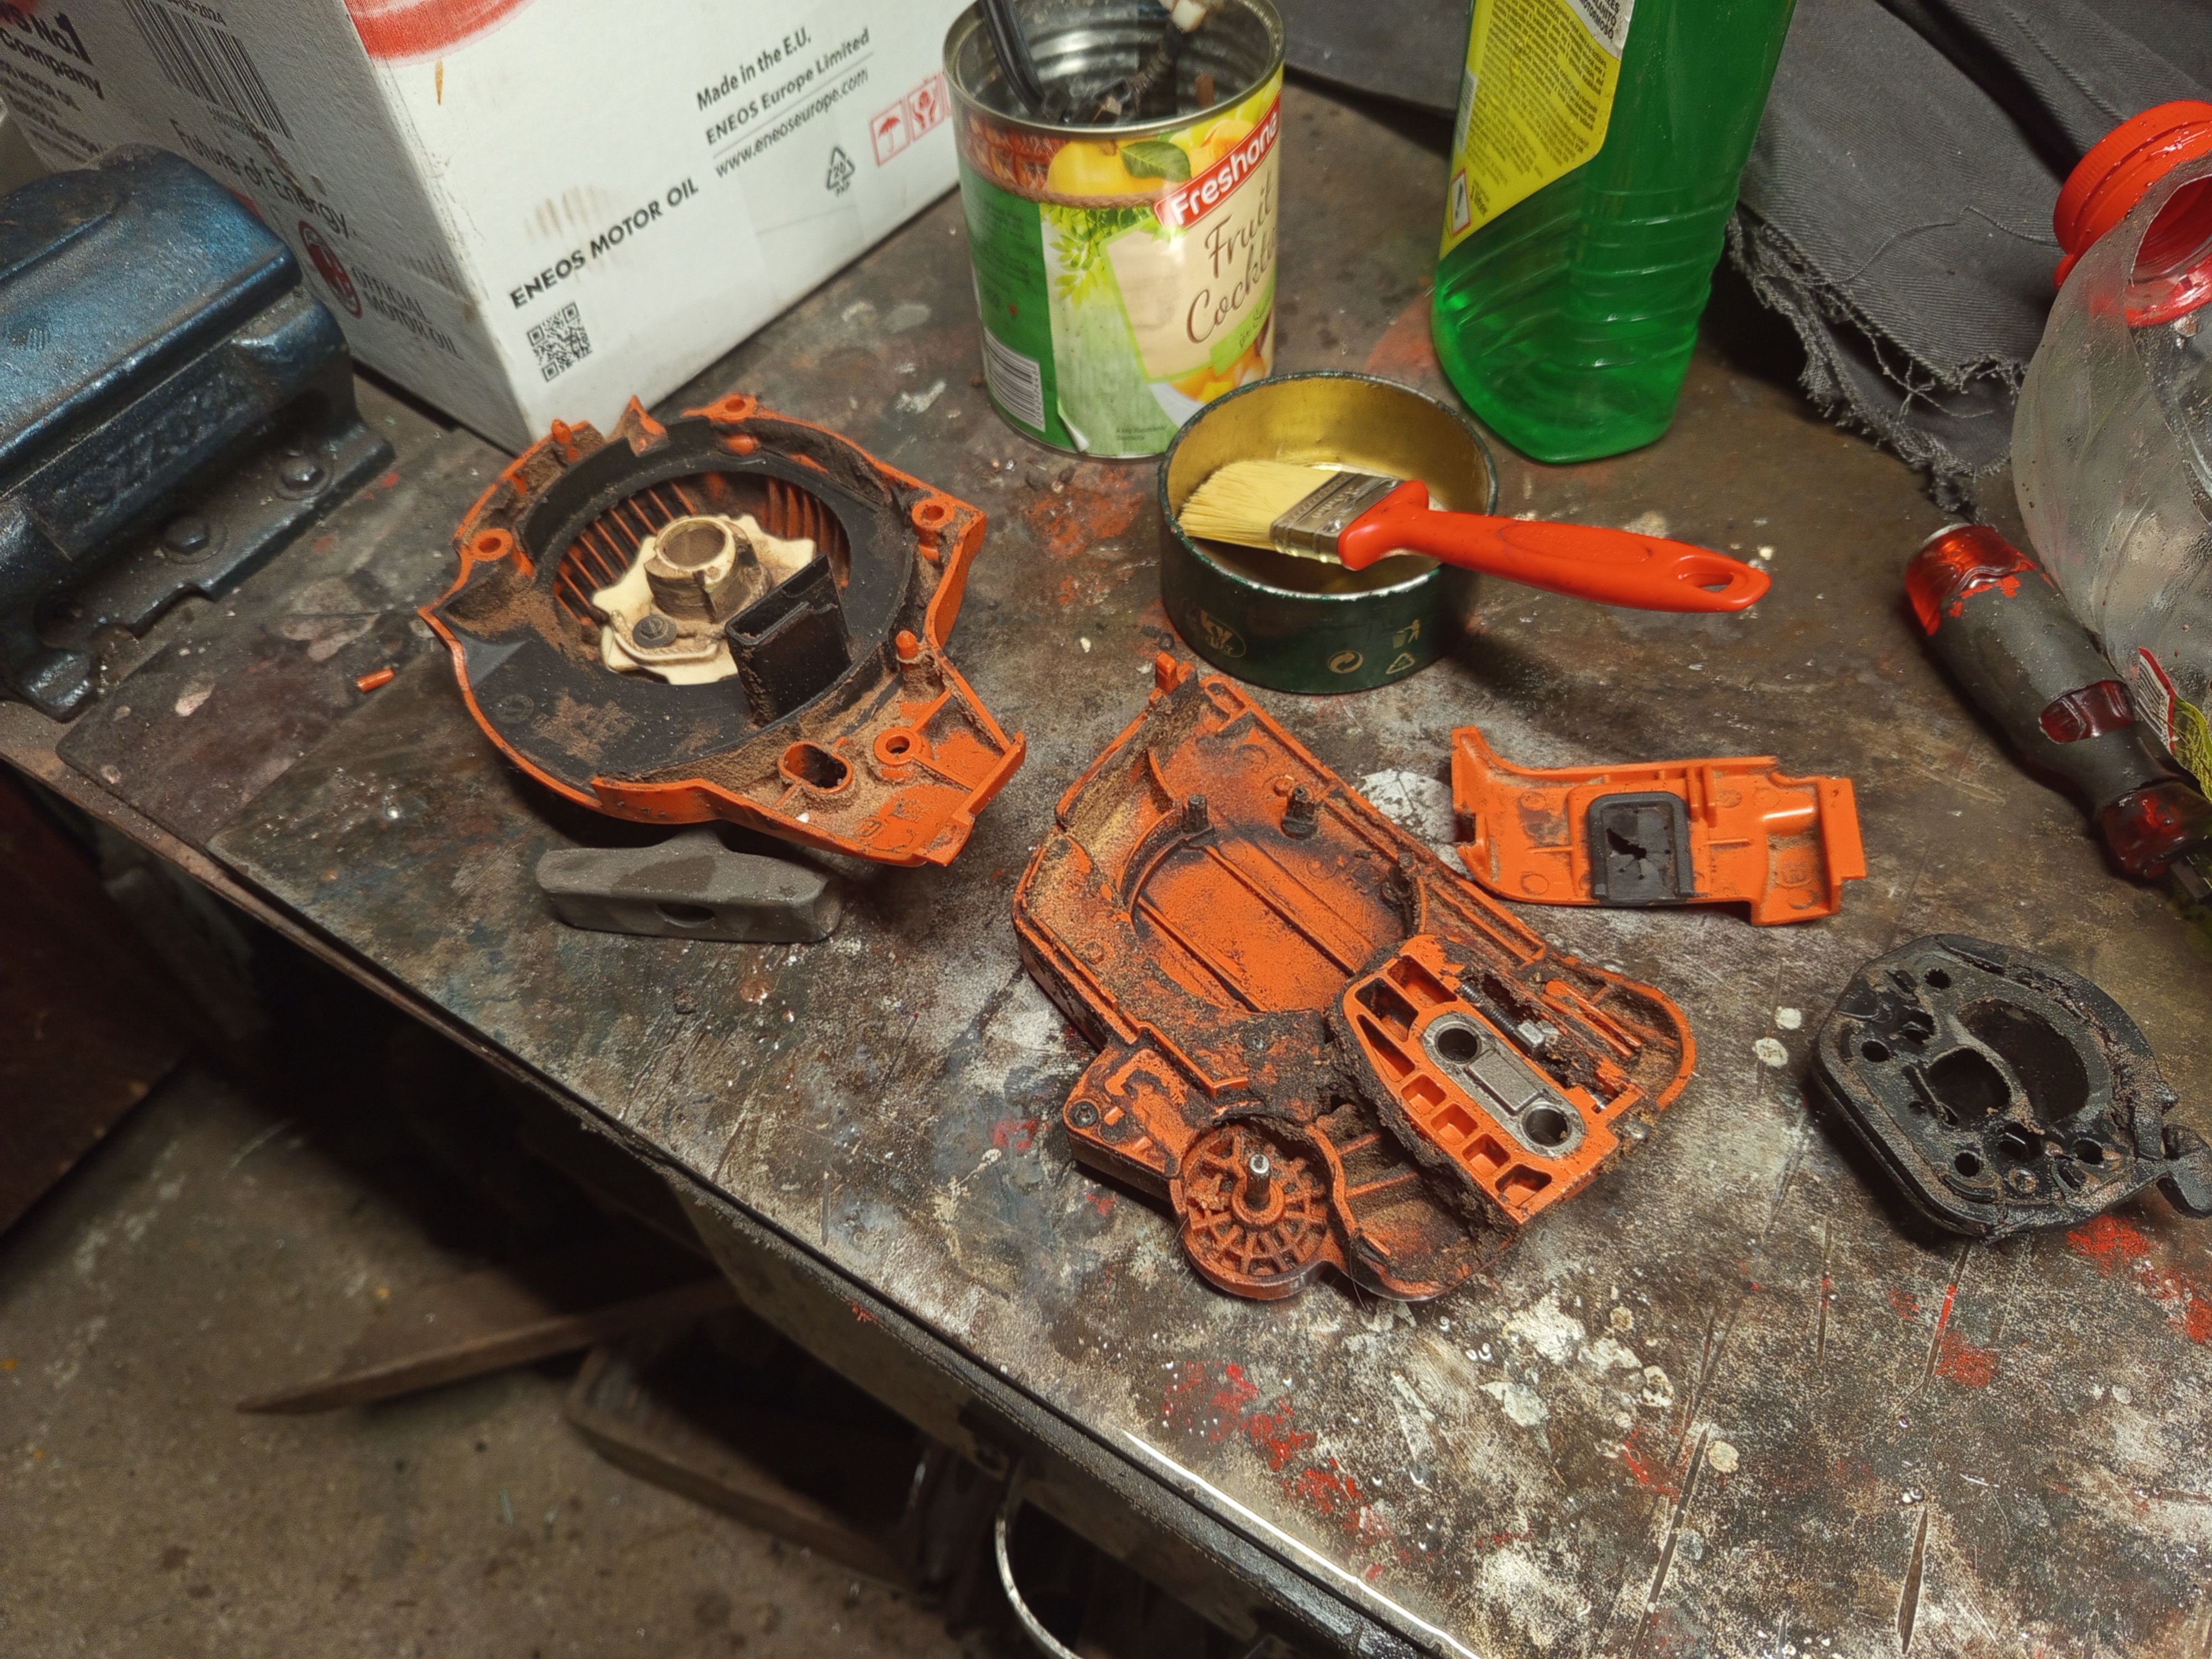
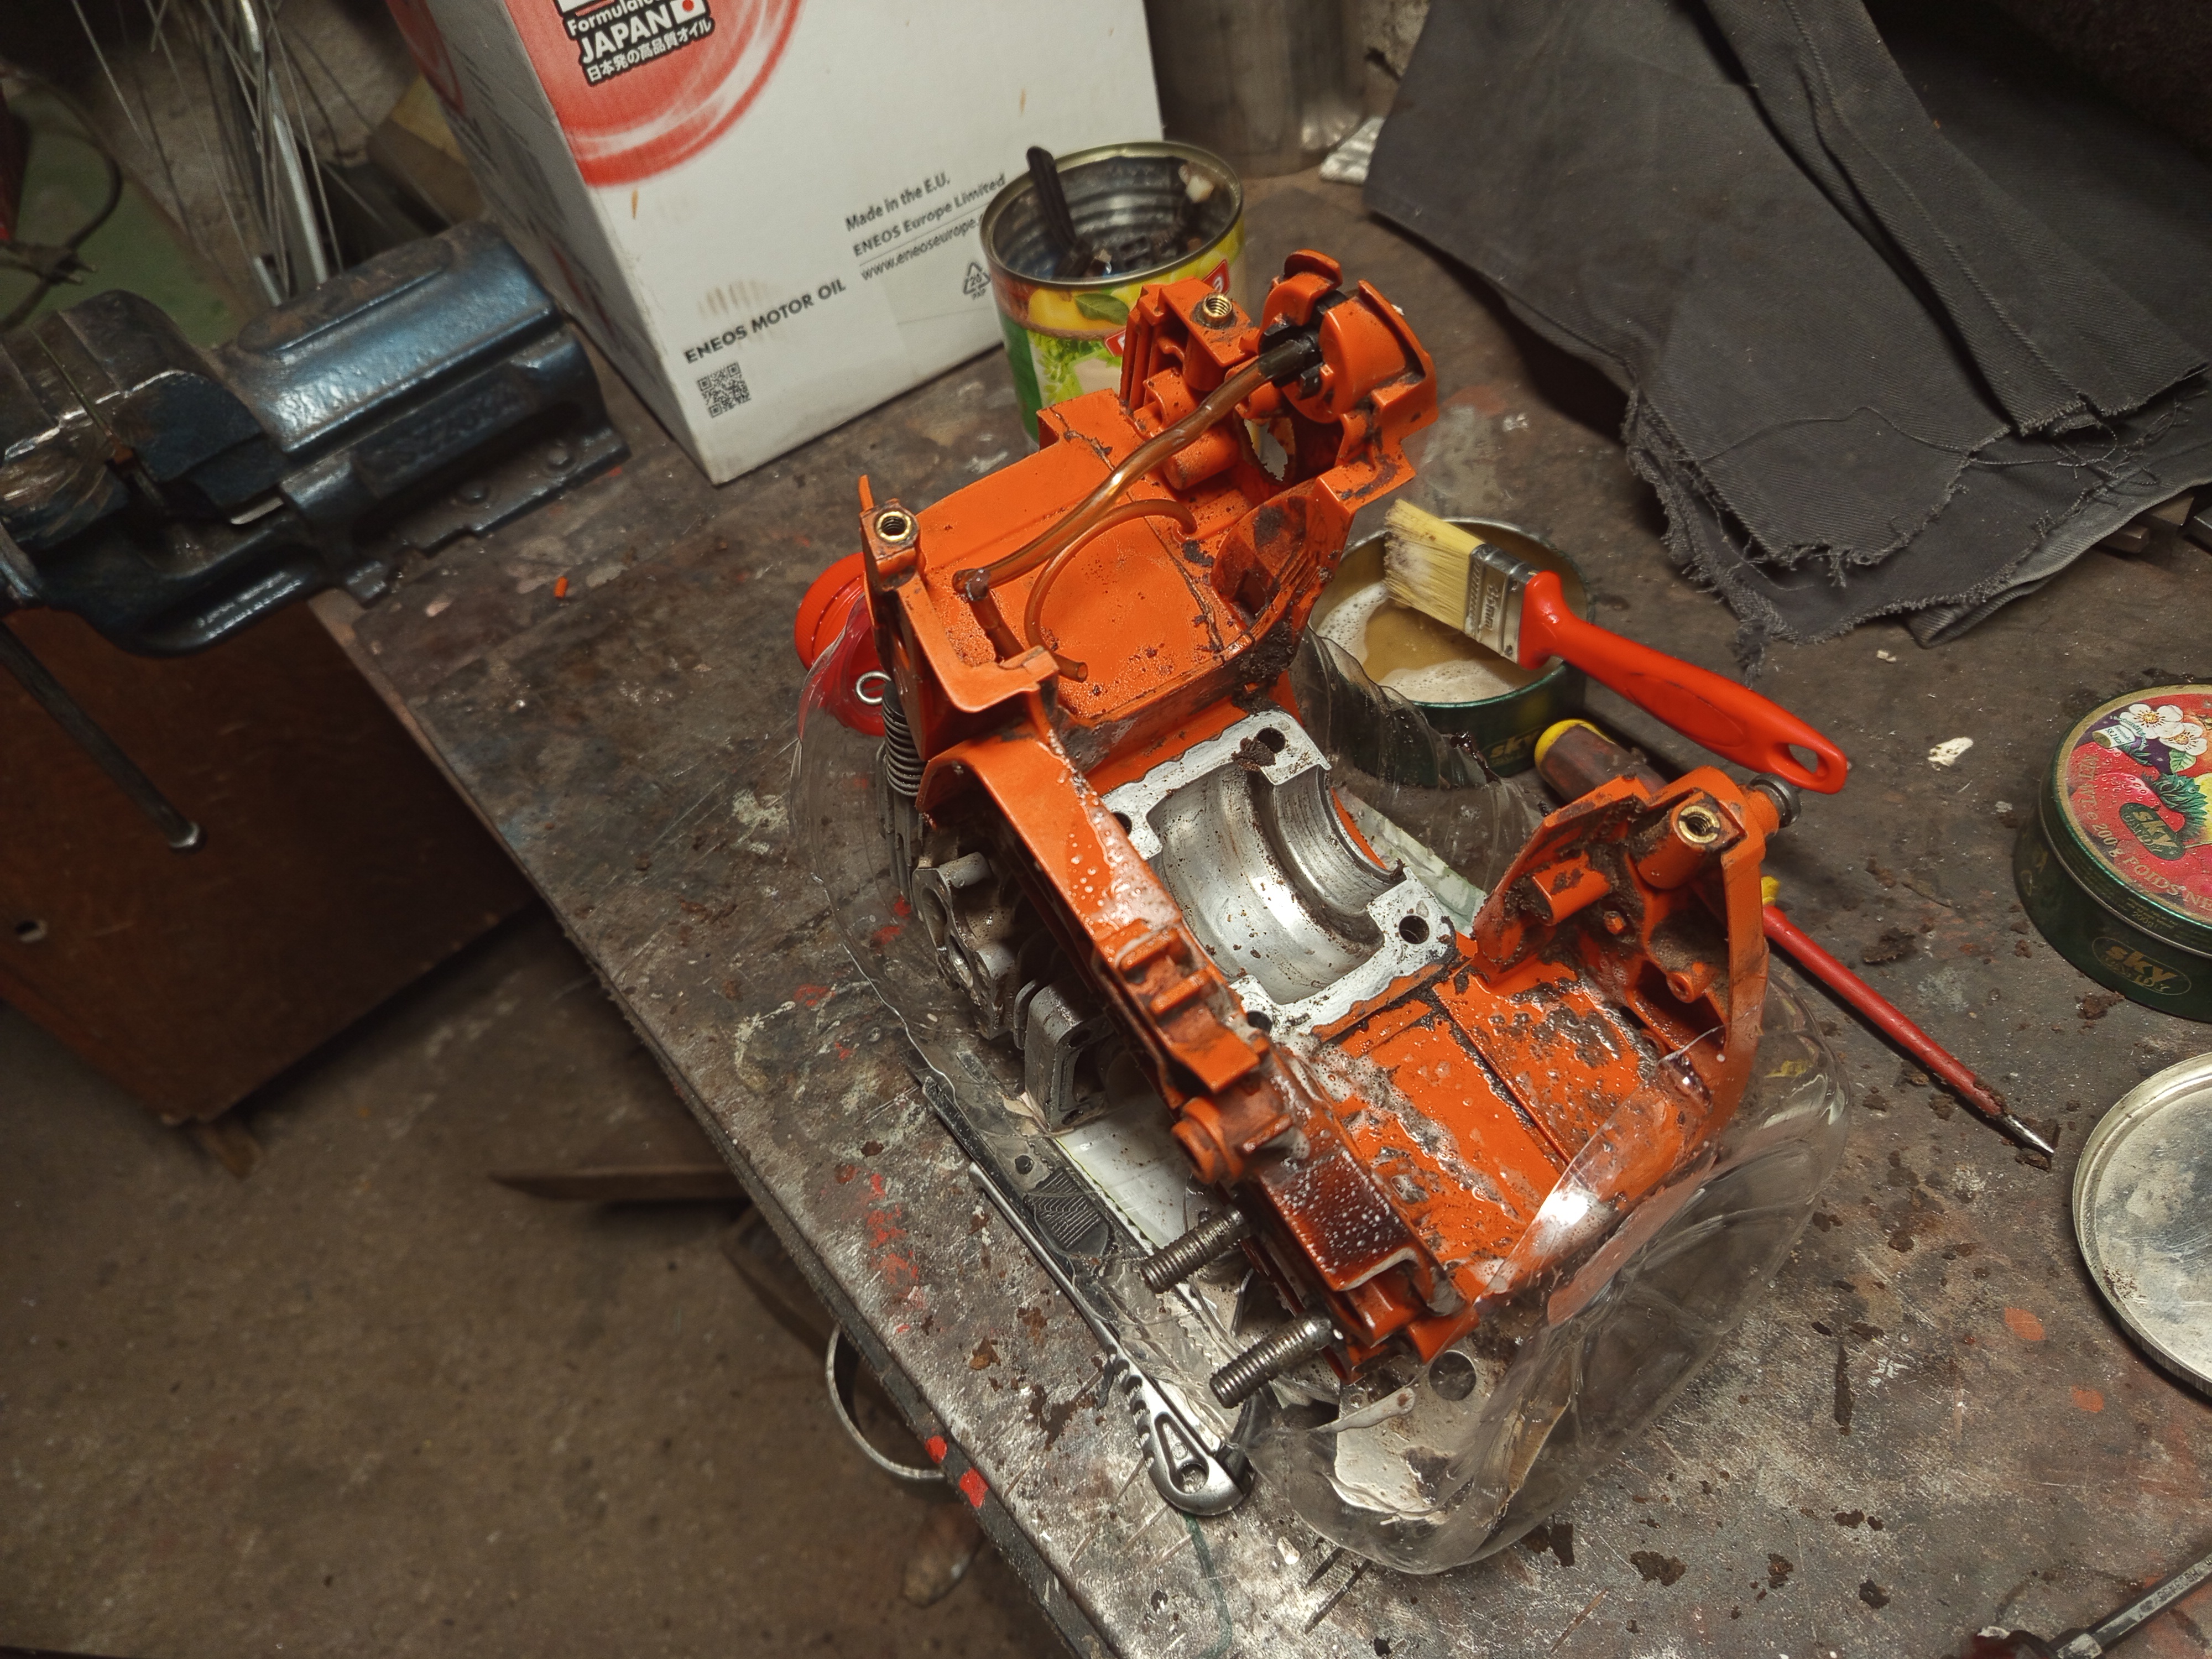
Then I proceeded with a full disassembly, because in this case the next suspect is a leaky crankshaft seal, and this turned out to be true.
For this machine the bearing and the seal are one unit, so I bought two of them and replaced. After cleaning each part, and putting it together, this fixed its issues.
Still not done
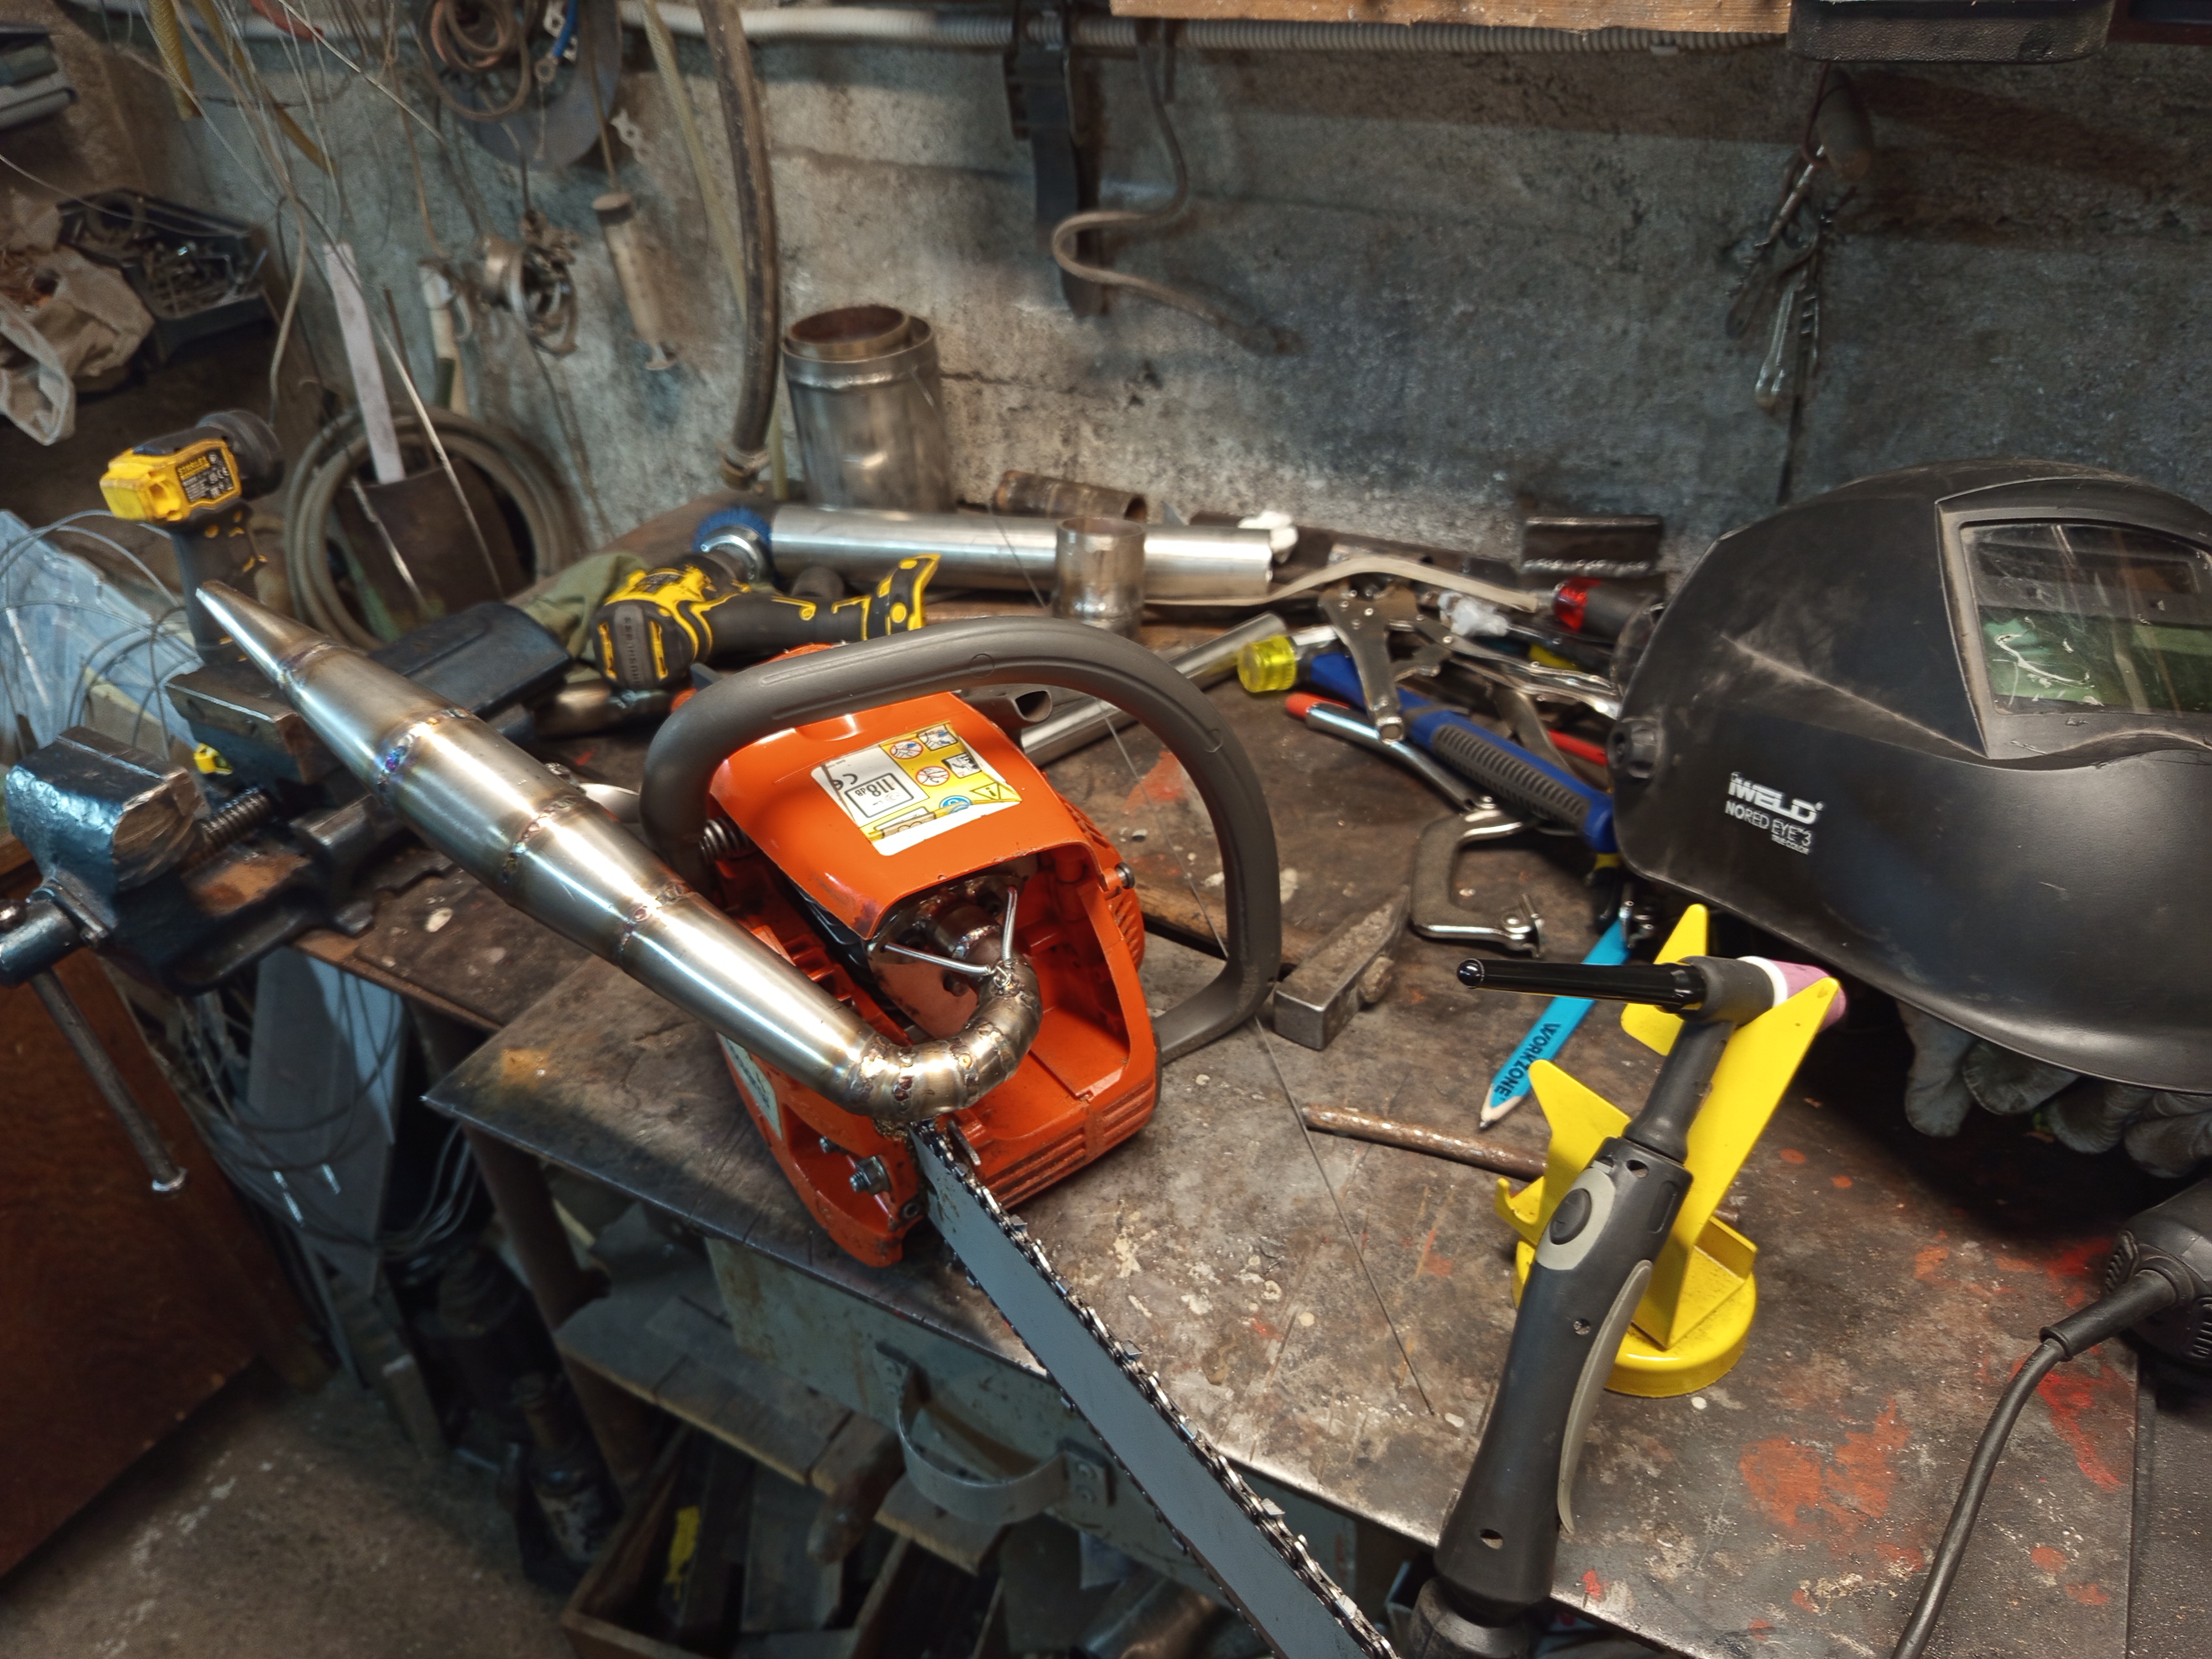
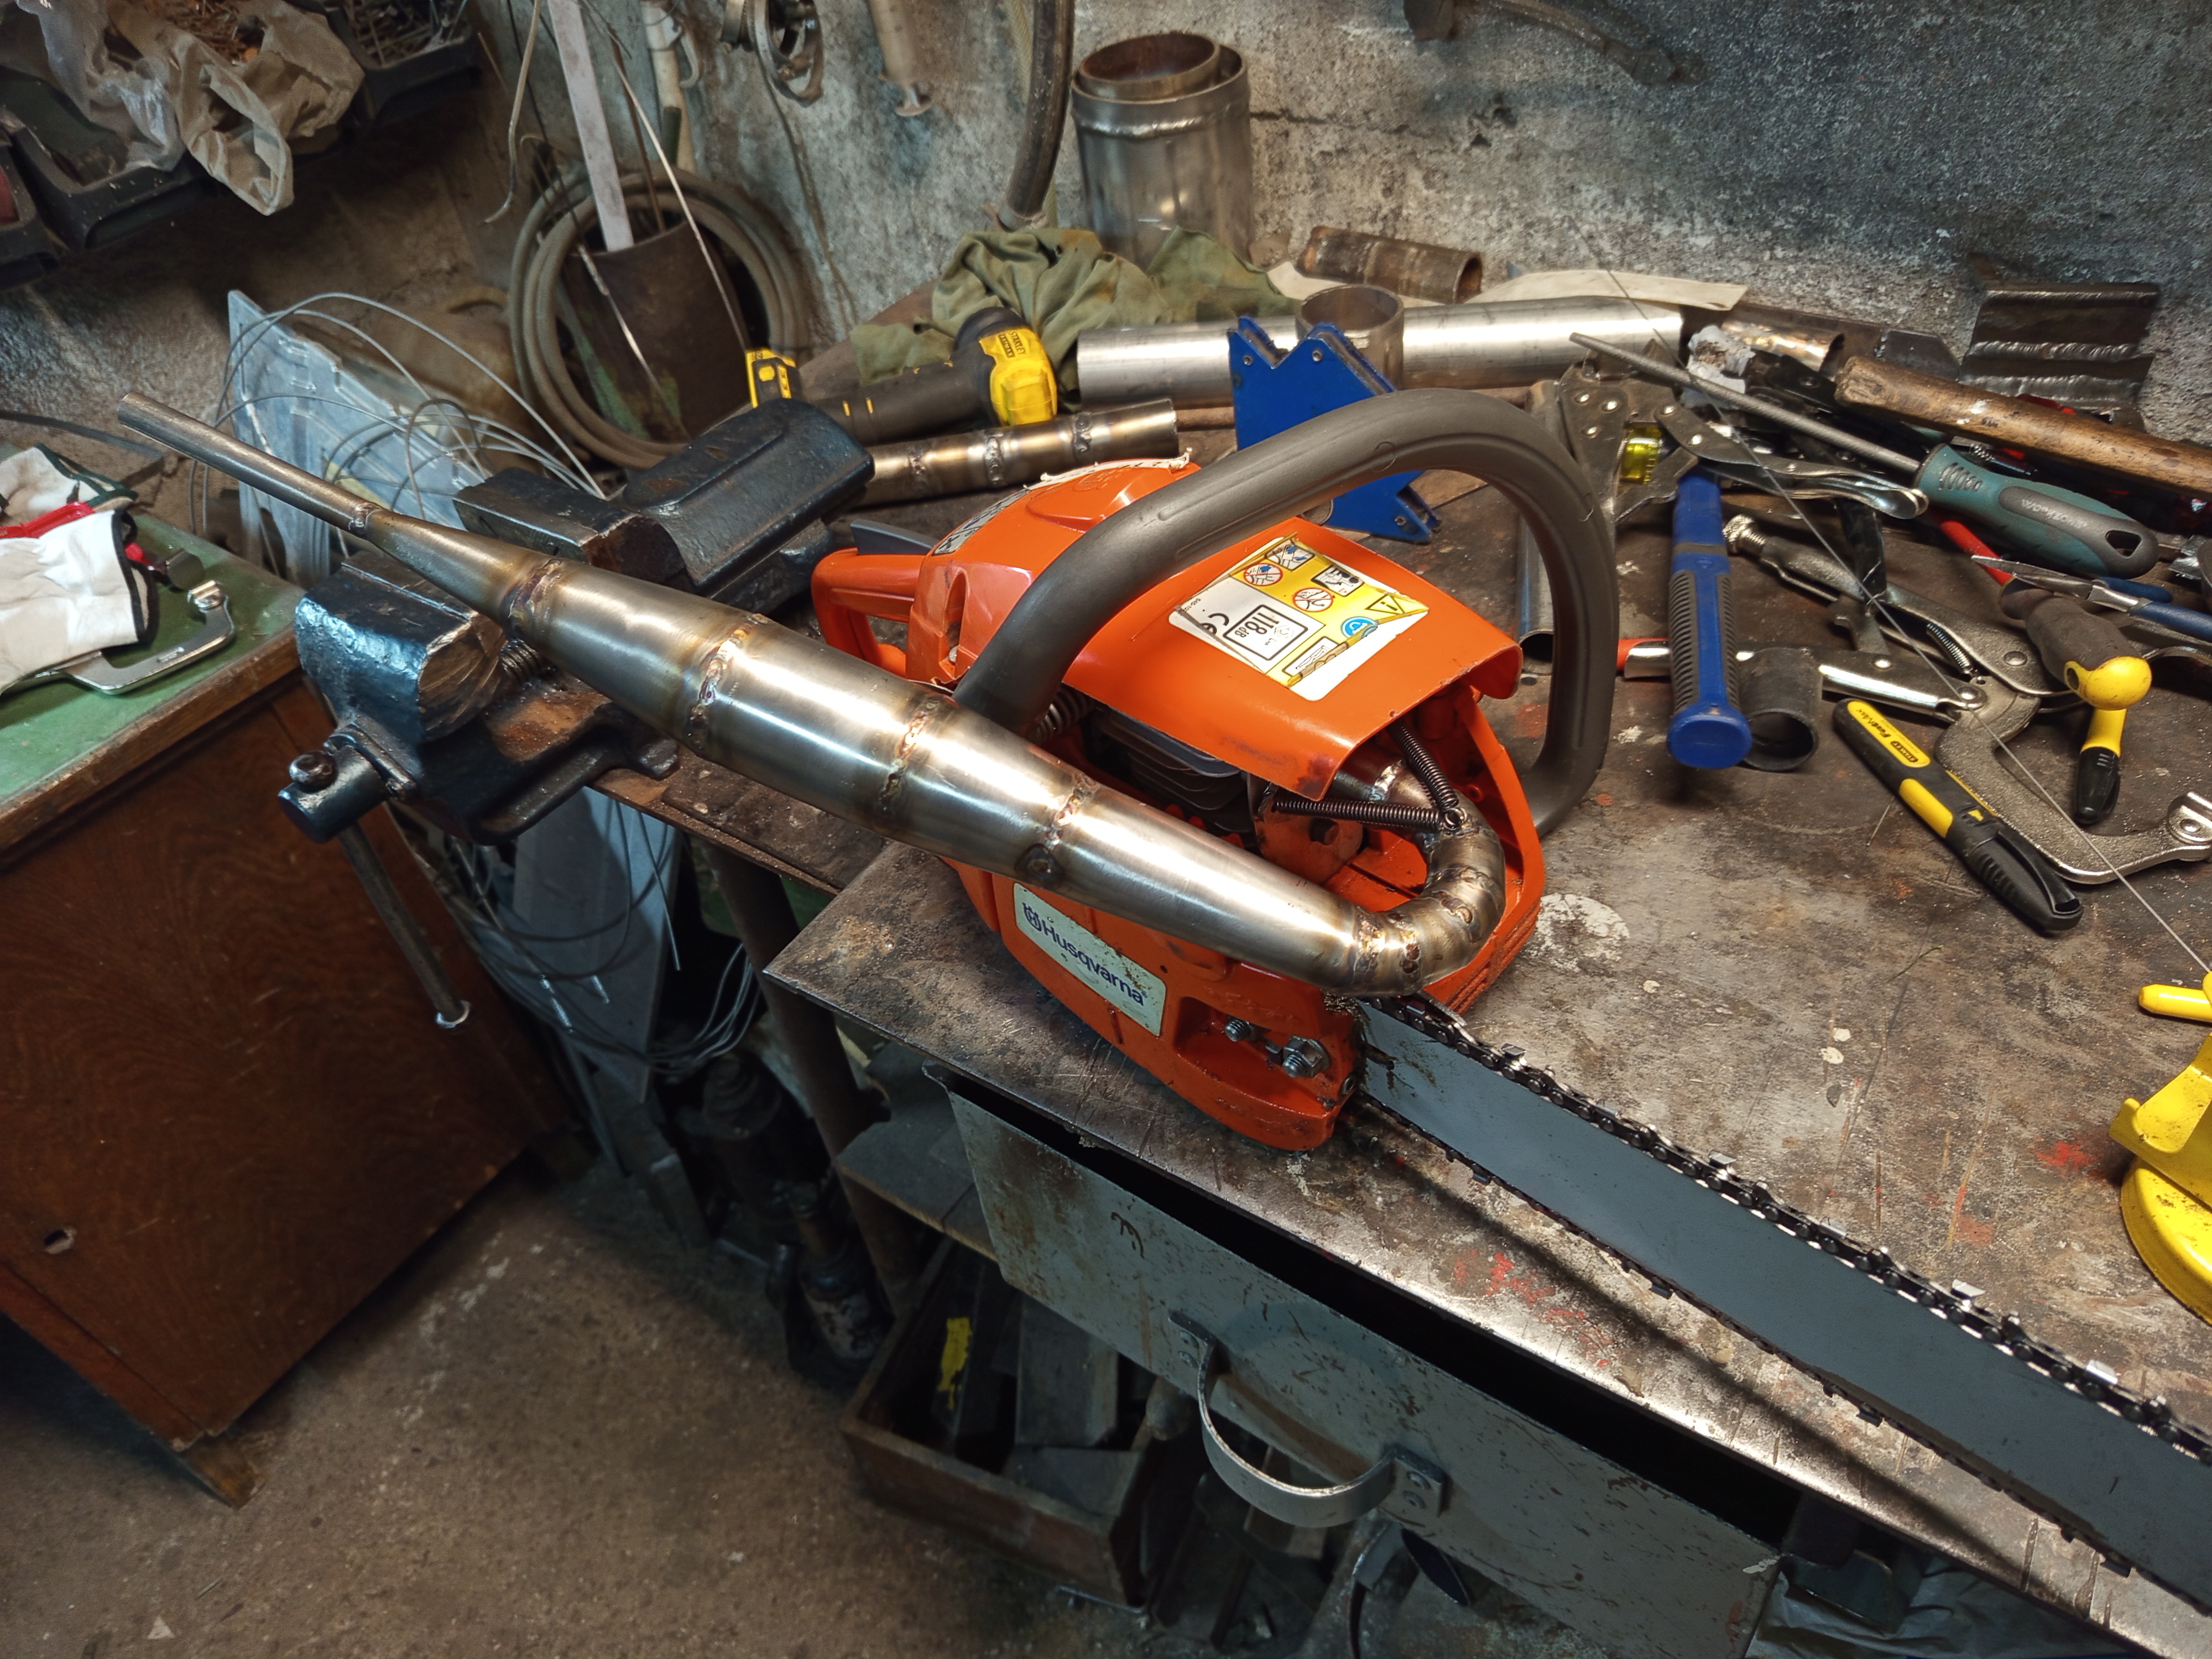
So after I got it running again, I had an idea of what this saw lacks, and if you guessed an expansion chamber, then you are correct! It’s an interesting topic, and a really good fabrication project. I don’t want to get into all the calculations behind designing one since I’m not an expert on this, there are a lot of great resources around to learn about it. For example I can highly recommend AuMechanic’s YouTube channel if you are interested in two strokes. He also created a calculator for pipe designing, you can download it here. He also has videos about this software explaining it.
Another different rabbit hole you can get into with 2Ts is porting. I can recommend this playlist from Tinman if you are interested. Nevertheless, this time I didn’t want to experiment with it yet.
For measuring the timing you’ll need a degree wheel. I went with a cheap solution, and printed one, glued to a piece of cardboard and attached it to an old drill chuck, this way you can easily mount it on the crankshaft, plus a pice of wire on a fixed position for reference. The zeroing and measuring is also explained in the porting playlist mention above.

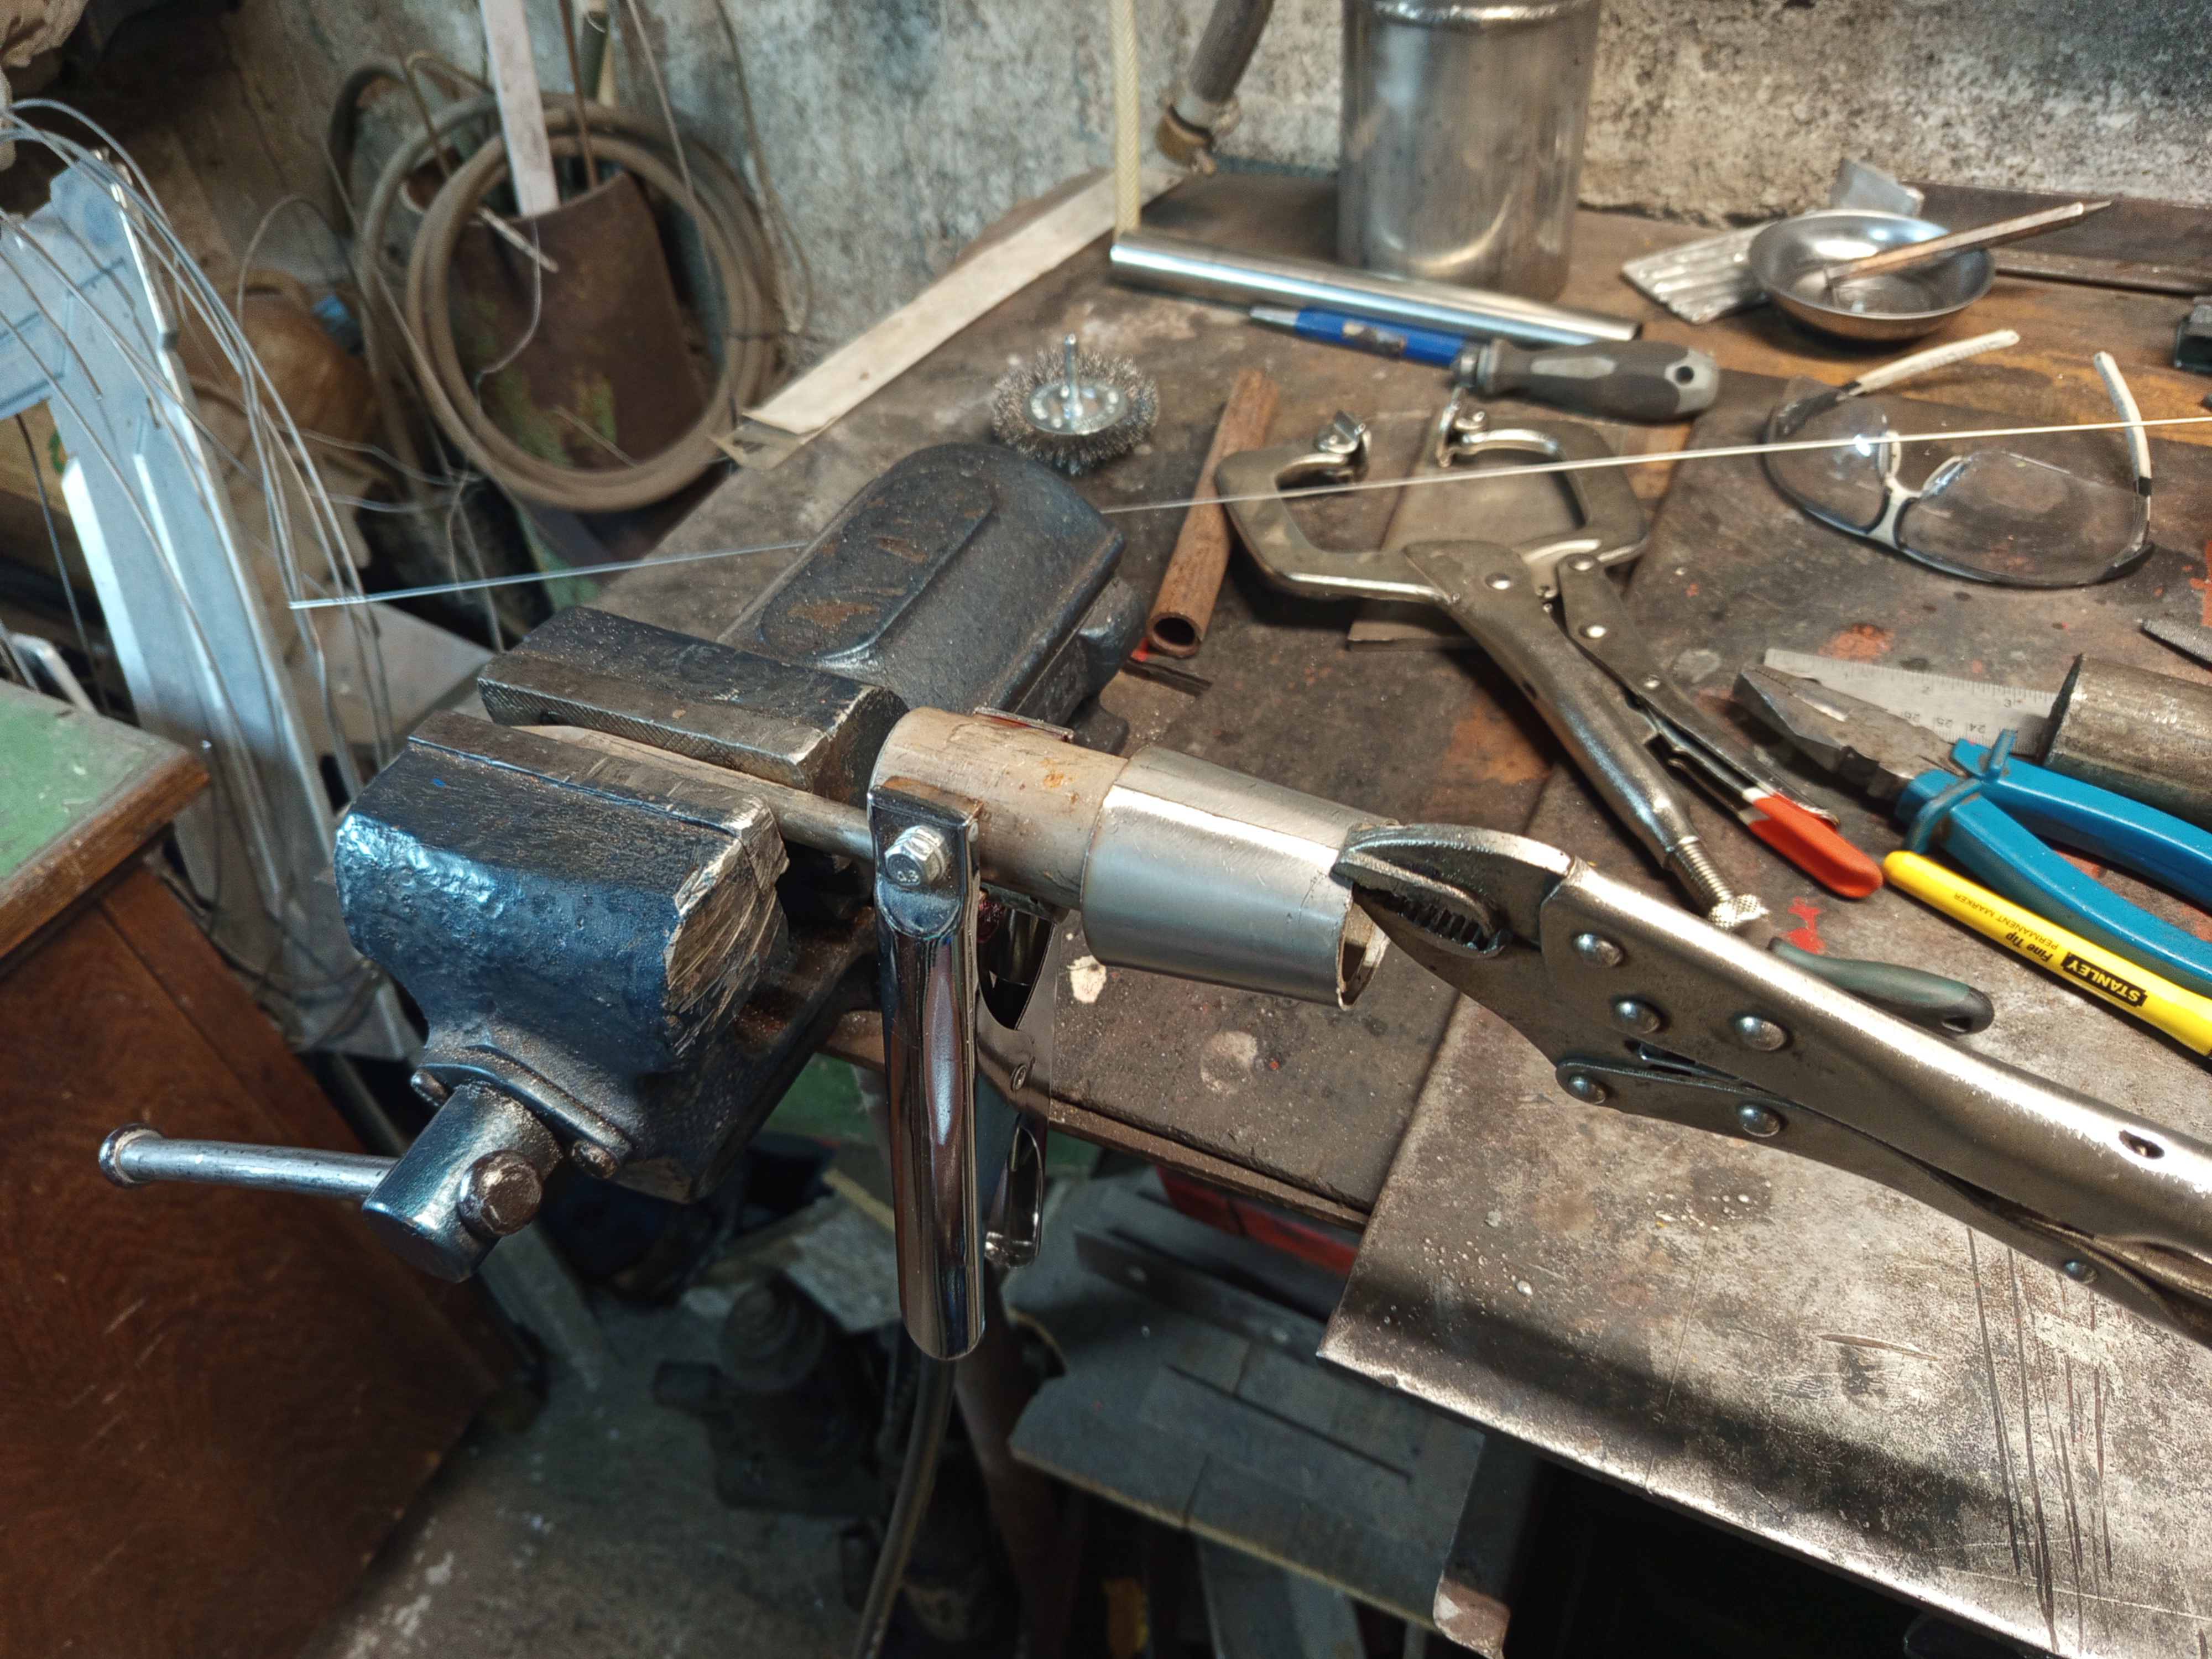
Lots of hammering, and welding
First I needed a flange that matches the exhaust port, this was the easy part. For the rest of it I used 1mm stainless sheet, and in a hindsight I should have used thinner material, because forming these small cones without specialized tools, with basically only a hammer and different sizes of pipes to hammer on, was a huge pain. TIG welding it is a great practice, but getting right the right settings to weld such thin material took some time. It’s not pretty that’s for sure, but I think a managed to match the dimensions mostly. Just keep in mind, that every mistake, or change in the dimensions can affect the end result.
For the mounting, I wanted avoid to welding the pipe to the flange, to prevent any damage caused by the vibrations, that’s why it slides on and held in place by two springs.
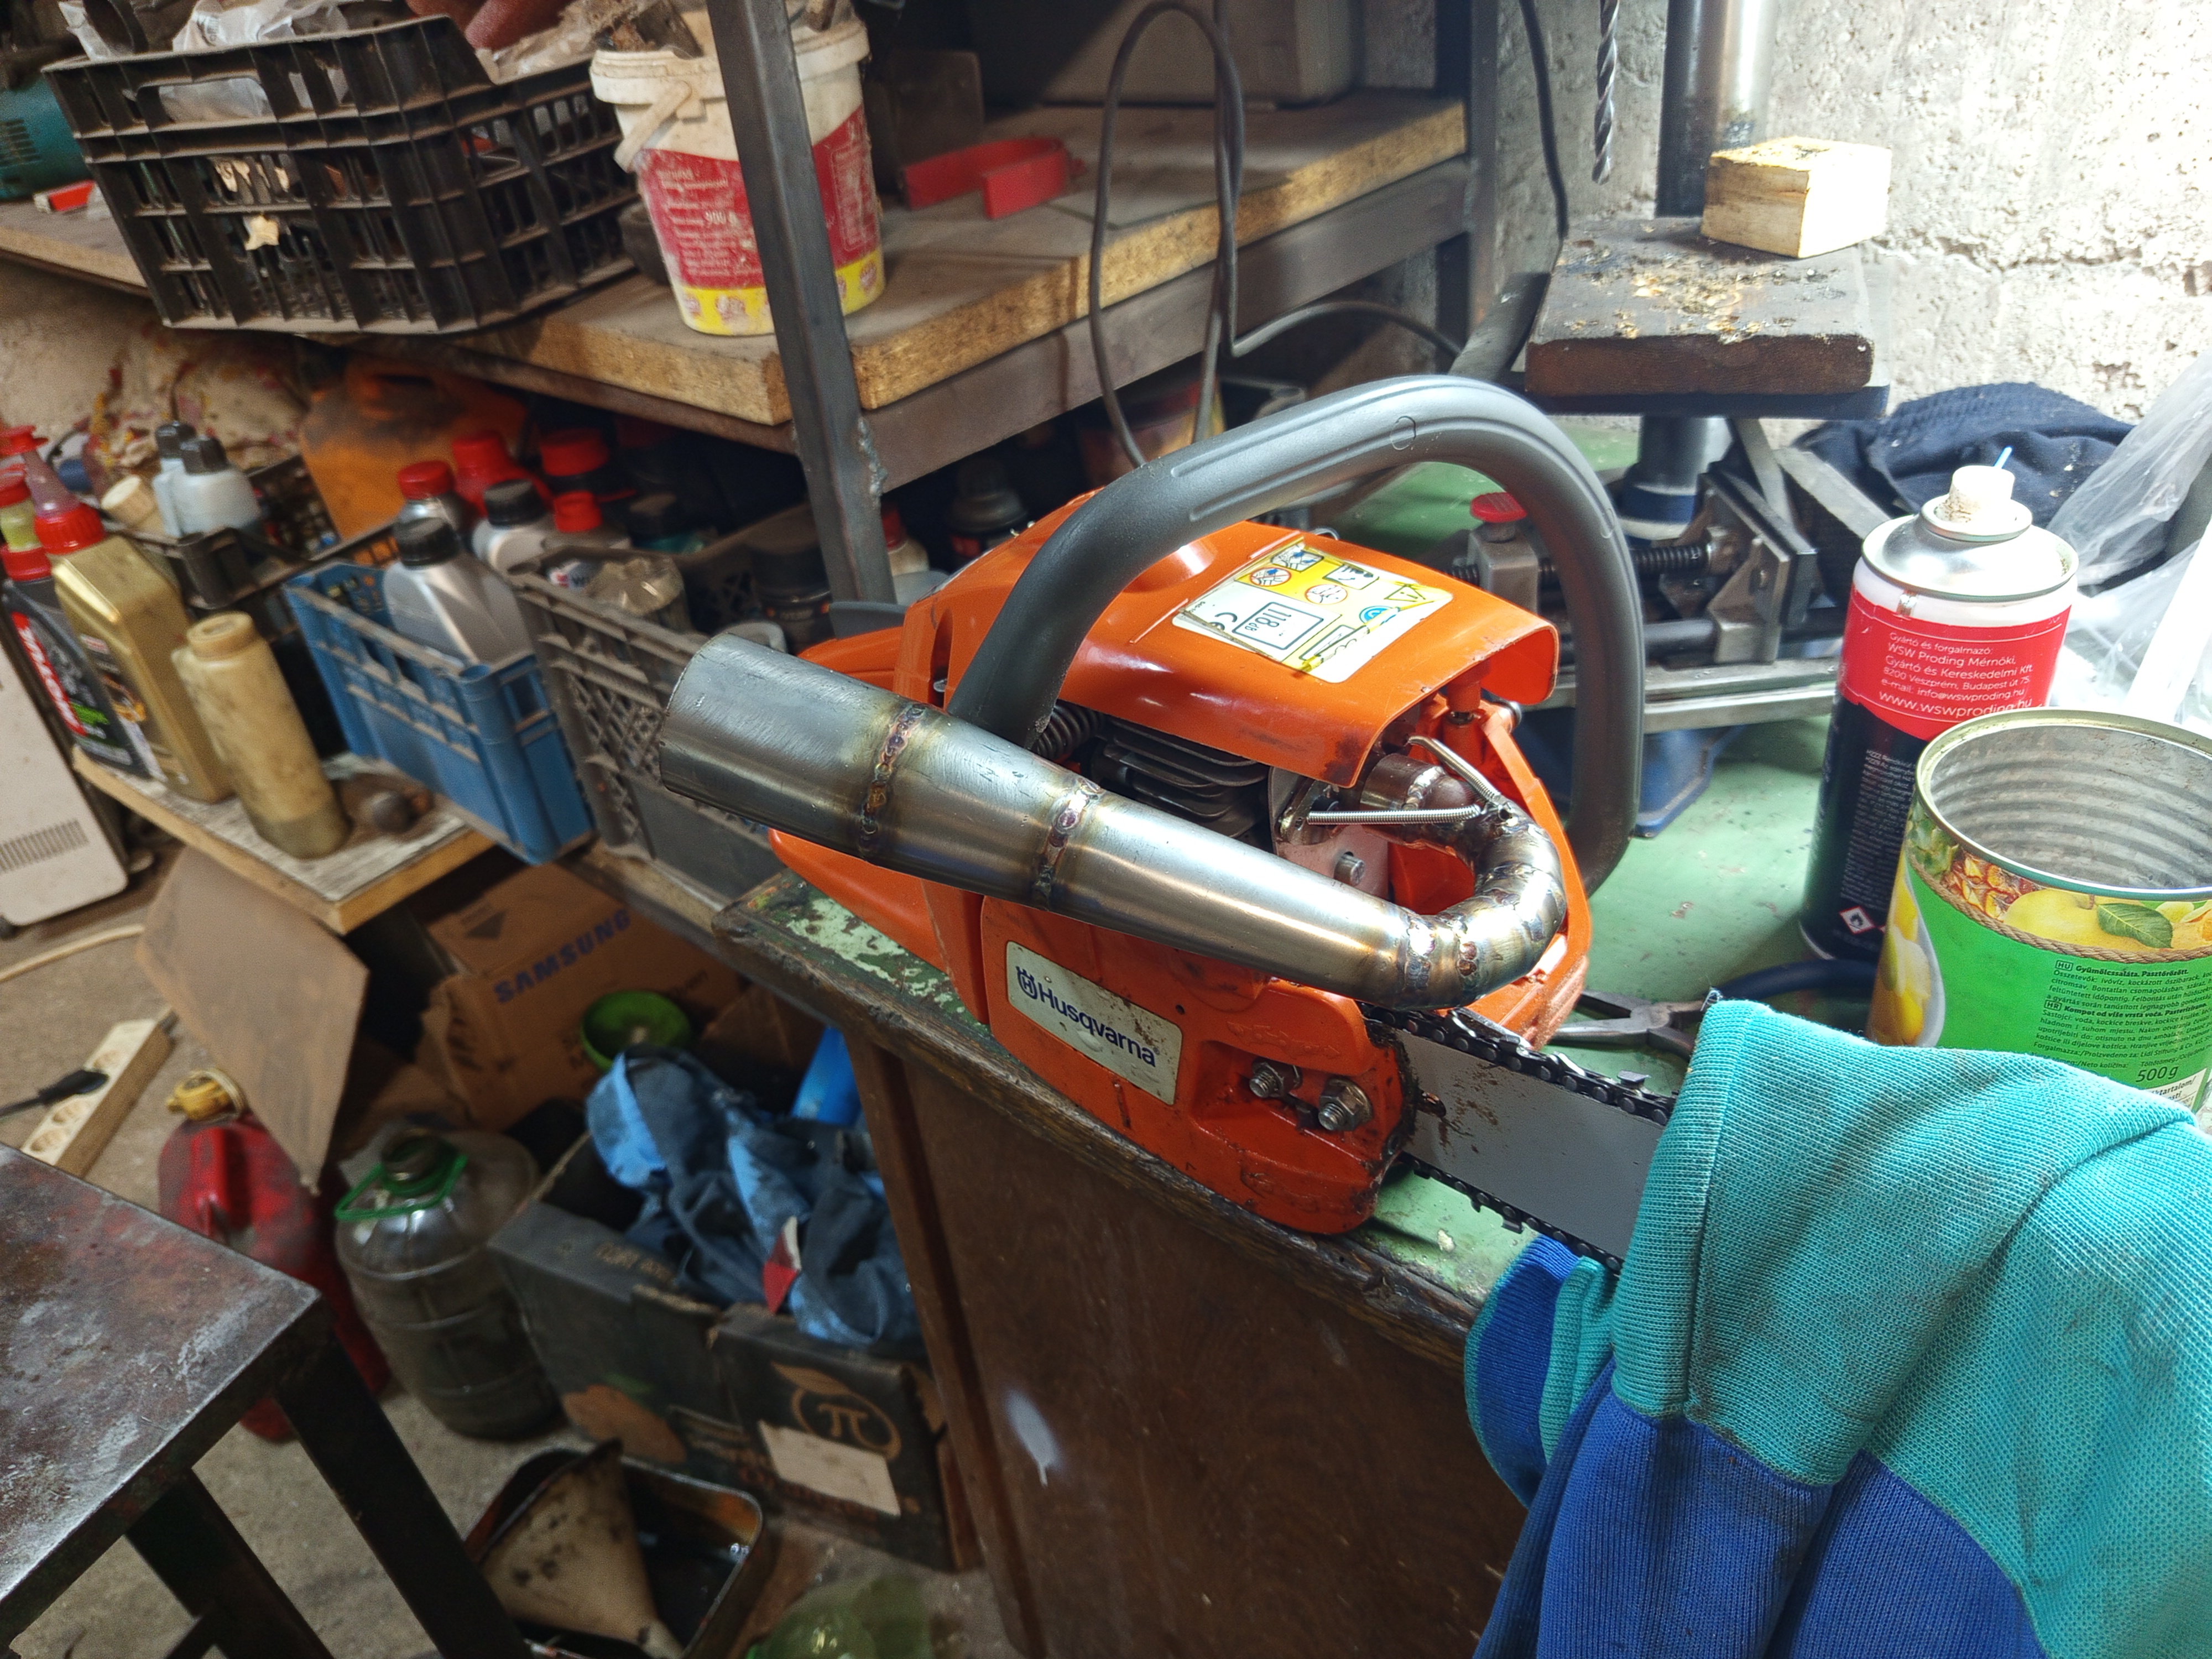
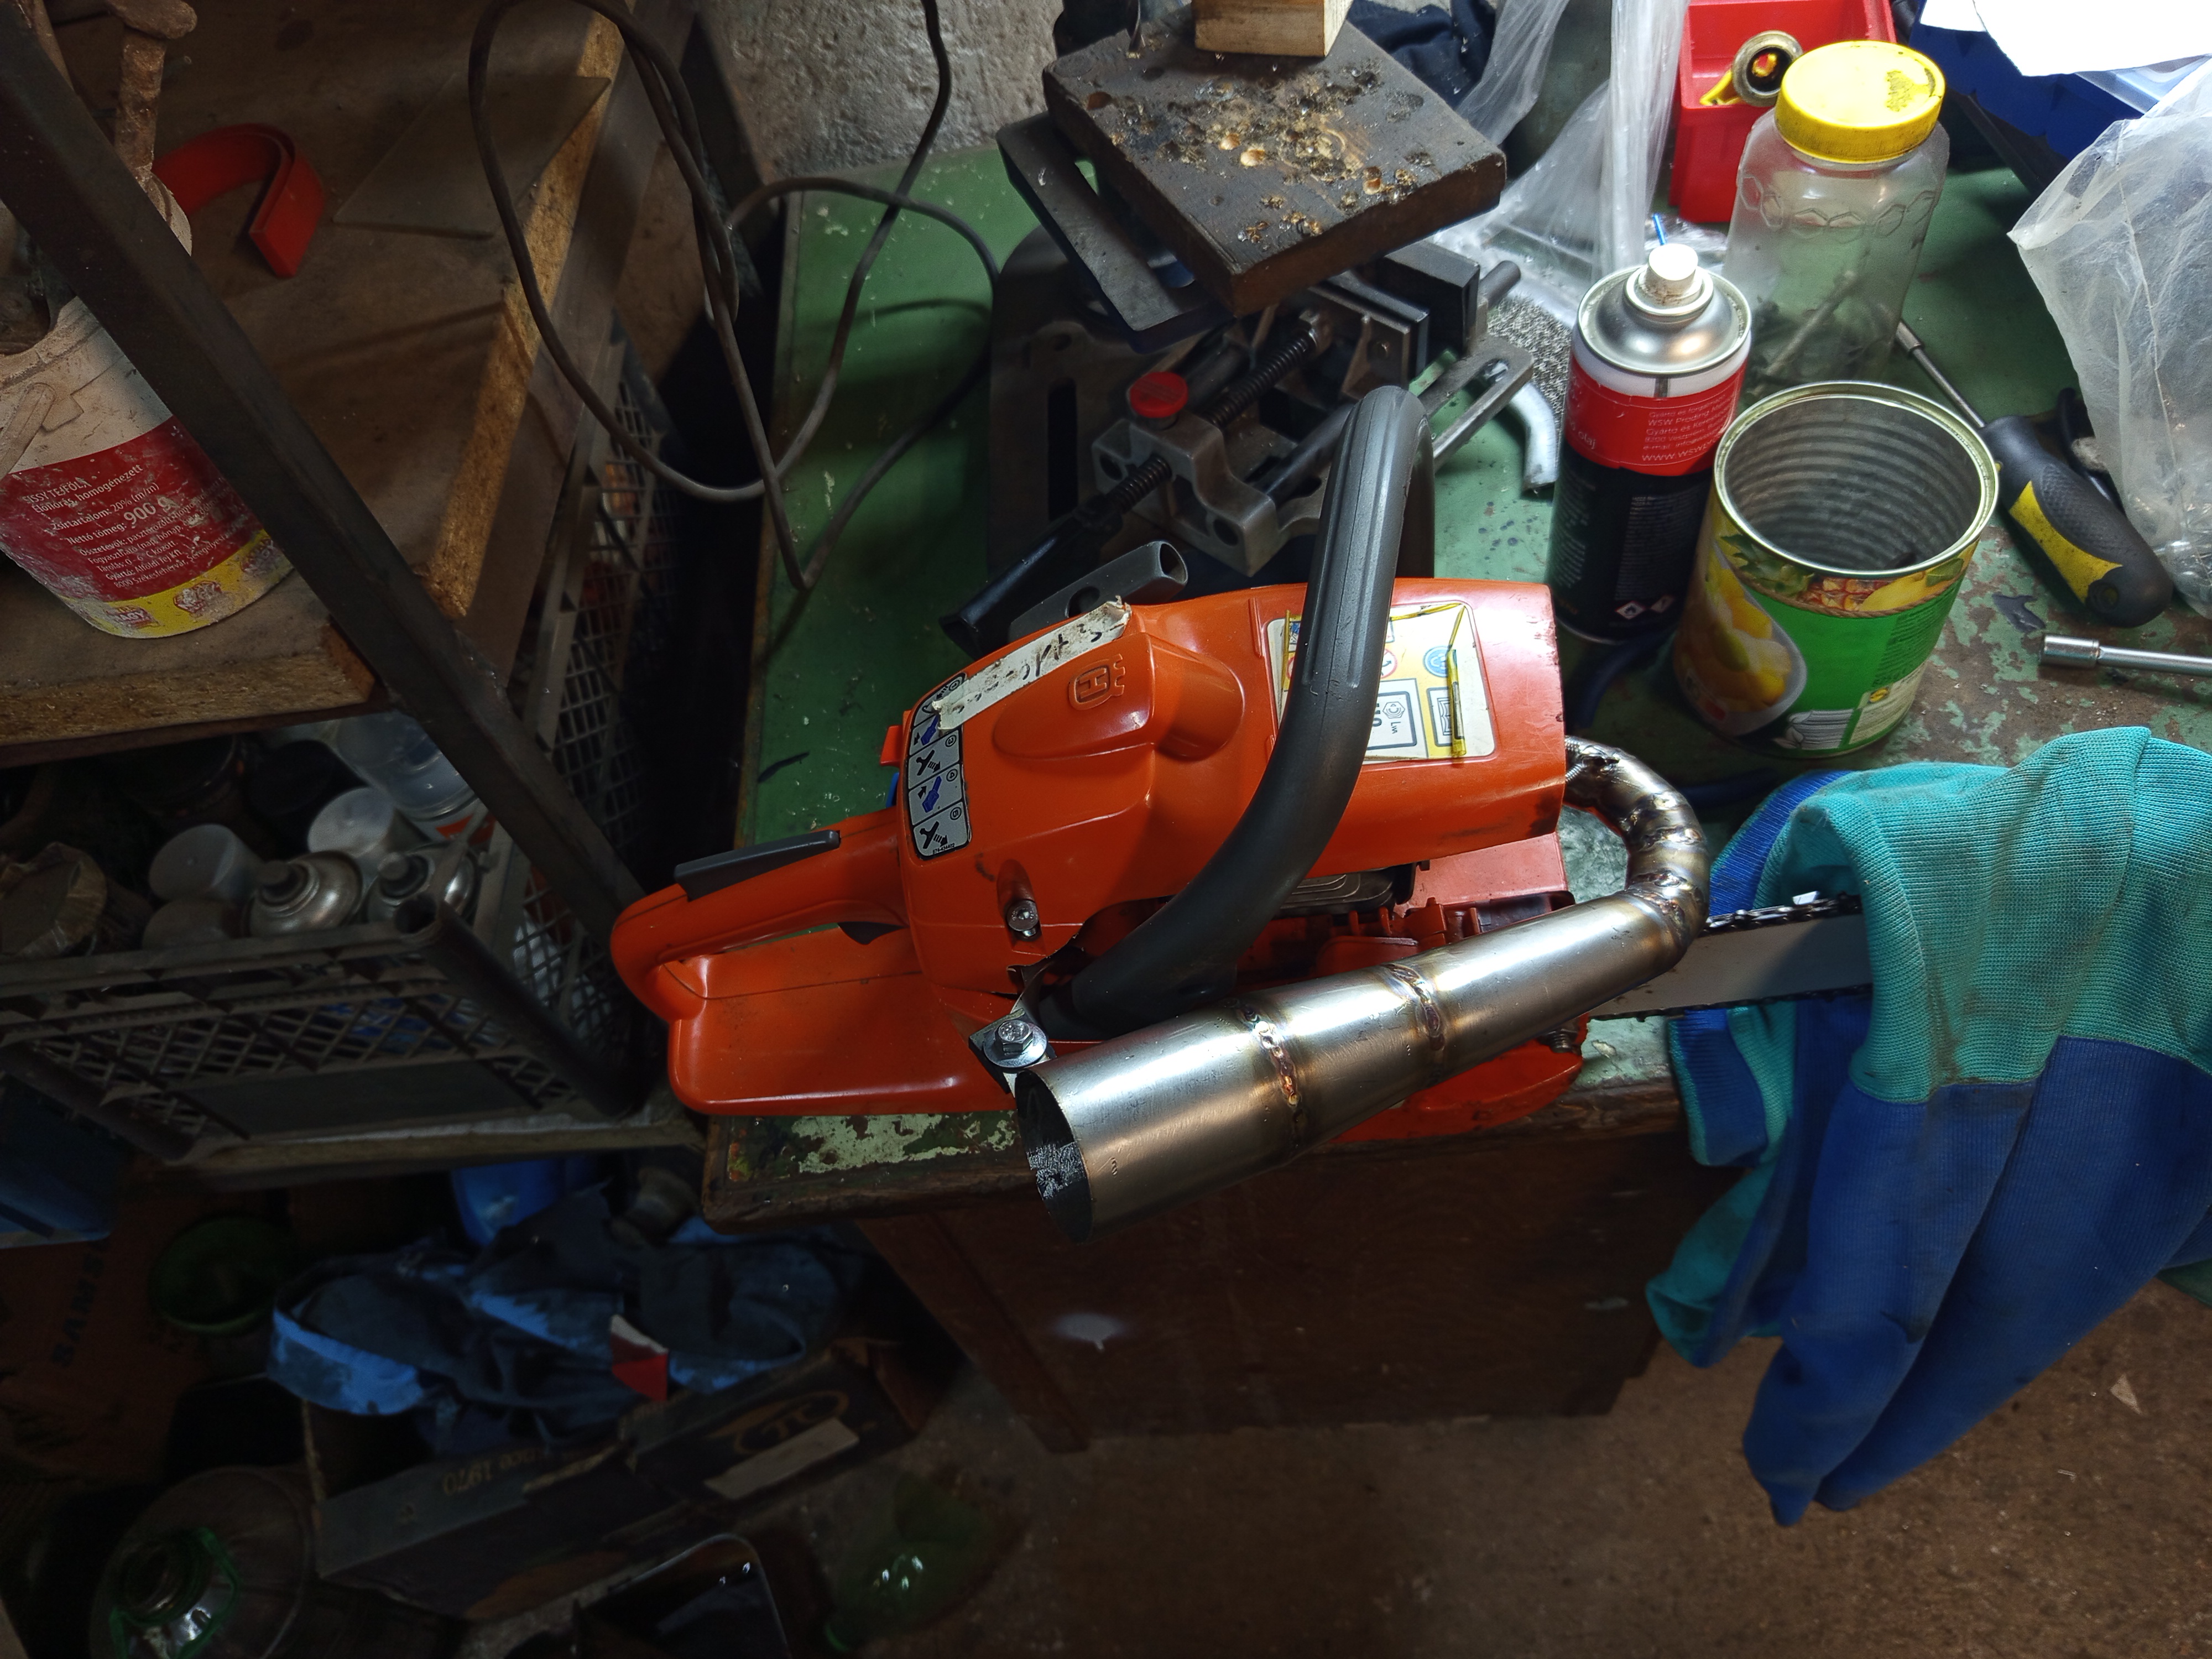
I can say that this rather meticulous job achieved its goal, the difference in how the engine can rev up and operate when it’s warmed up is actually surprising. The carb is not perfectly tuned to it yet though, or at least something is not right. I couldn’t dial in where the engine can easily start both in cold and warm states.
What I was thinking about is, that how the XTorq system affects this setup. In a nutshell there are two intakes, one for the fuel mixture, and one for clean air that is used to flush out the combustion chamber. My theory is that in this case some of the clean air is ‘pushed back’ by the pipe, and that’s not ideal.