Stihl 051 AVL 5. - From a box of parts to a saw
Putting together
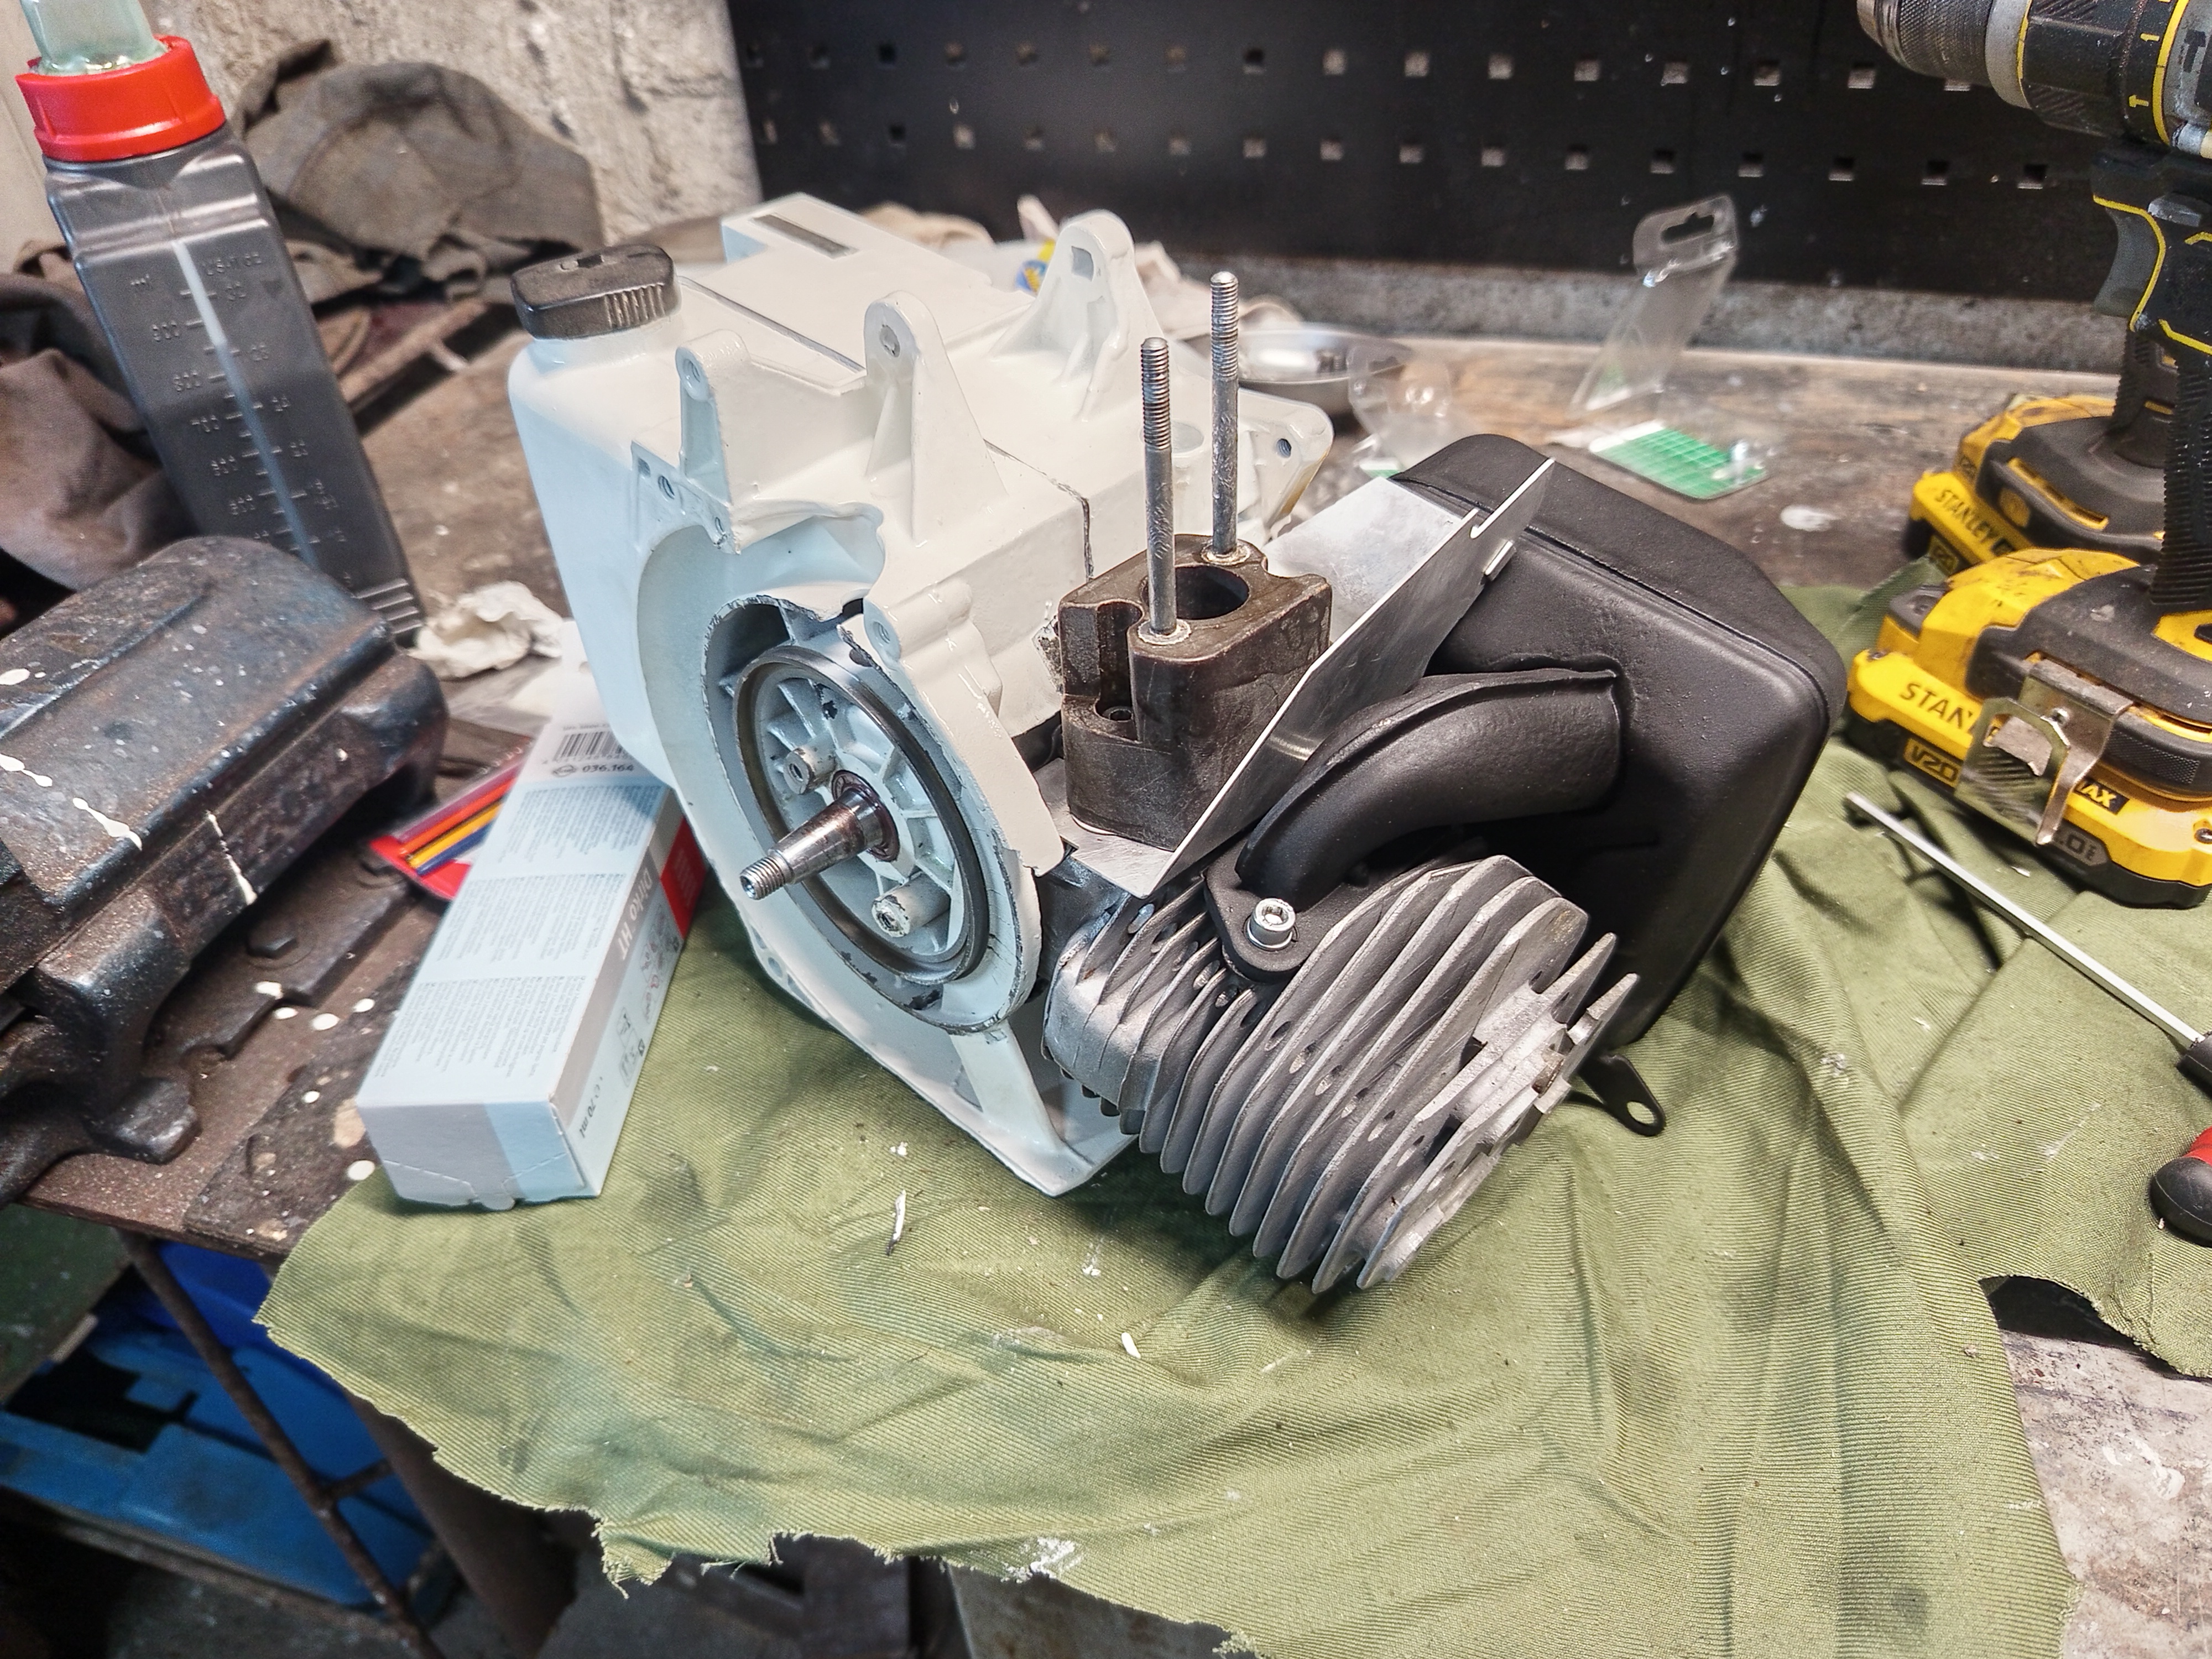
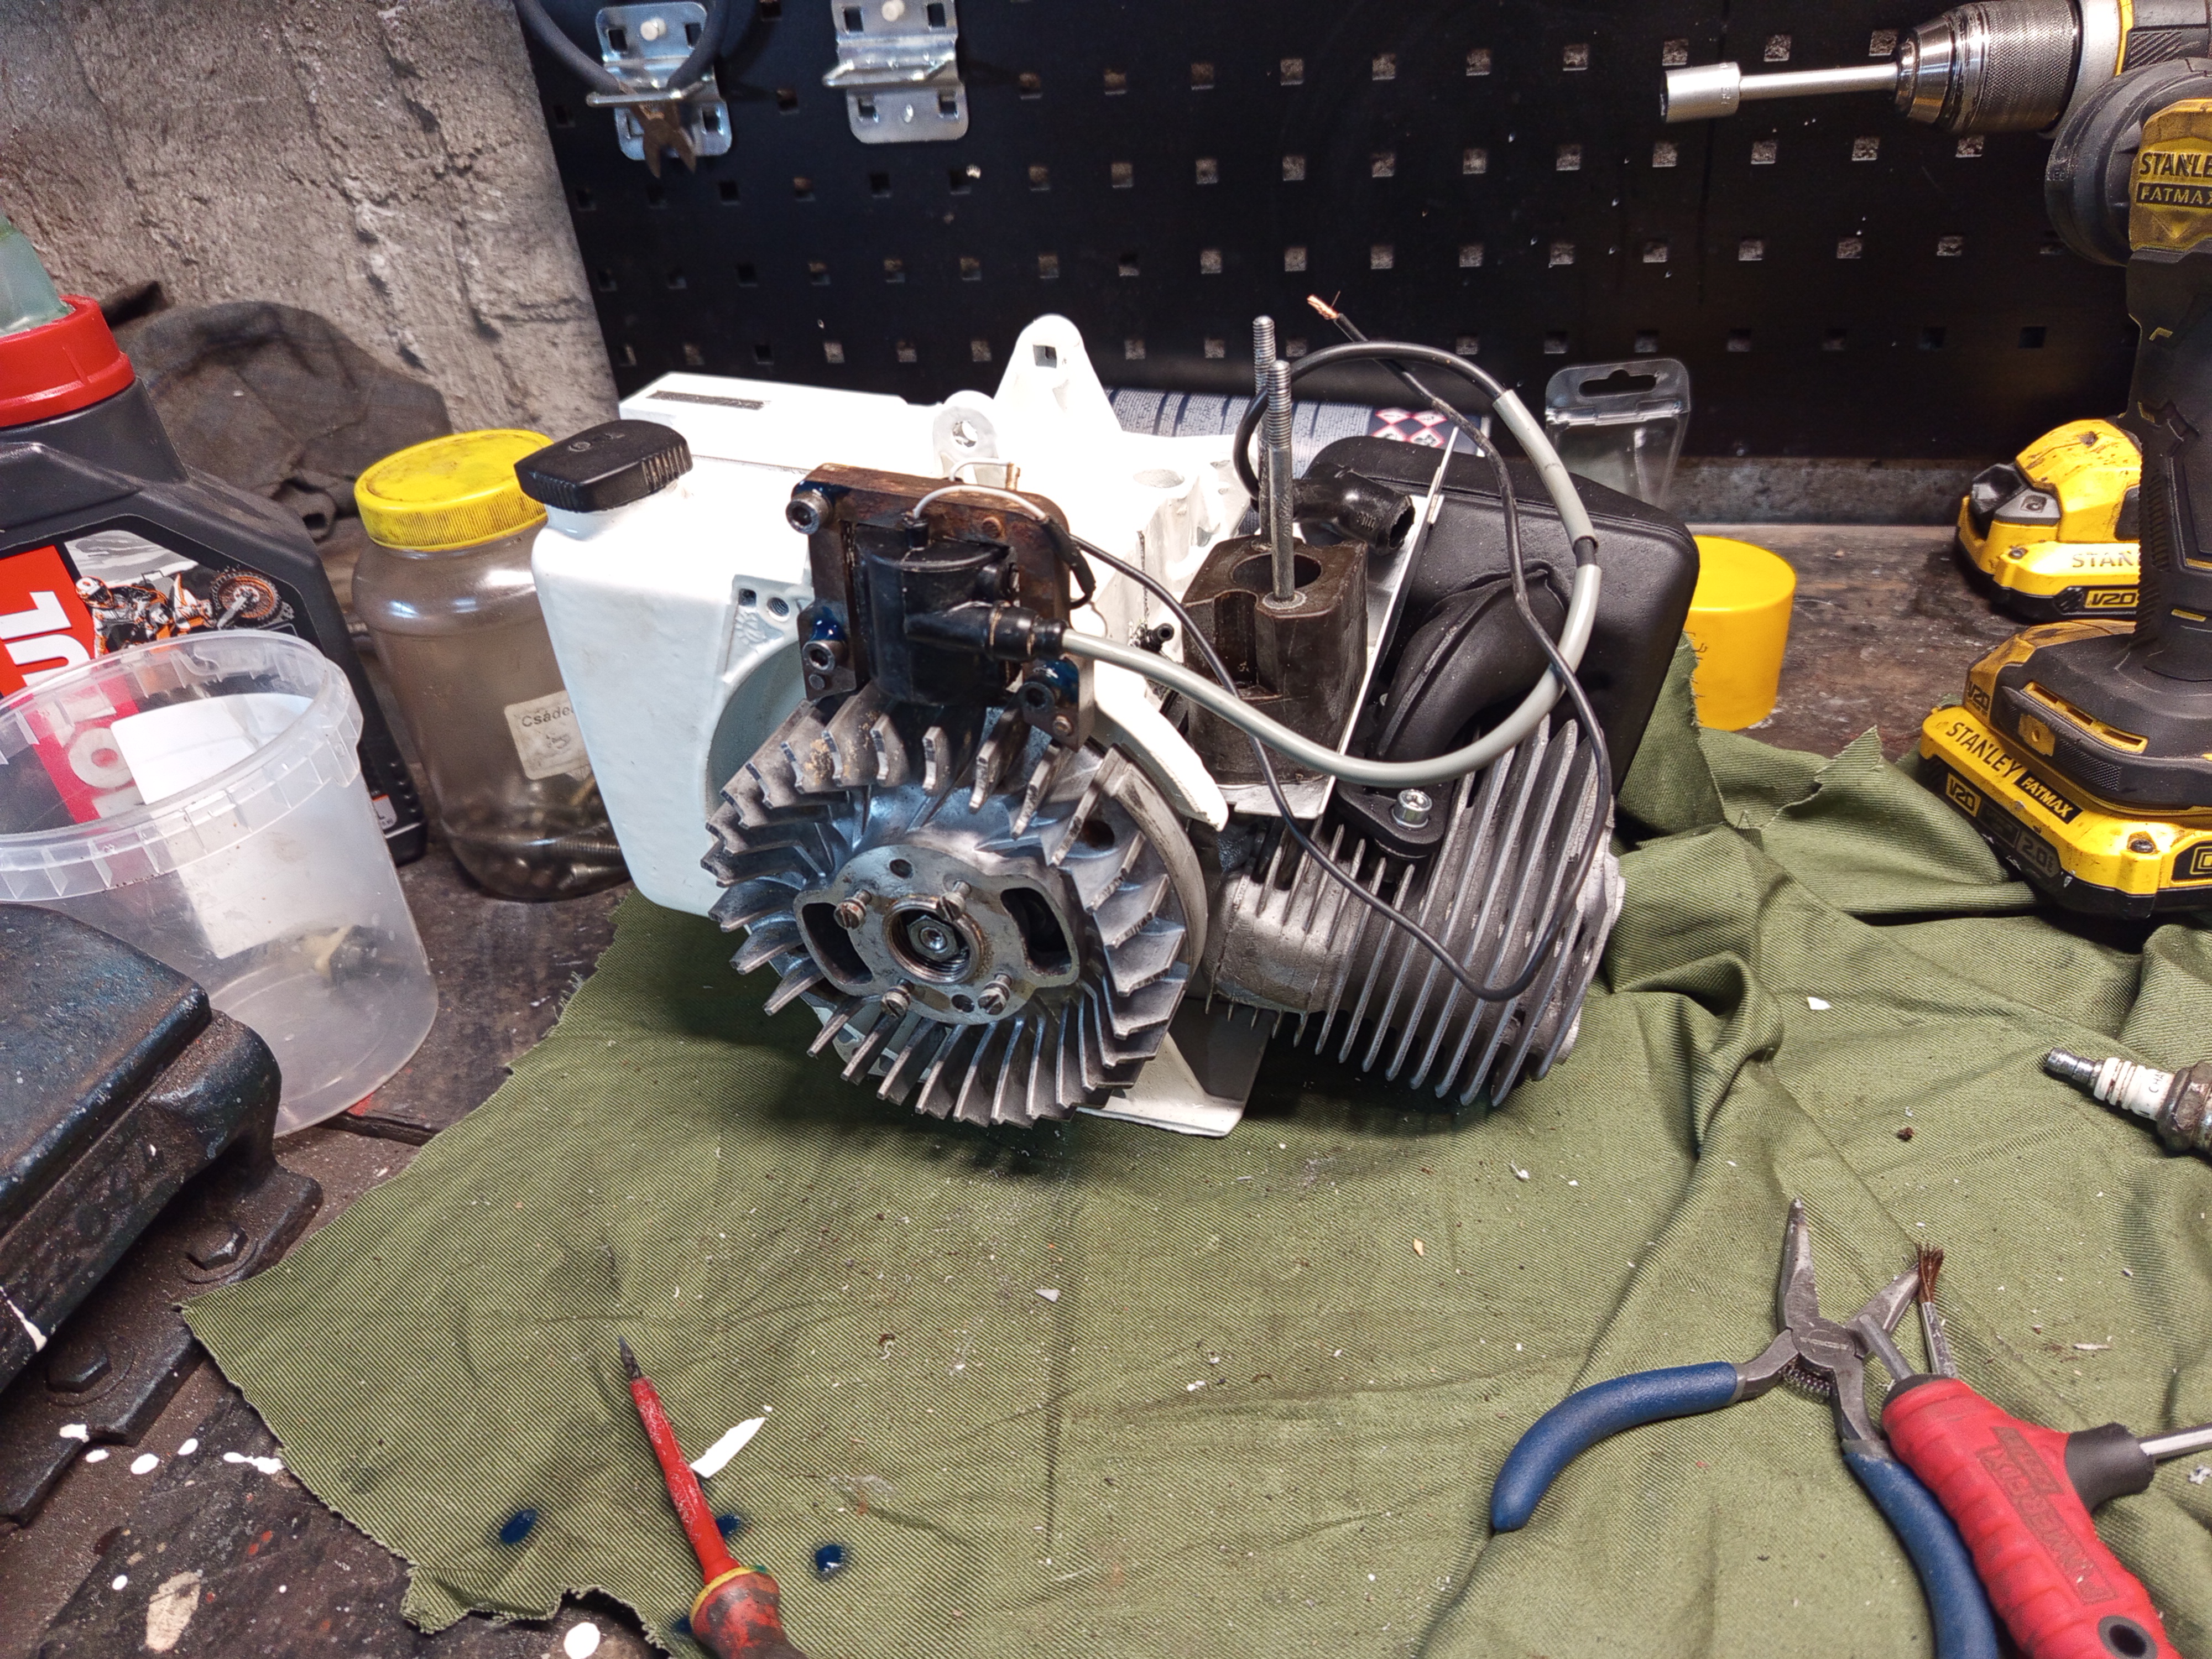
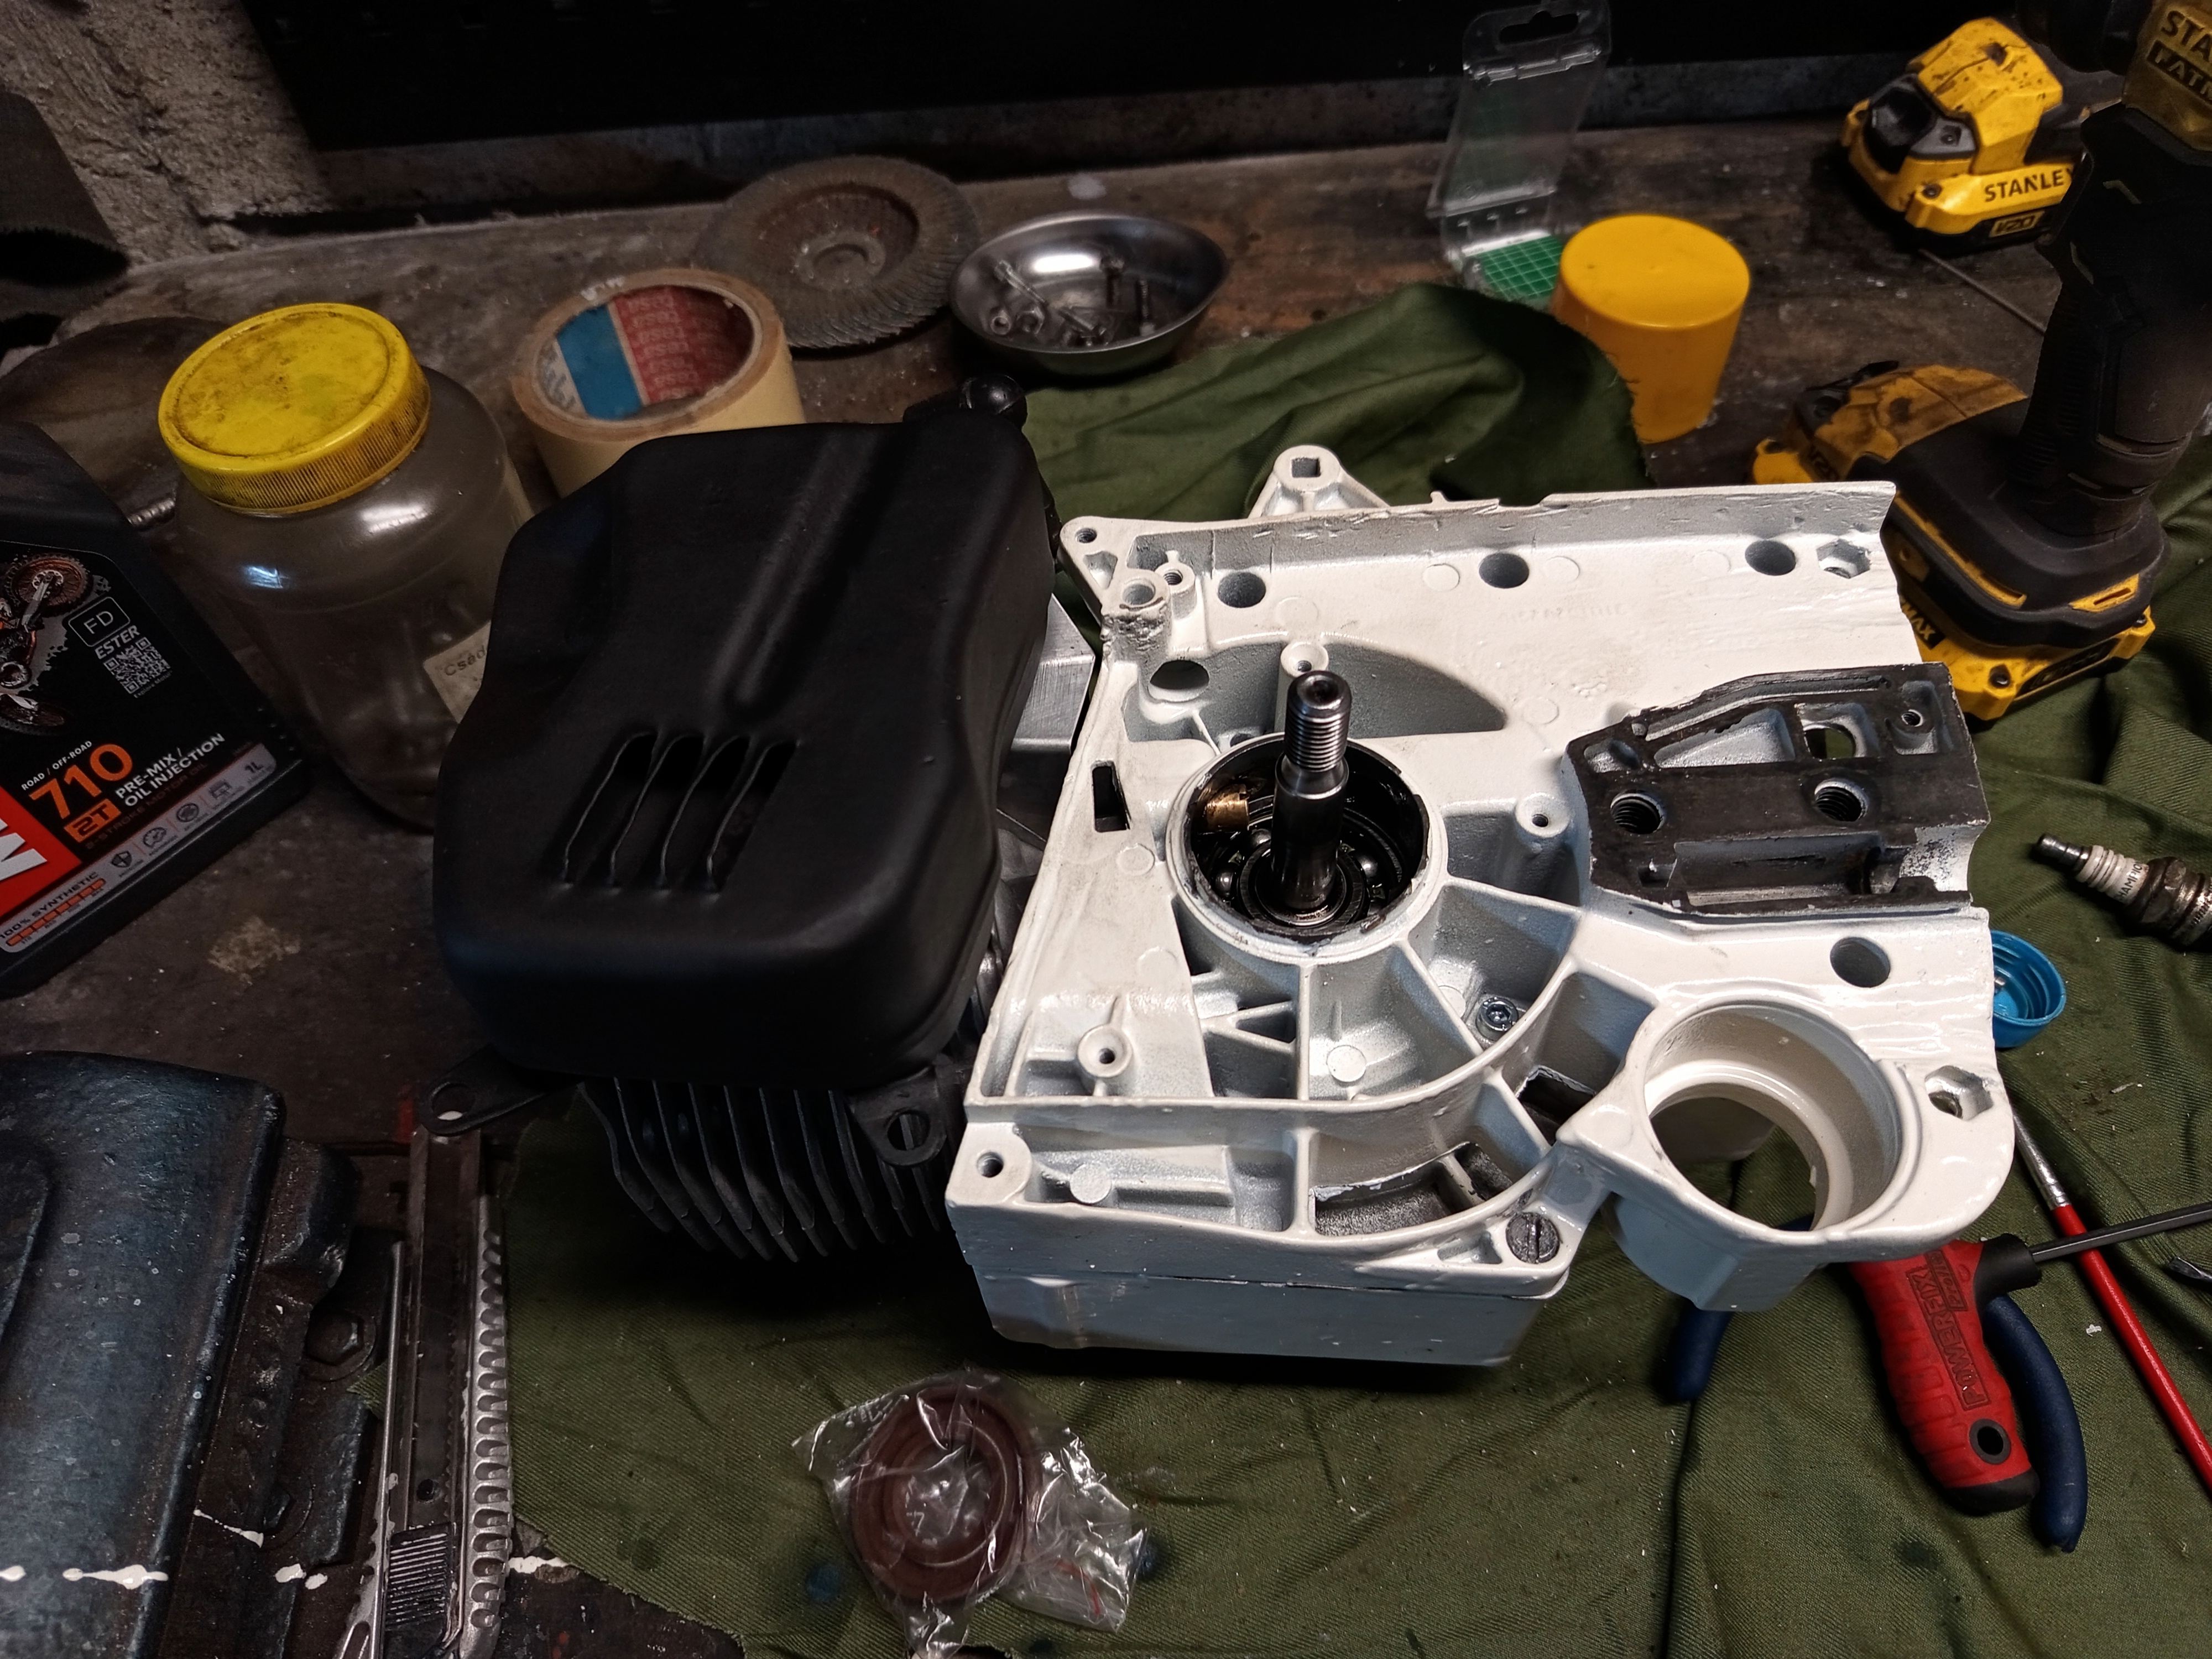
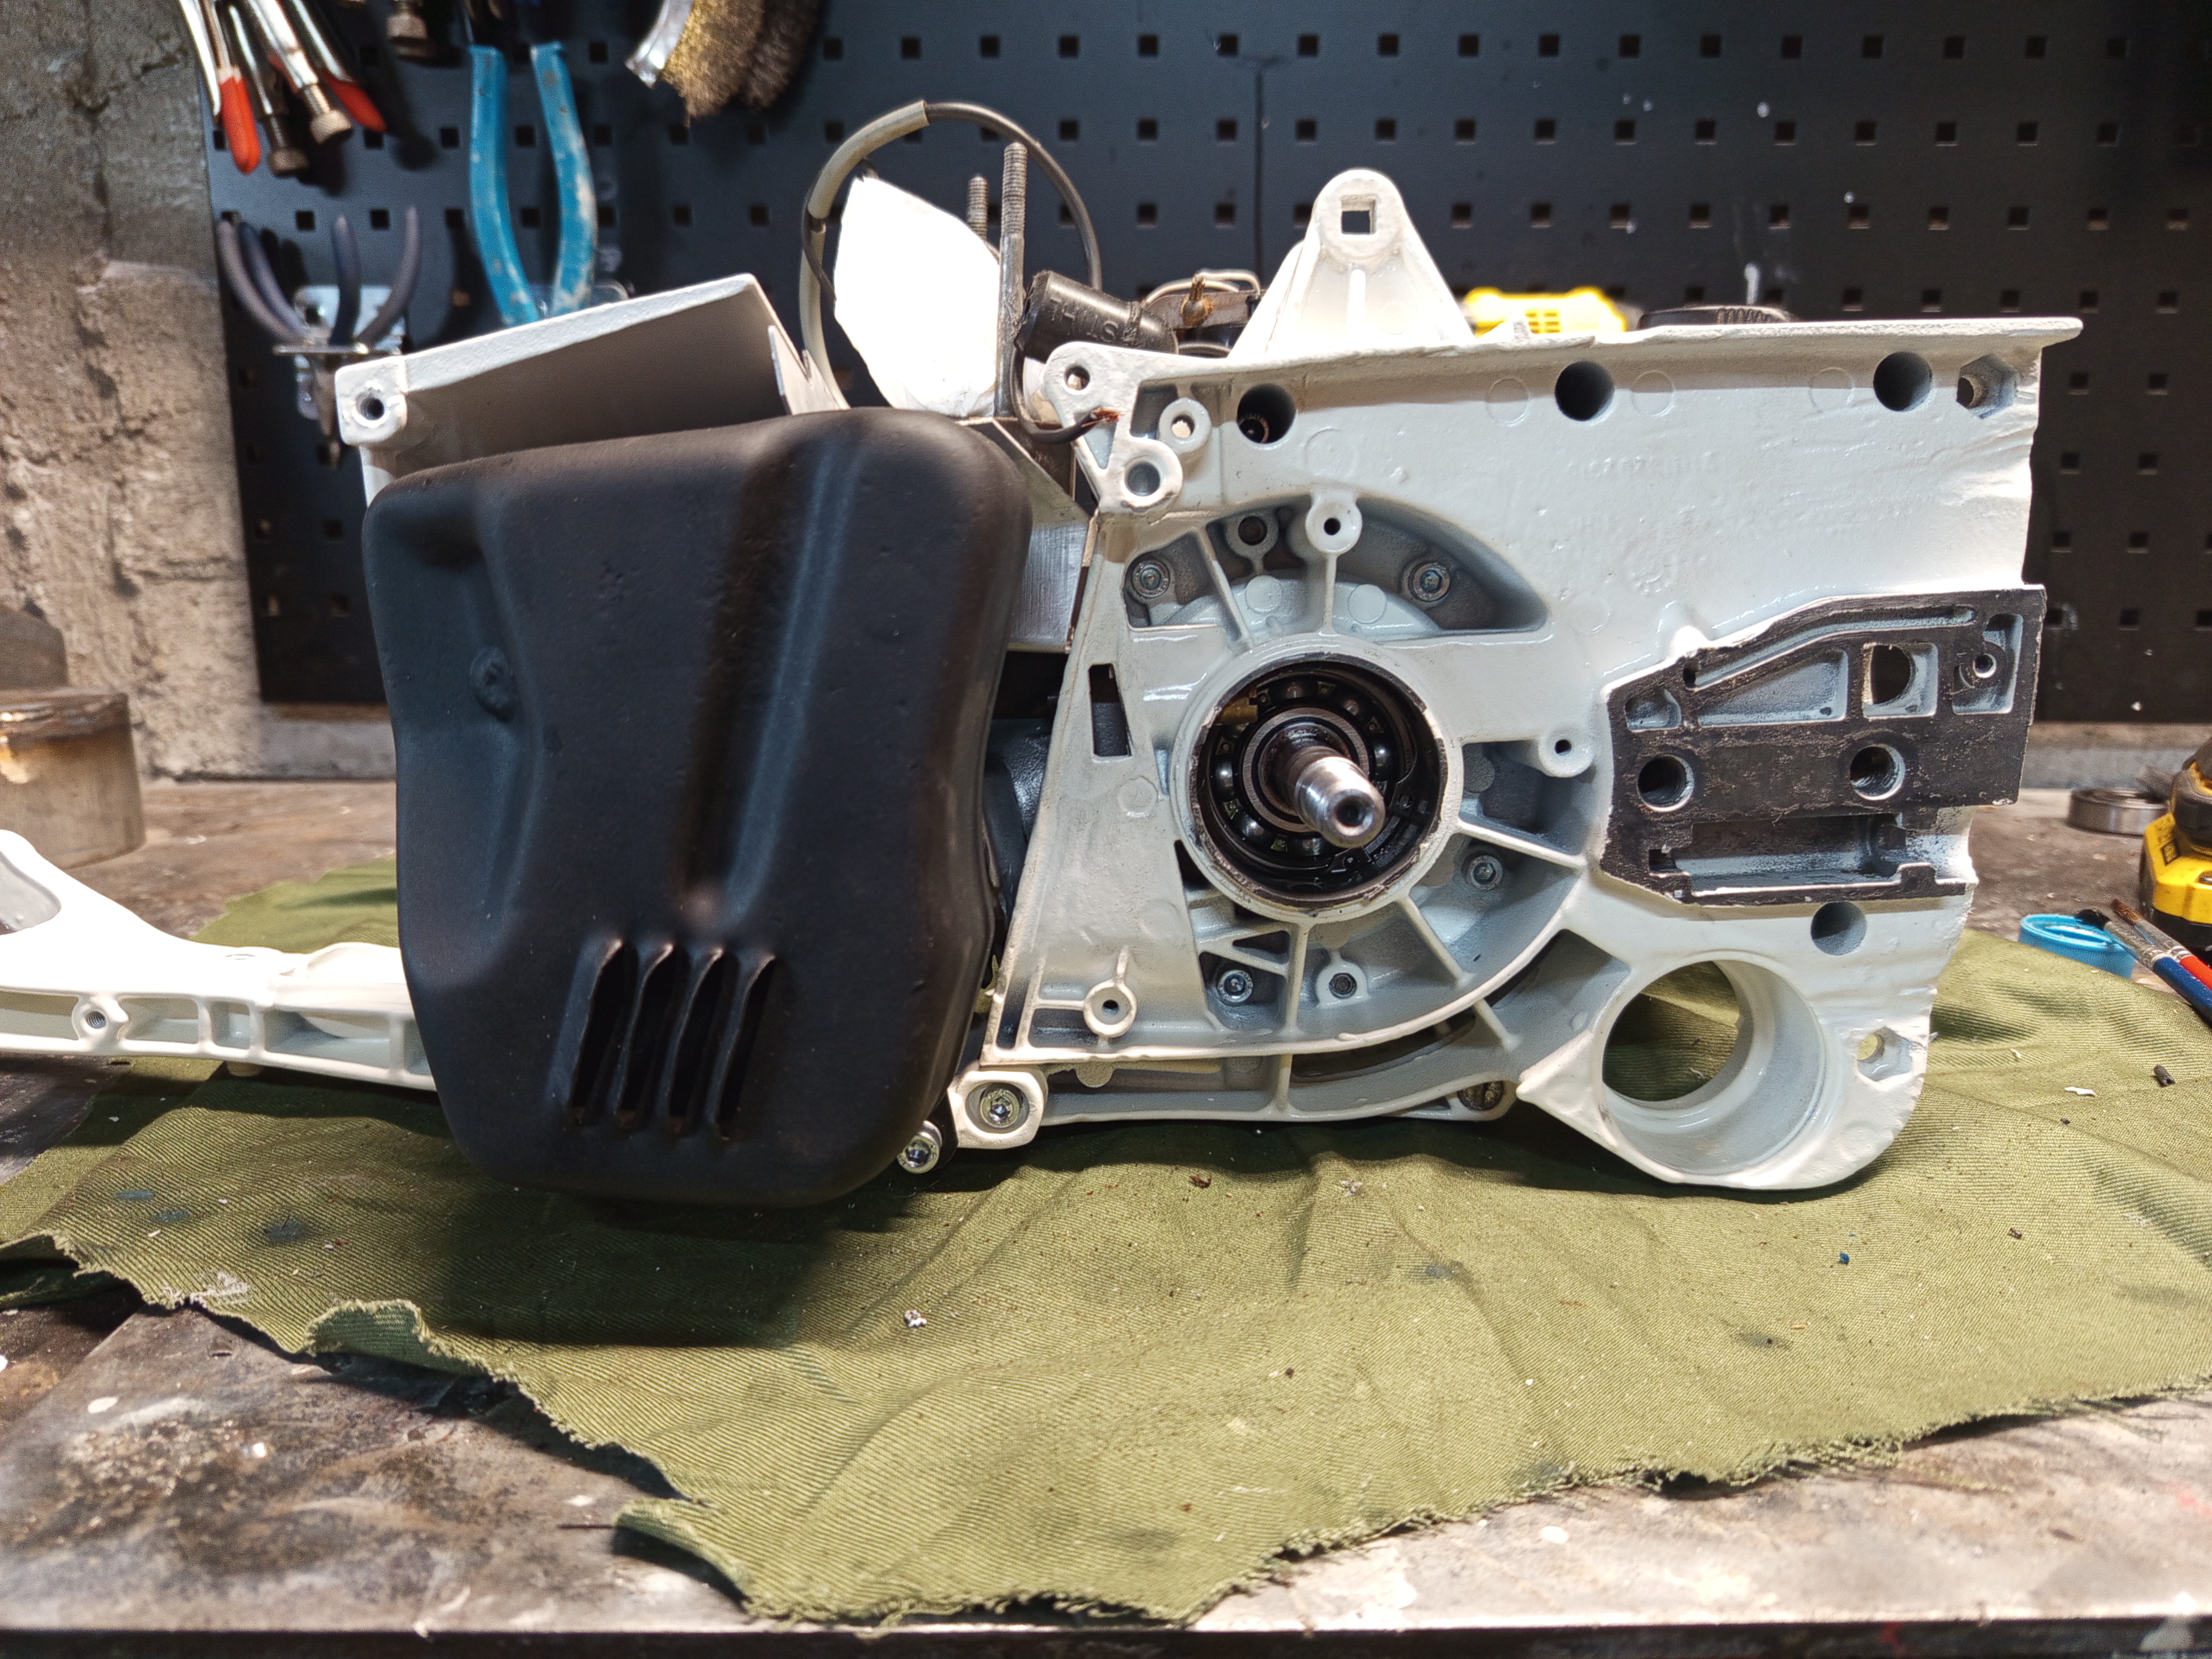
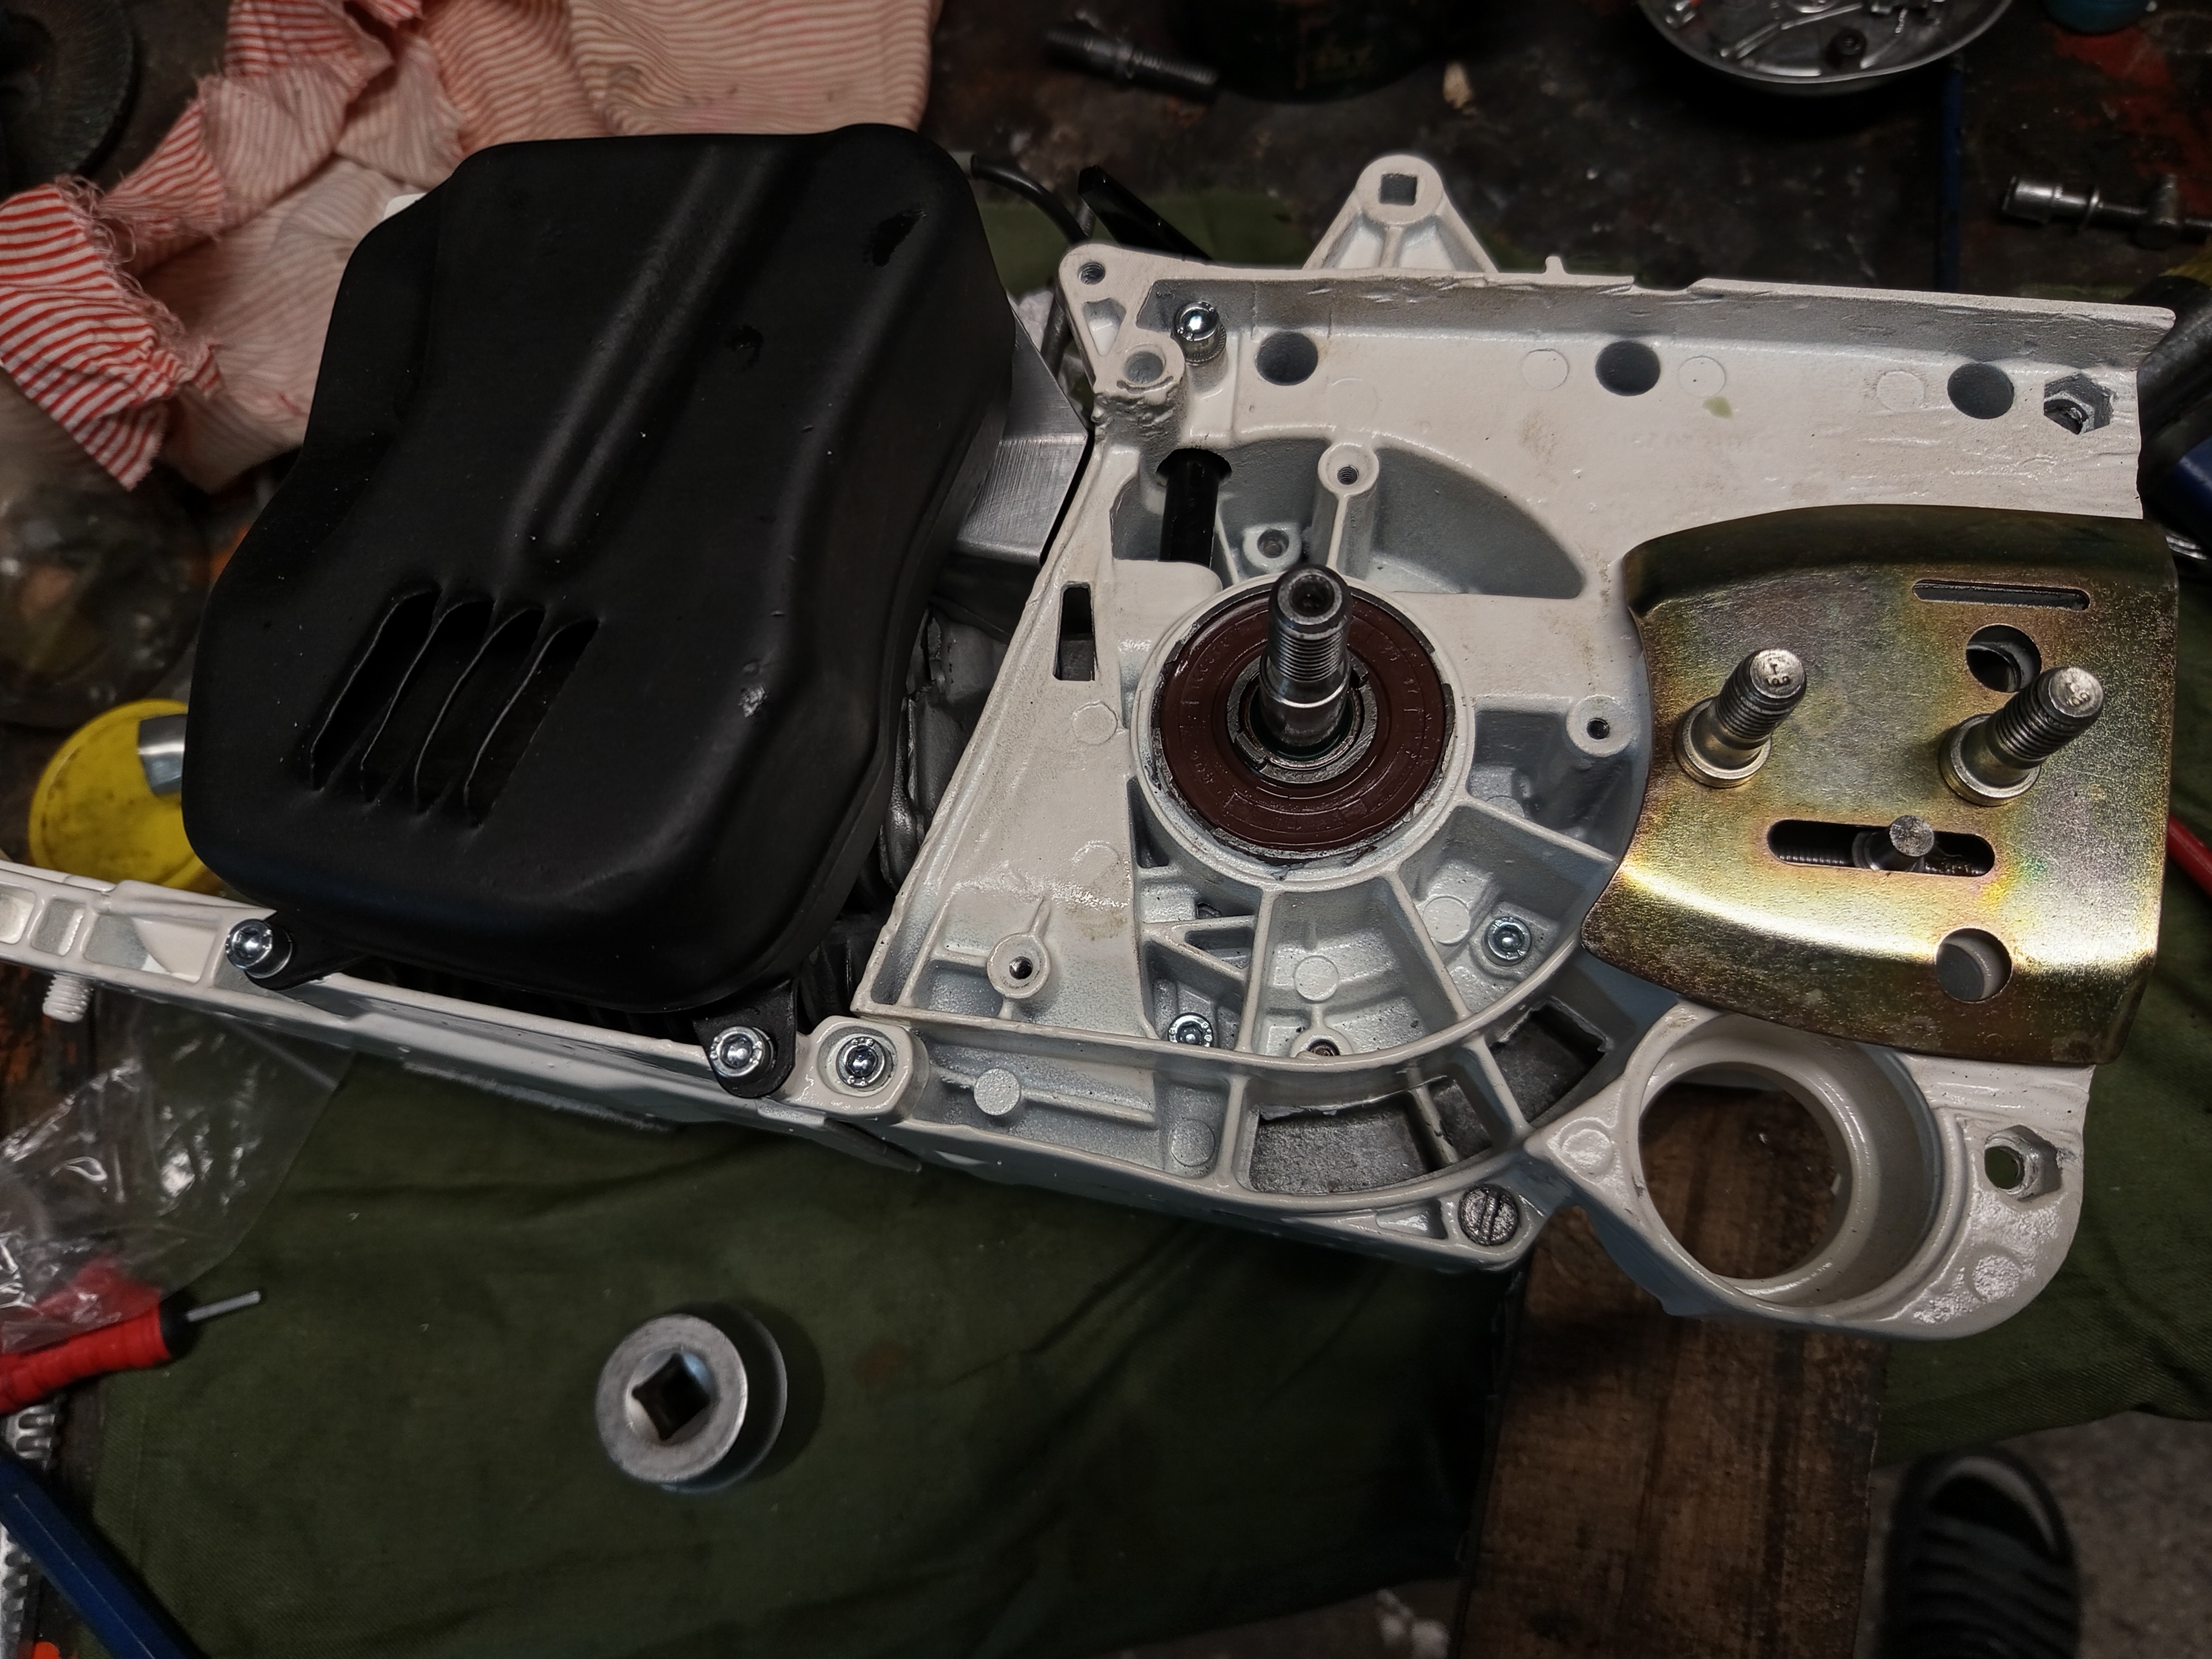
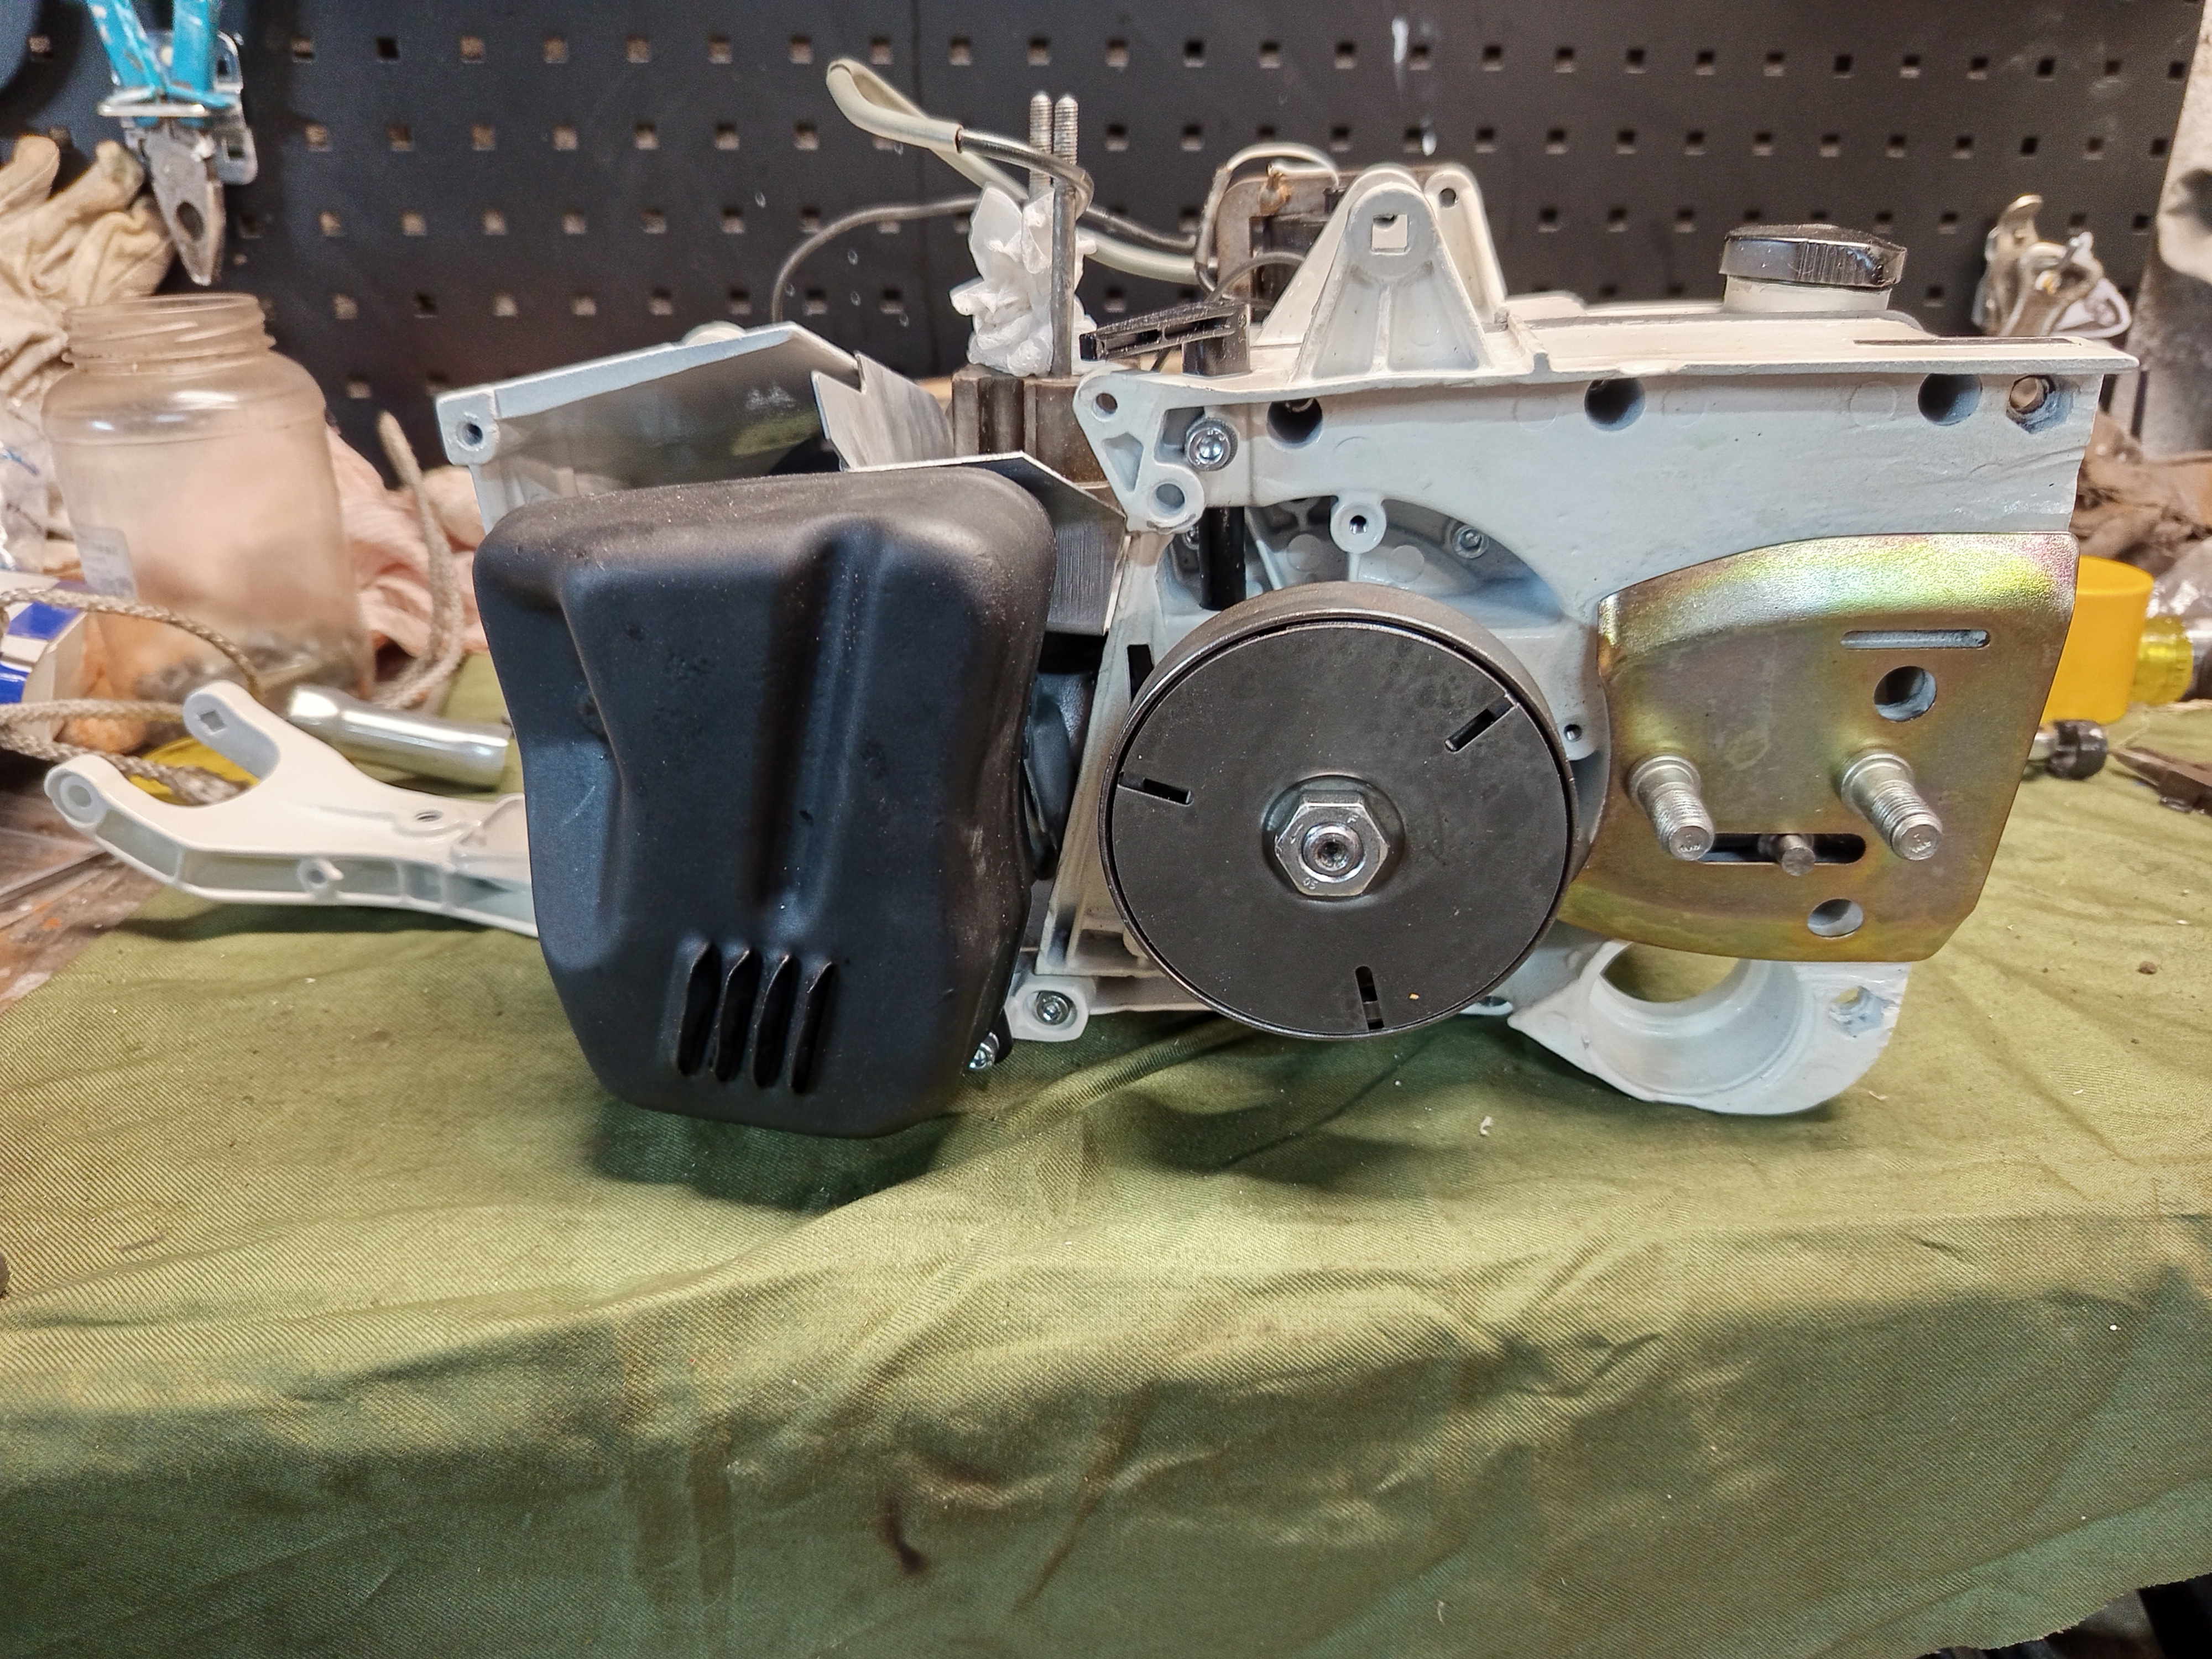
Finally, the best part begins, let’s make a saw from the pile of parts I have. Thankfully mostly everything went back together easily.
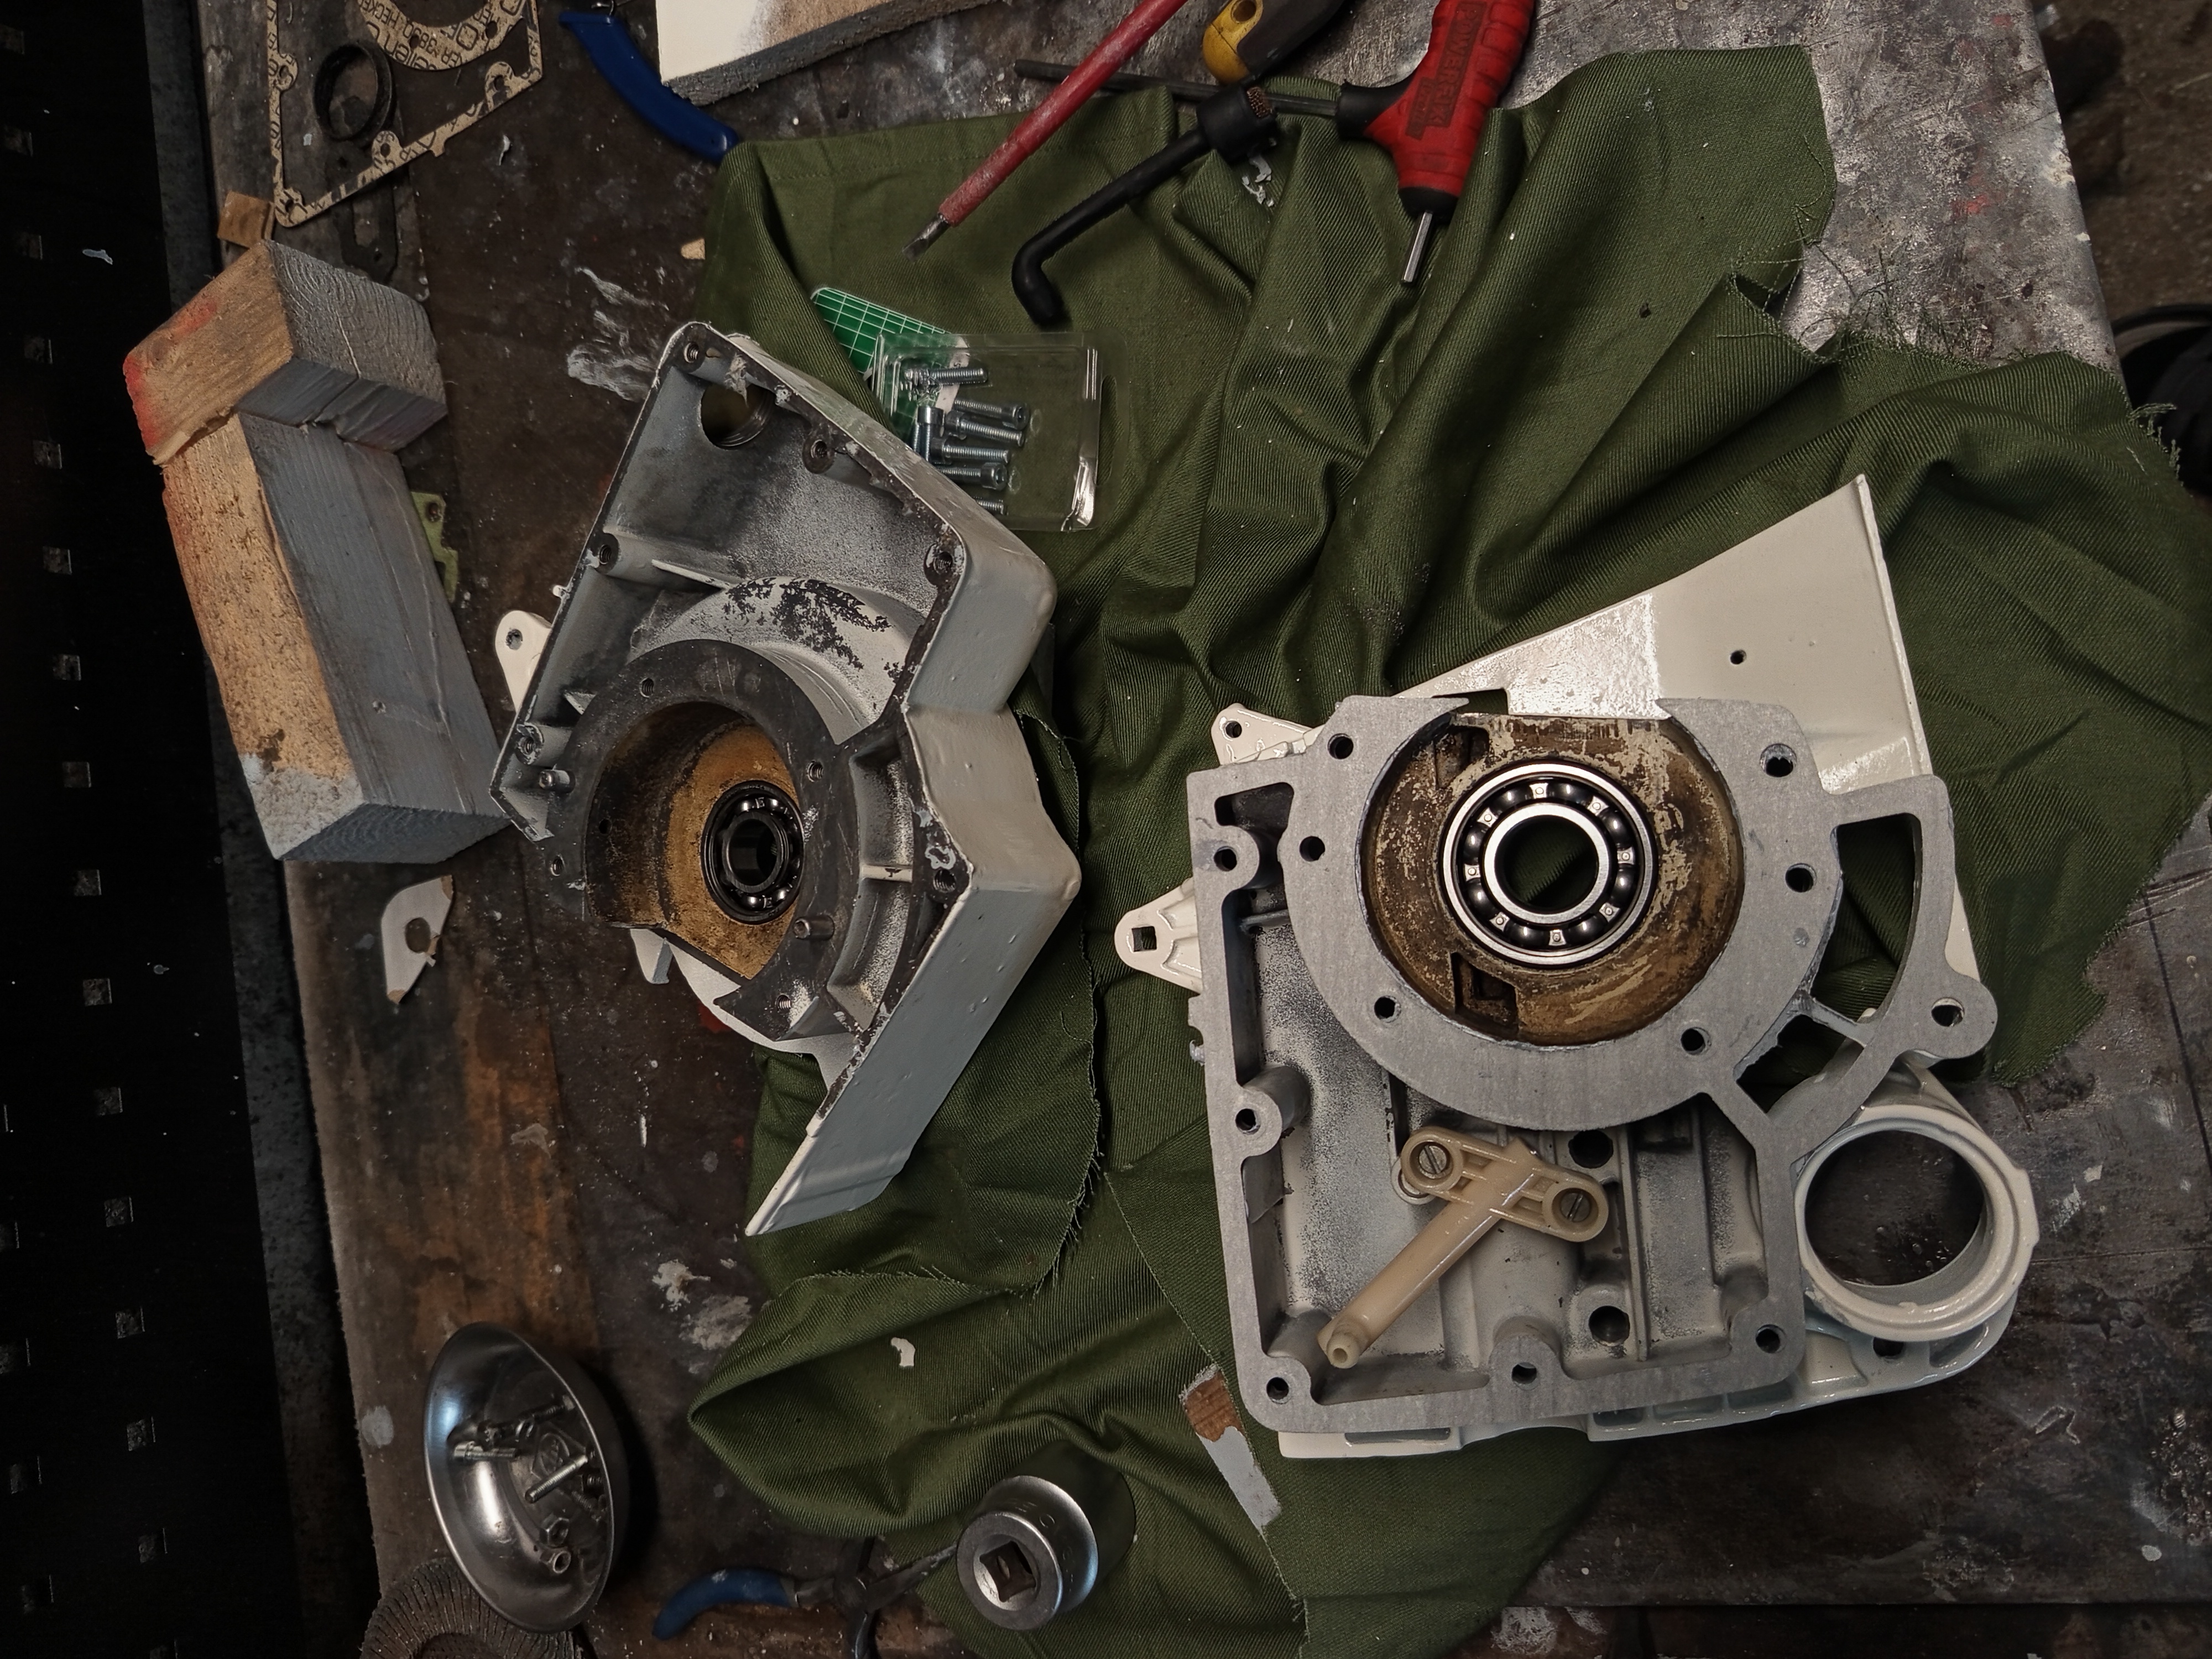
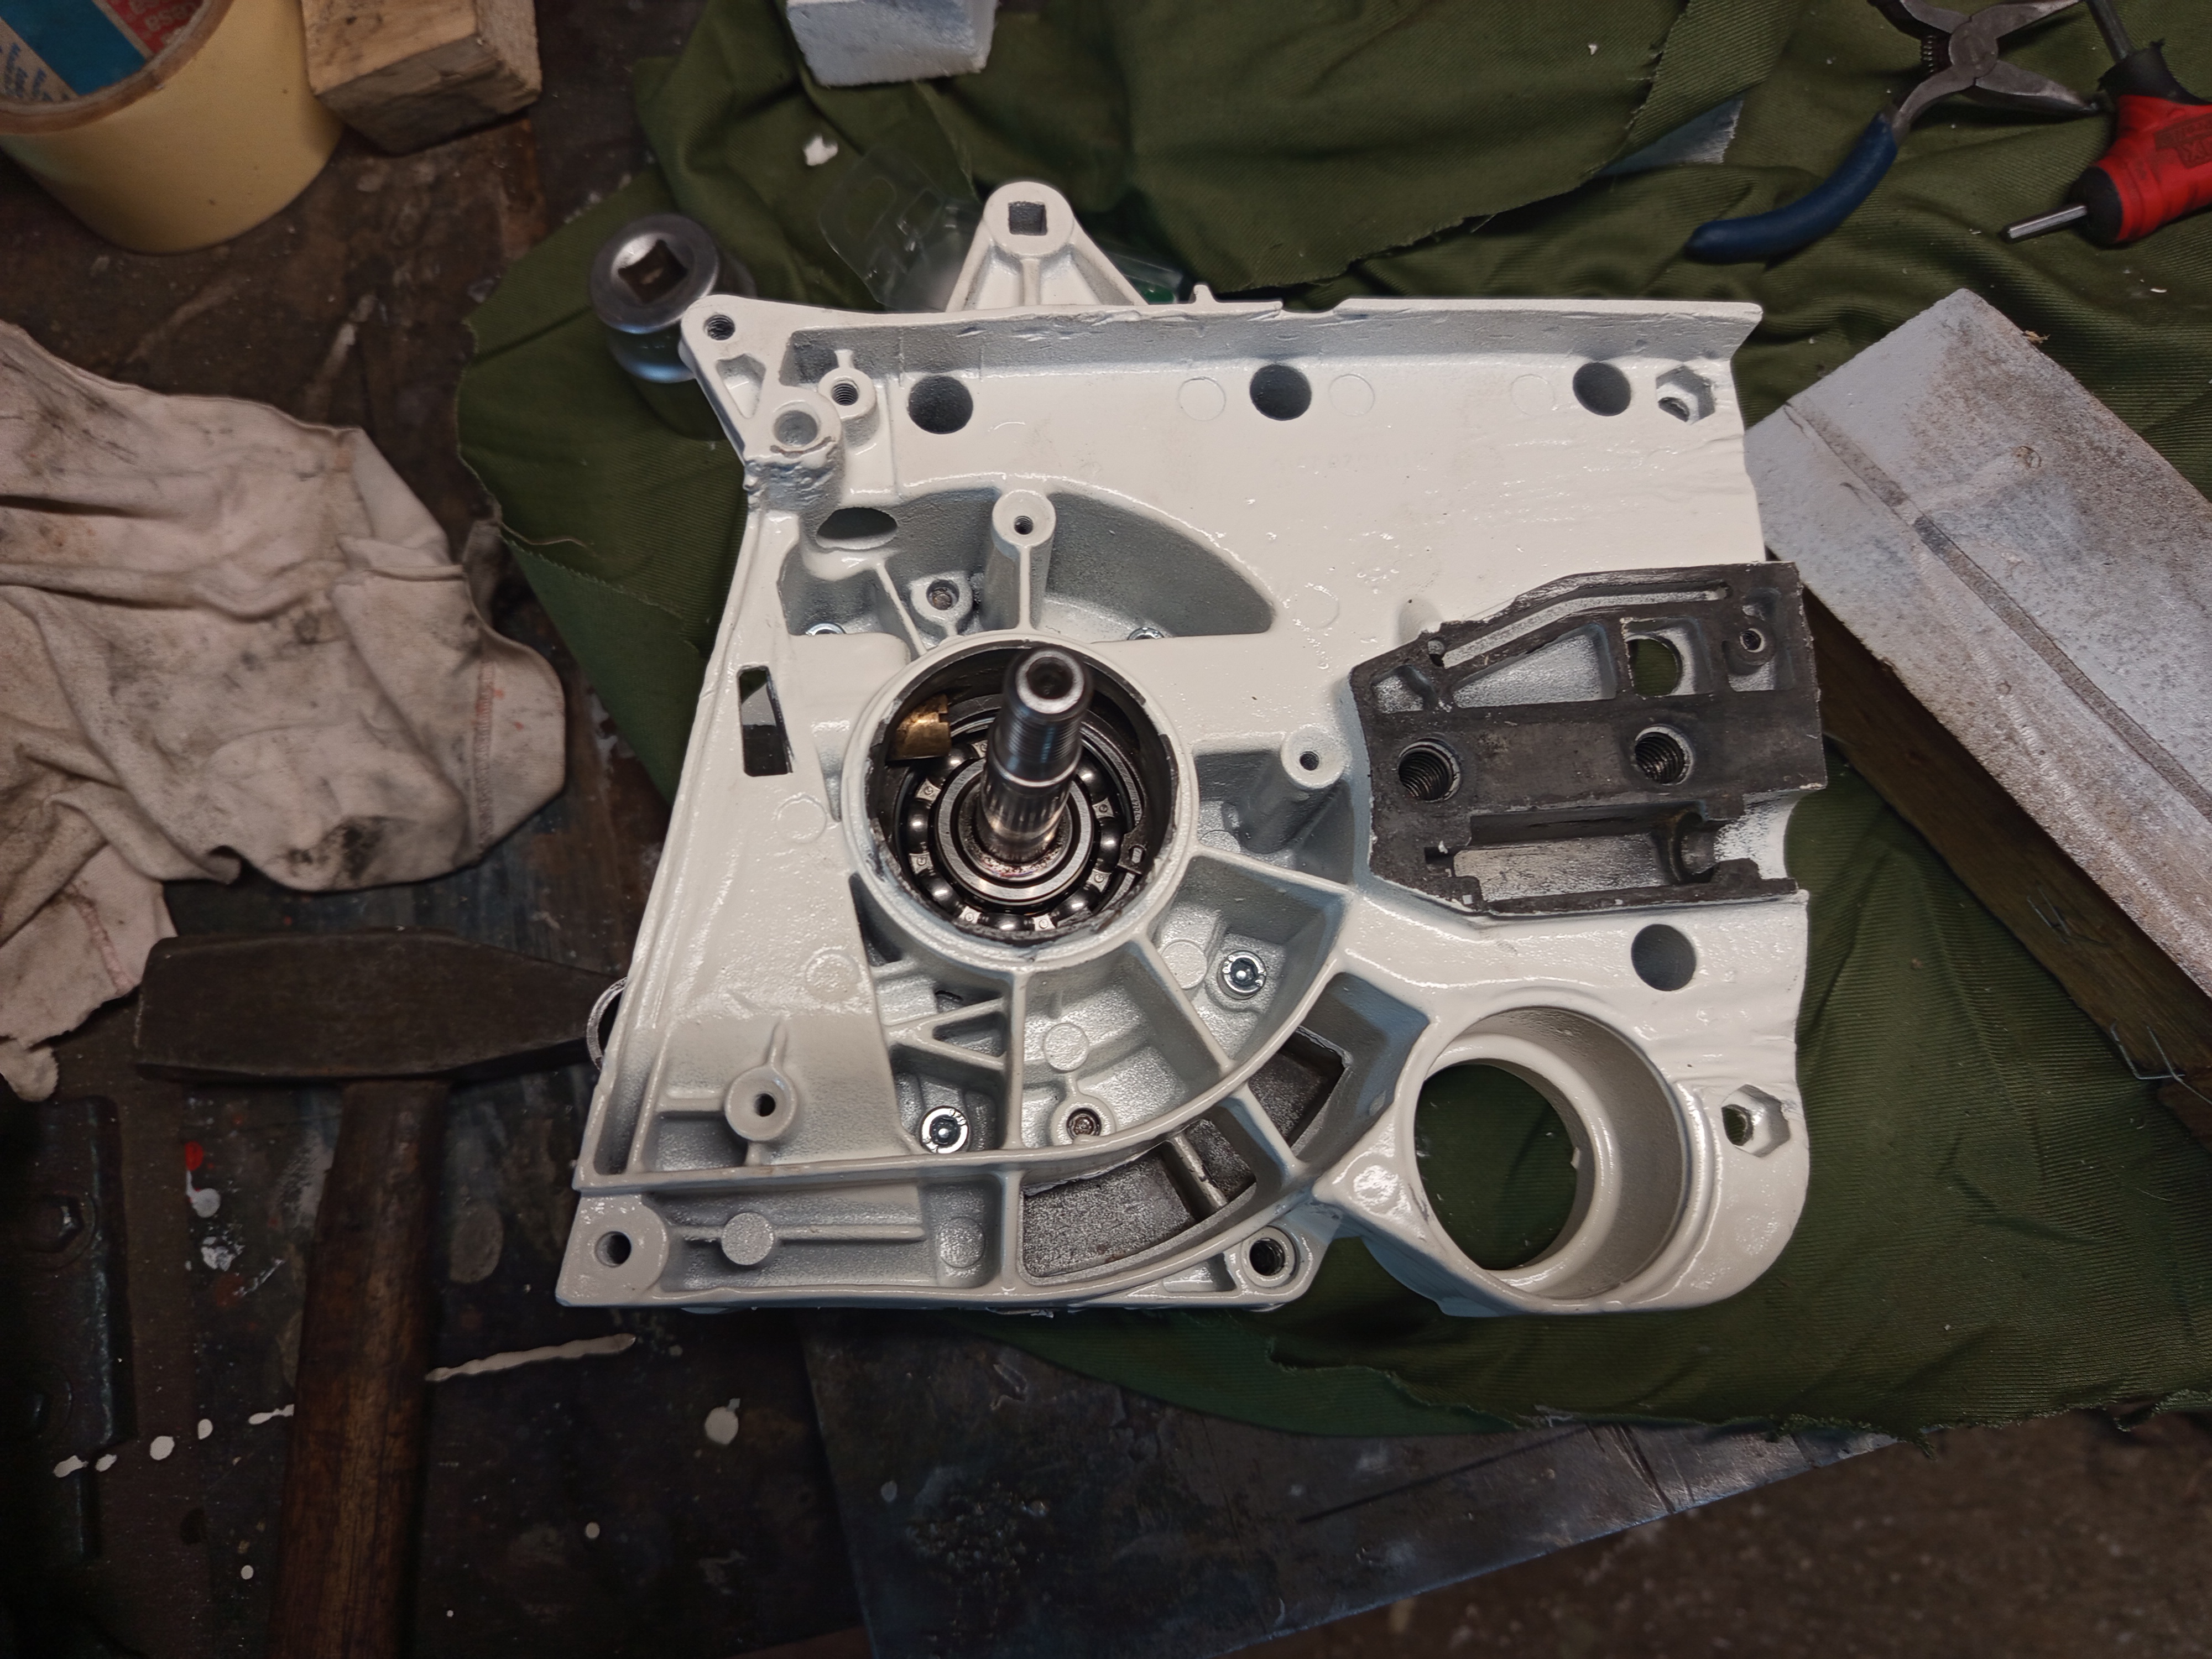
To make it easy and somewhat ‘professional’, I put the crankshaft and the bearings into the freezer until it cooled down properly, this way you can just push the new bearing in by hand into the heated up bearing seats without any hammering or forcing.

After that, heating up the bearings’ inner ring, the crankshaft goes in just as easily. Nothing much to it, just have everything at hand at this point, to quickly assemble until the proper thermal expansion lasts.
And don’t forget to install the oil hose and its connector before putting together the crankcase, like I almost did.
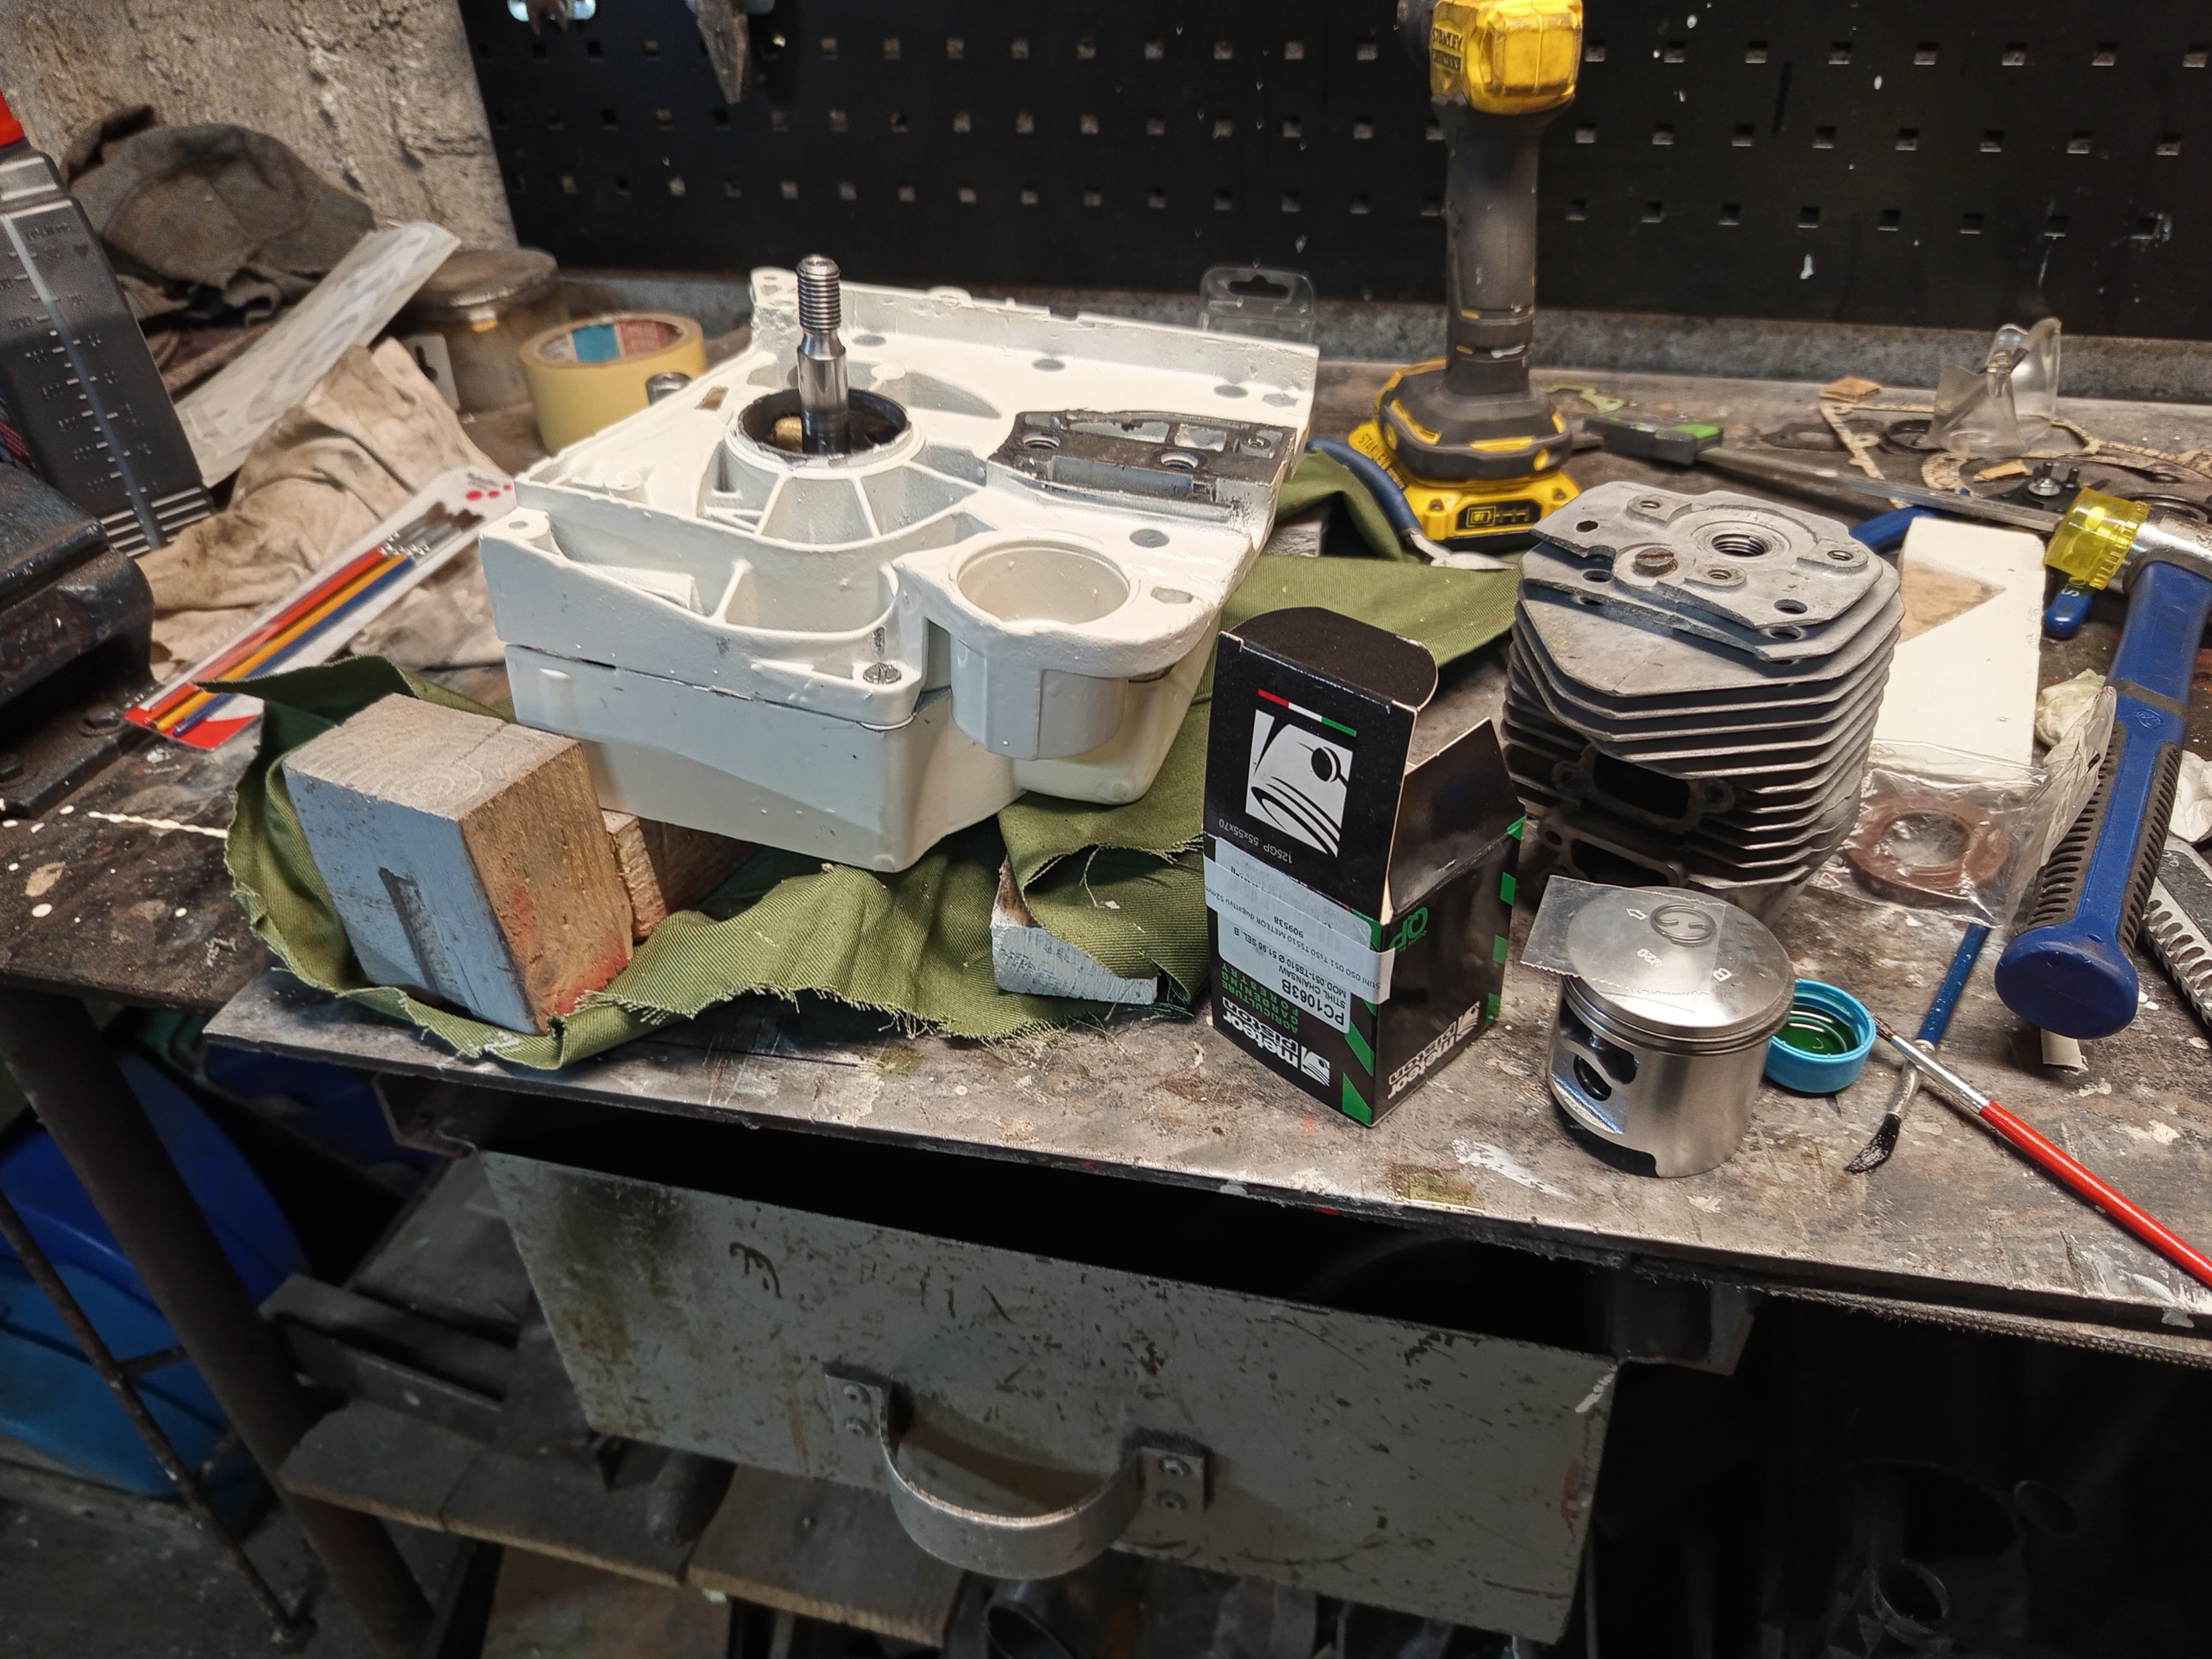
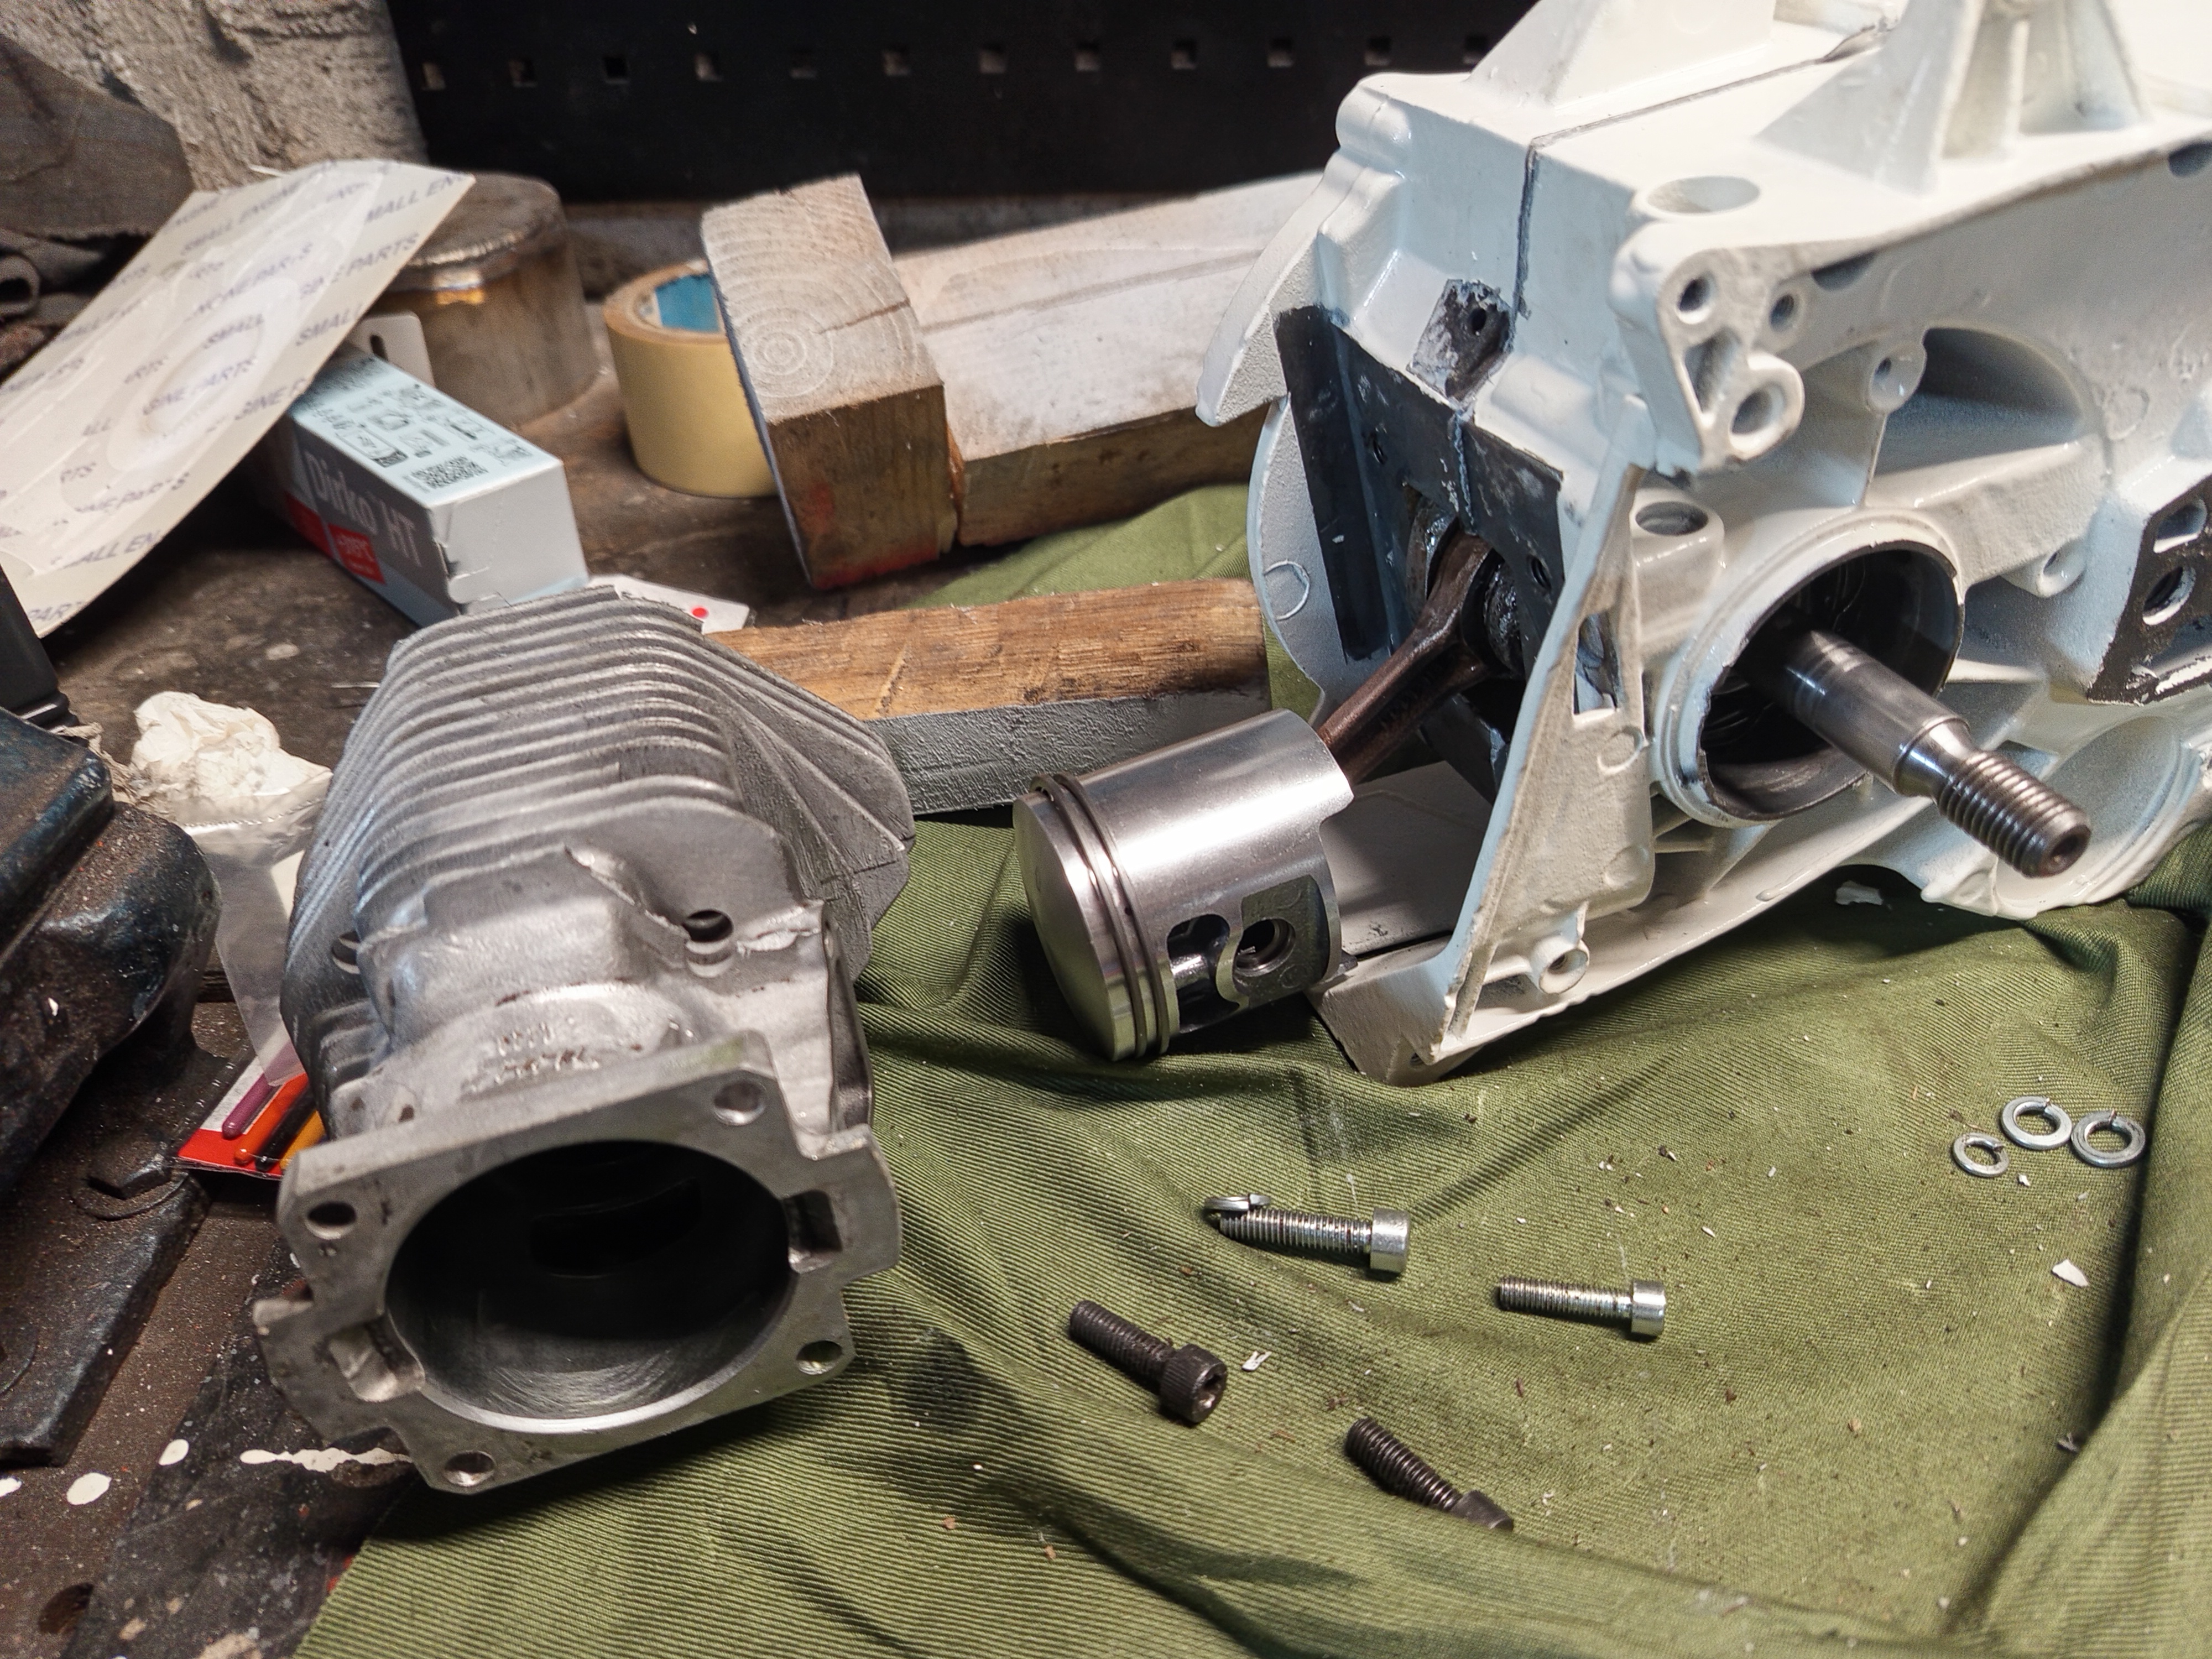
Even though the original piston didn’t look too worn out, I decided to replace with a new Meteor piston. Apart from that, nothing much exiting really, just putting everything back to where it’s supposed to be. :)
That new chain tensioner looks nice by the way. :)

For the screw that positions the oil pump adjuster that had to be drilled out, I simply cut an M5 screw to lenght, removed the thread from its end, and it fit nicely.

As a good measure I replaced these two M5 nuts with self locking ones, I might be paranoid, but these two small nuts right next to the intake look like a disaster waiting to happen.

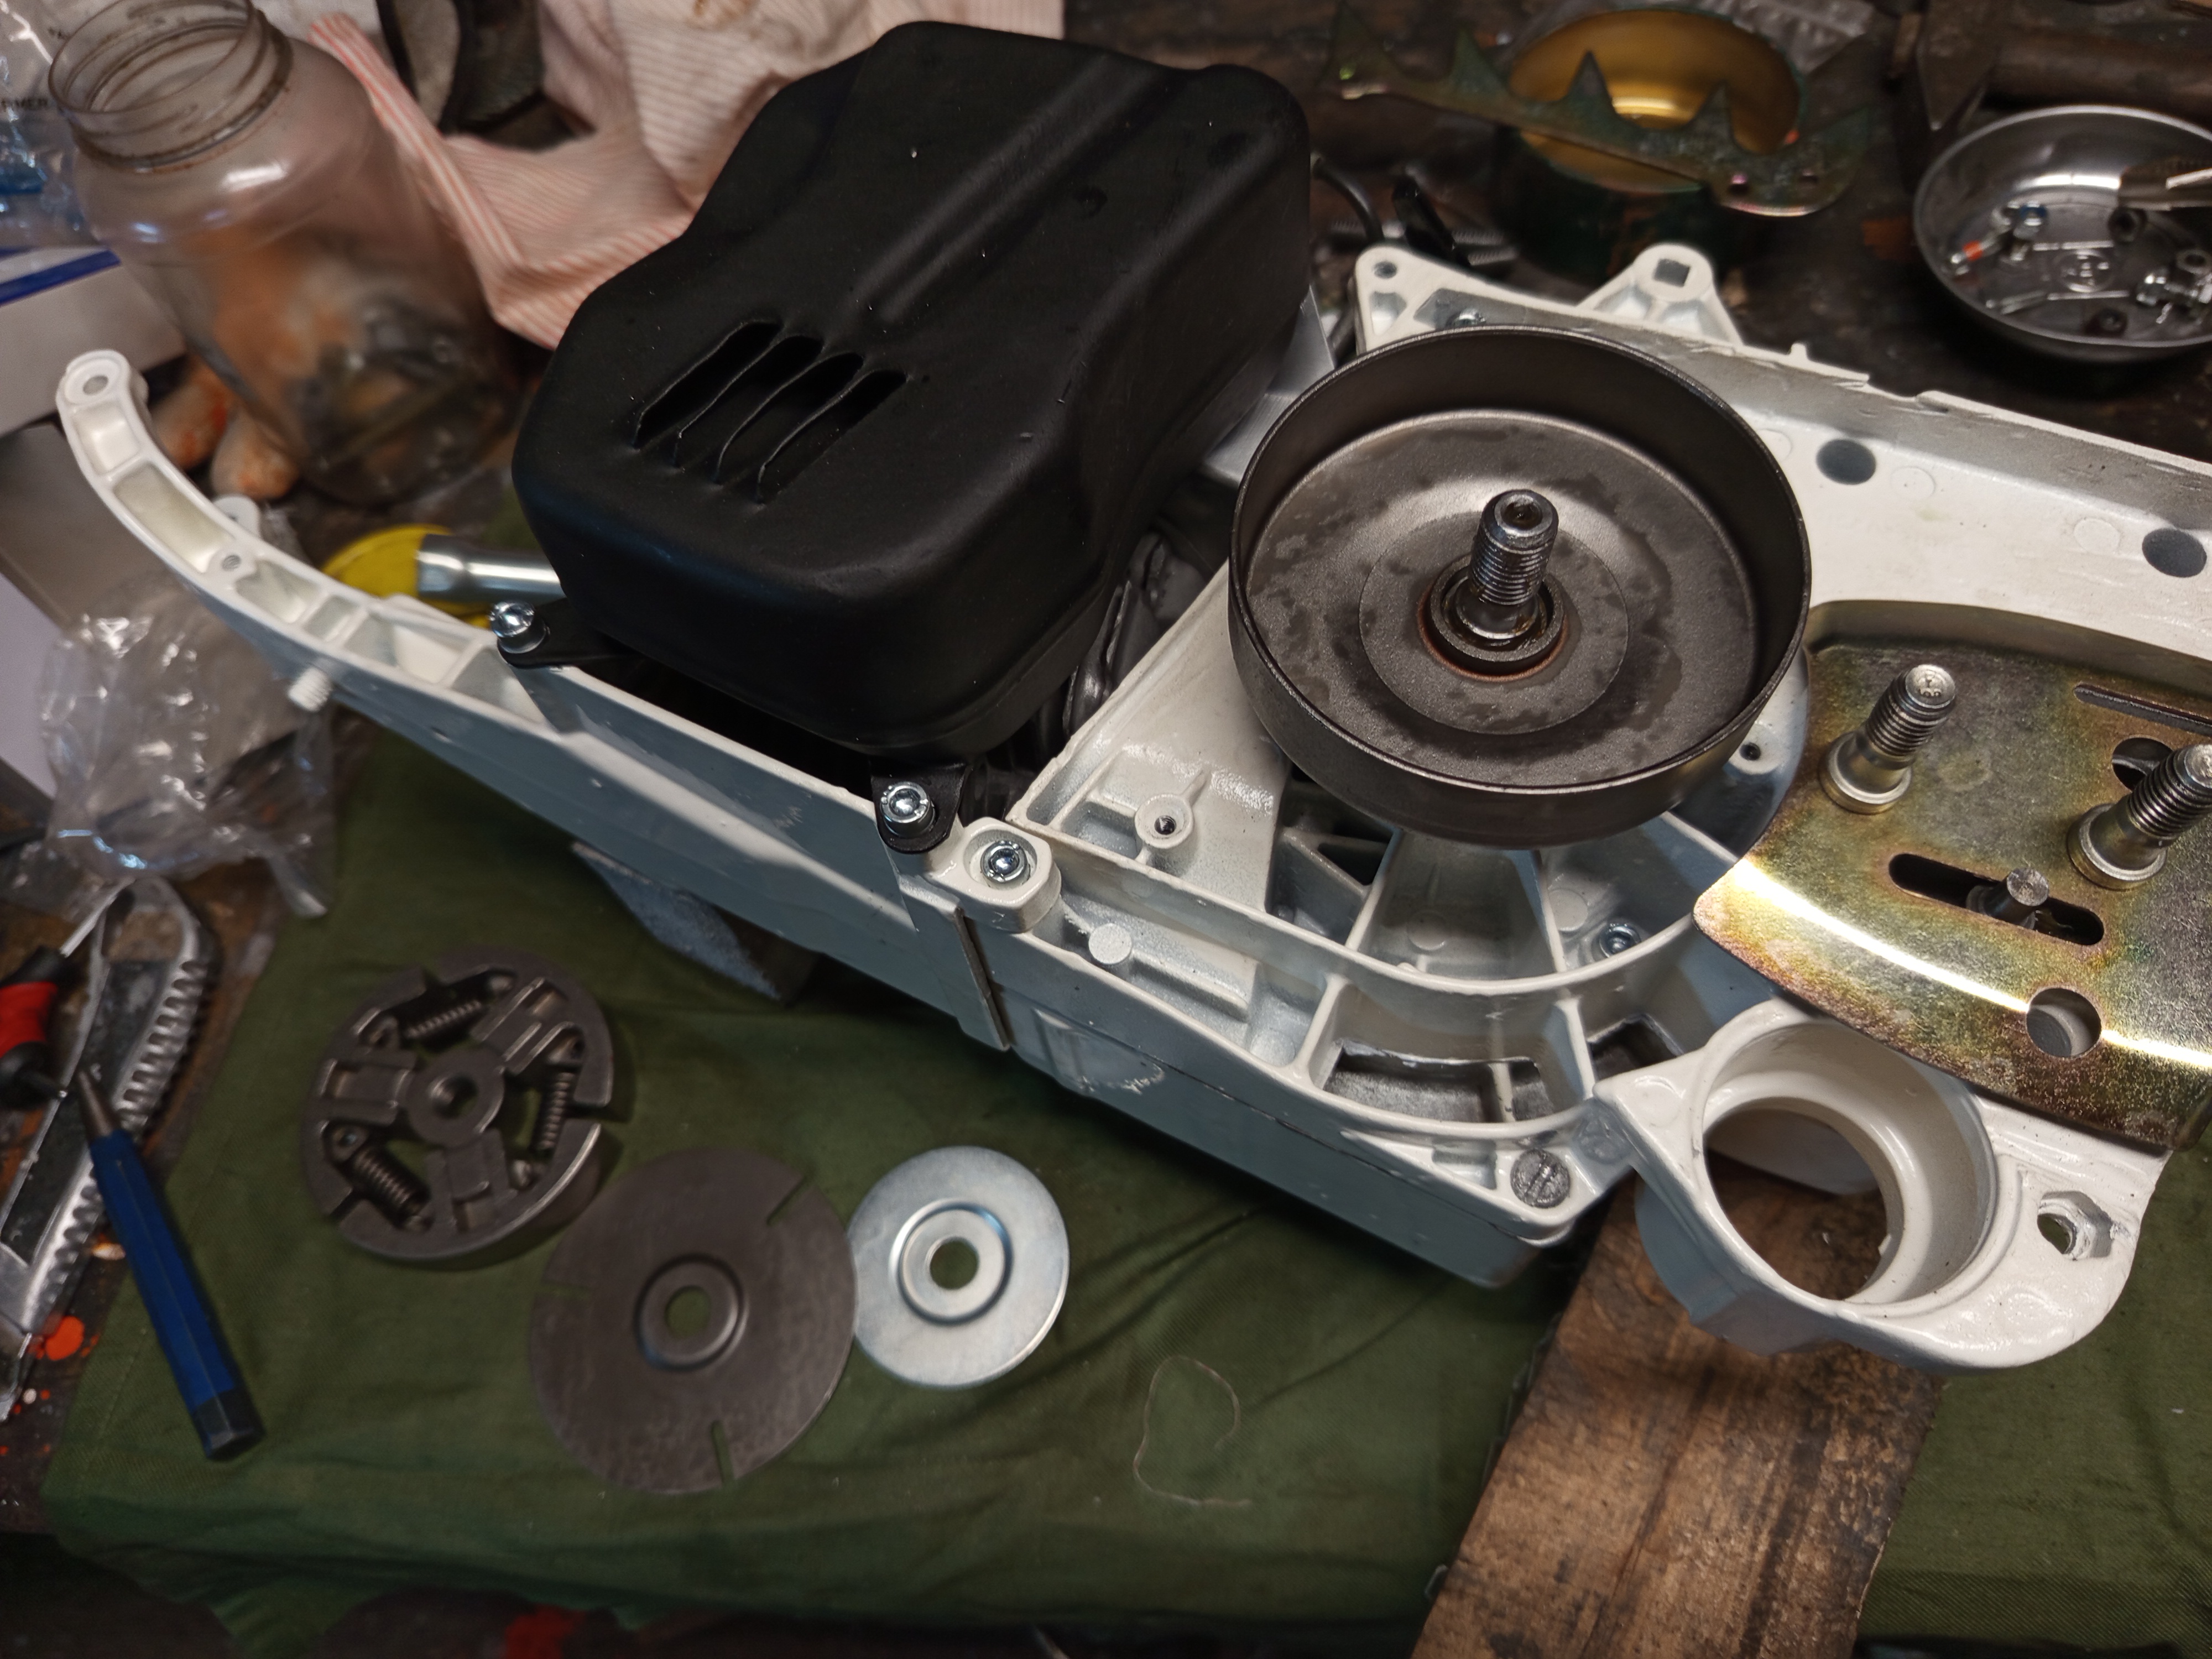
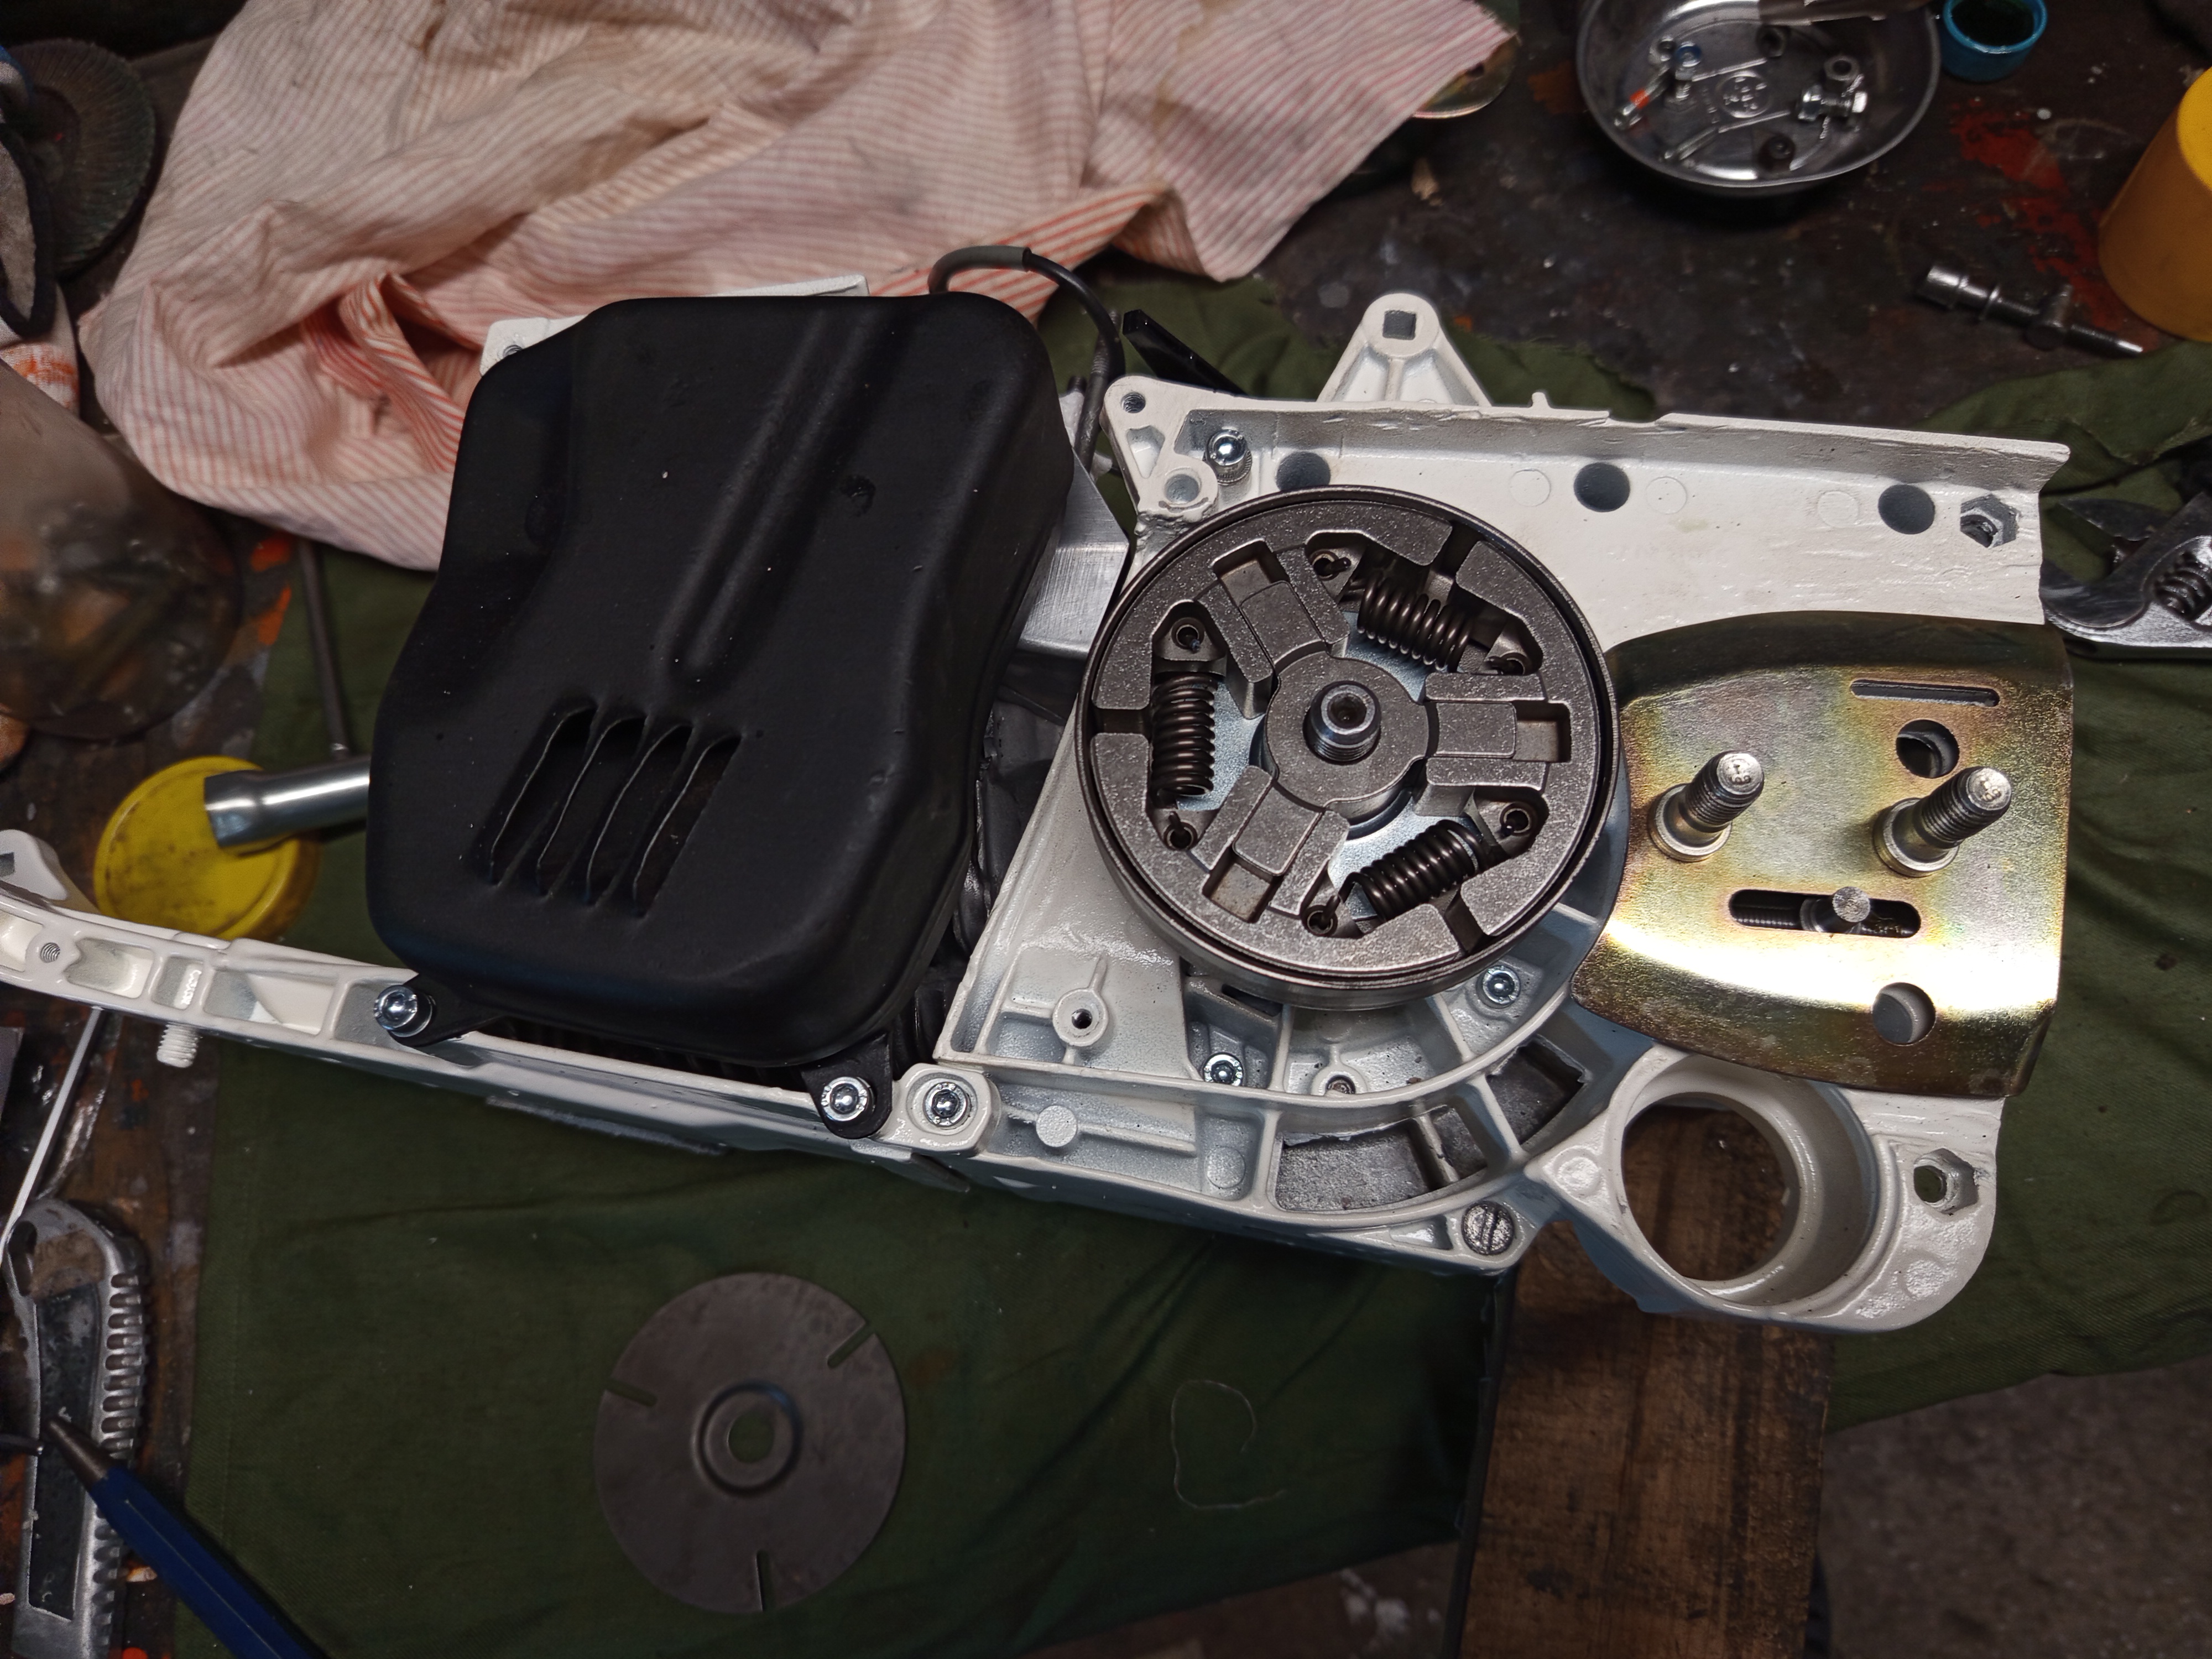
The only main part that actually had to be replaced is the clutch, besides that, only a few small thing like the studs, the plates, carb diaphragms, rubber mounts etc.
And yes, I forgot to put back the cover plate behind the clutch for the first time. :)
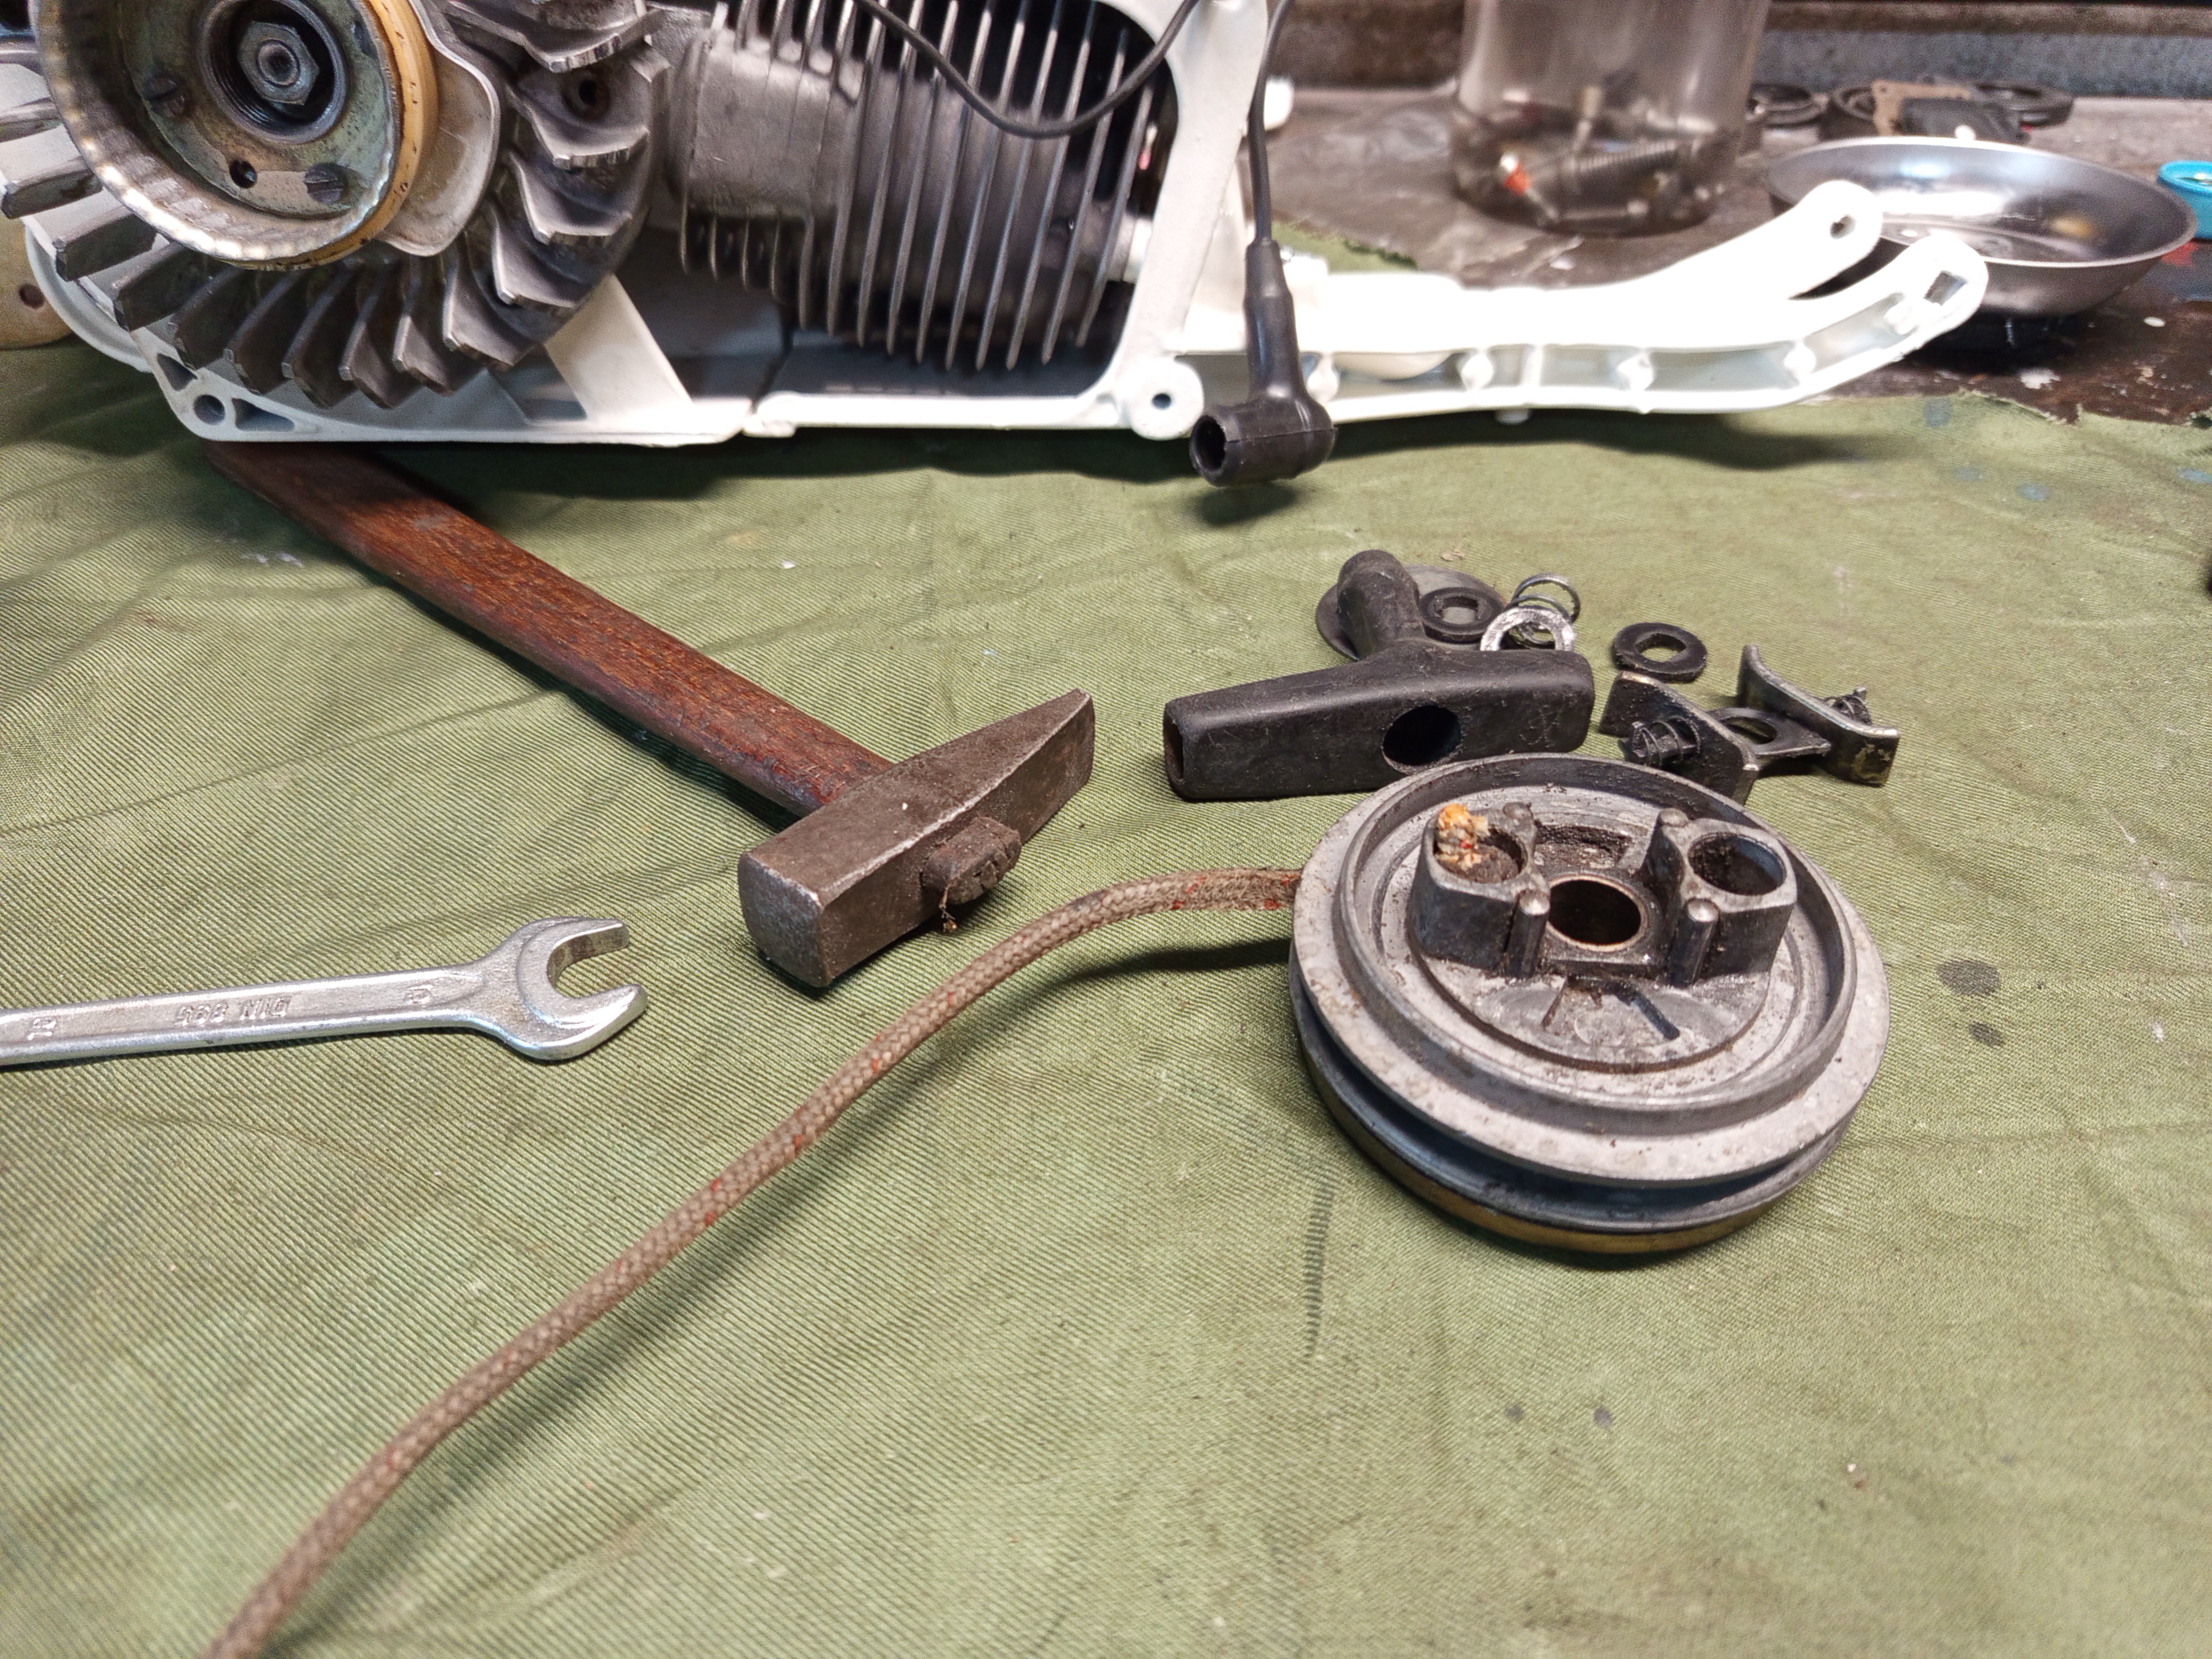
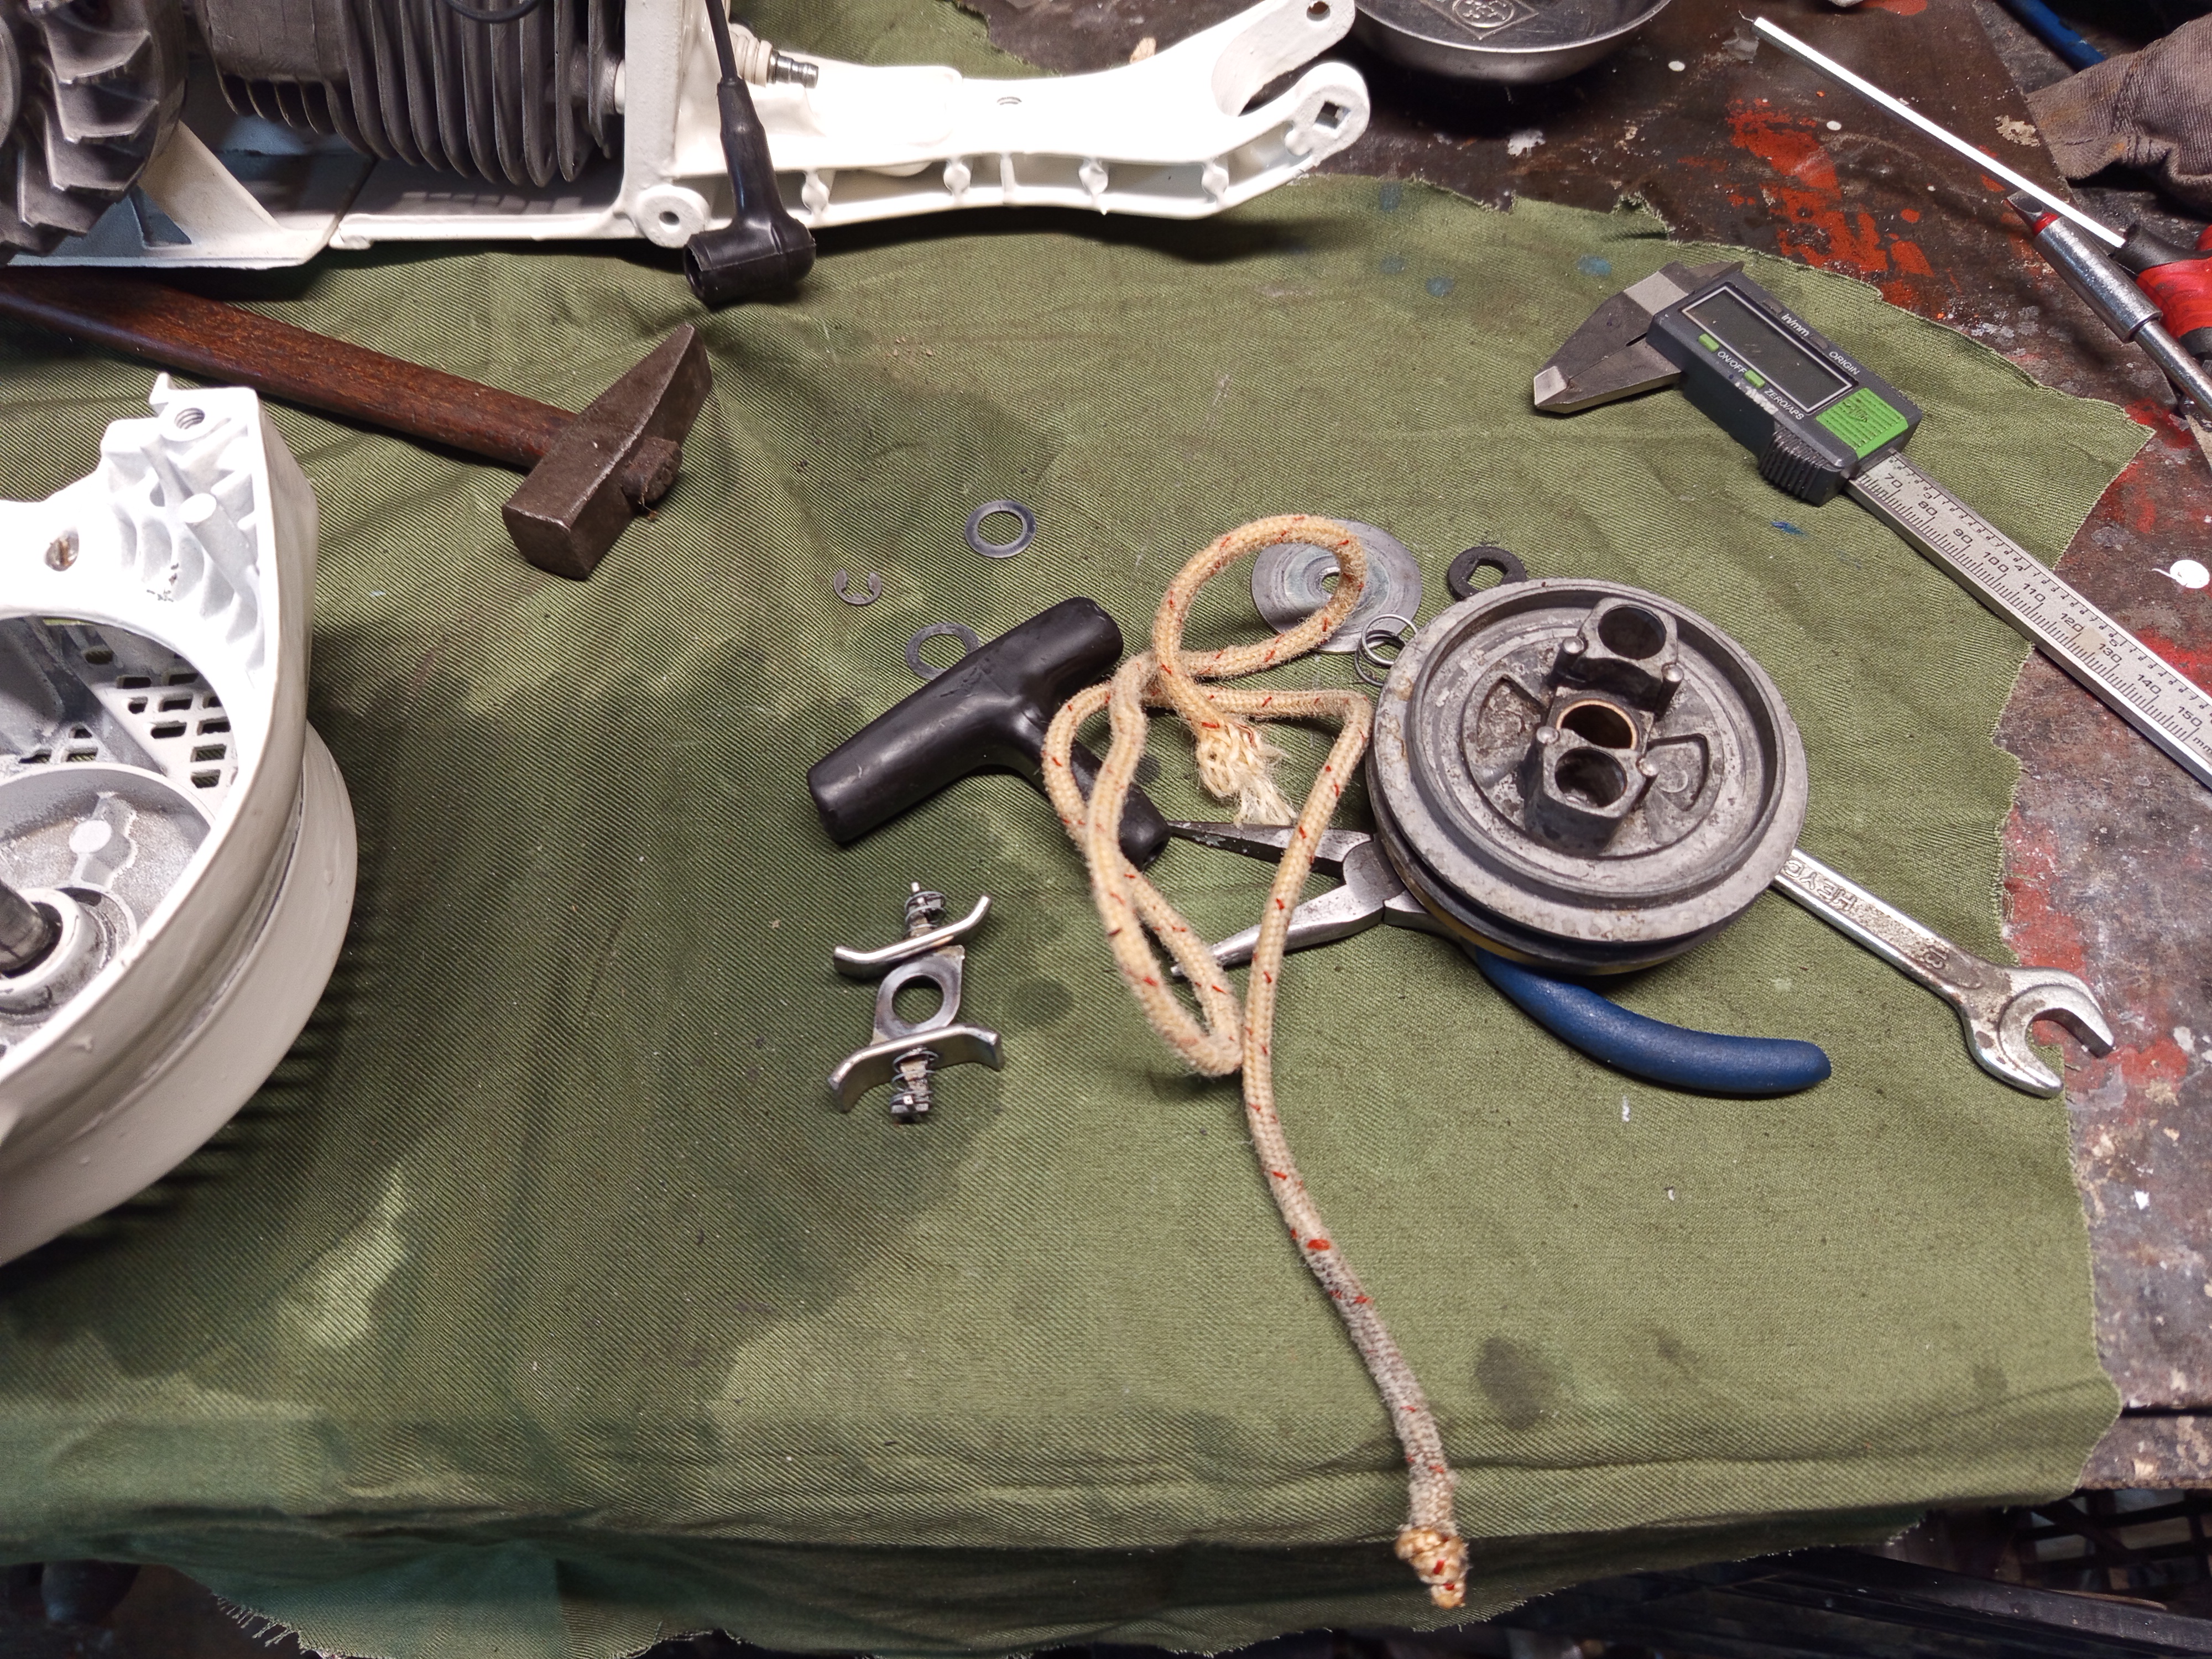
The slippery starter
The only thing that caused a bit of a struggle is the starter. The starter pawls did not catch into the cup, reassembled it multiple times, but no luck. Seemingly it worked as needed, but always slipped, which is interesting as it operated with no problem before.
As a last try I saw someone recommending flipping the pawls, and it did the trick! I don’t really understand why, because I didn’t take apart this assembly before, but anyway, it works nicely now.
The excitement is real
At this point it was ready to be started, and thankfully it fired up with it’s brutal sound! Plus the adjustable oil pump also worked as intended.
As I mentioned before, the kill switch was dead on this machine when I bought it, and after rebuilding it with a new switch, it still did not stop. However after looking at it, I measured an unreasonably high resistance on the switch, some contact cleaner solved this problem.
A few more finishing touches, and this beast will shine in its former glory again!