Stihl 051 AVL 2. - Taking it apart
The fun begins
Let’s actually start this project! But before doing that, I want to point out that I’m not a professional repair man, it’s just a hobby project for me.
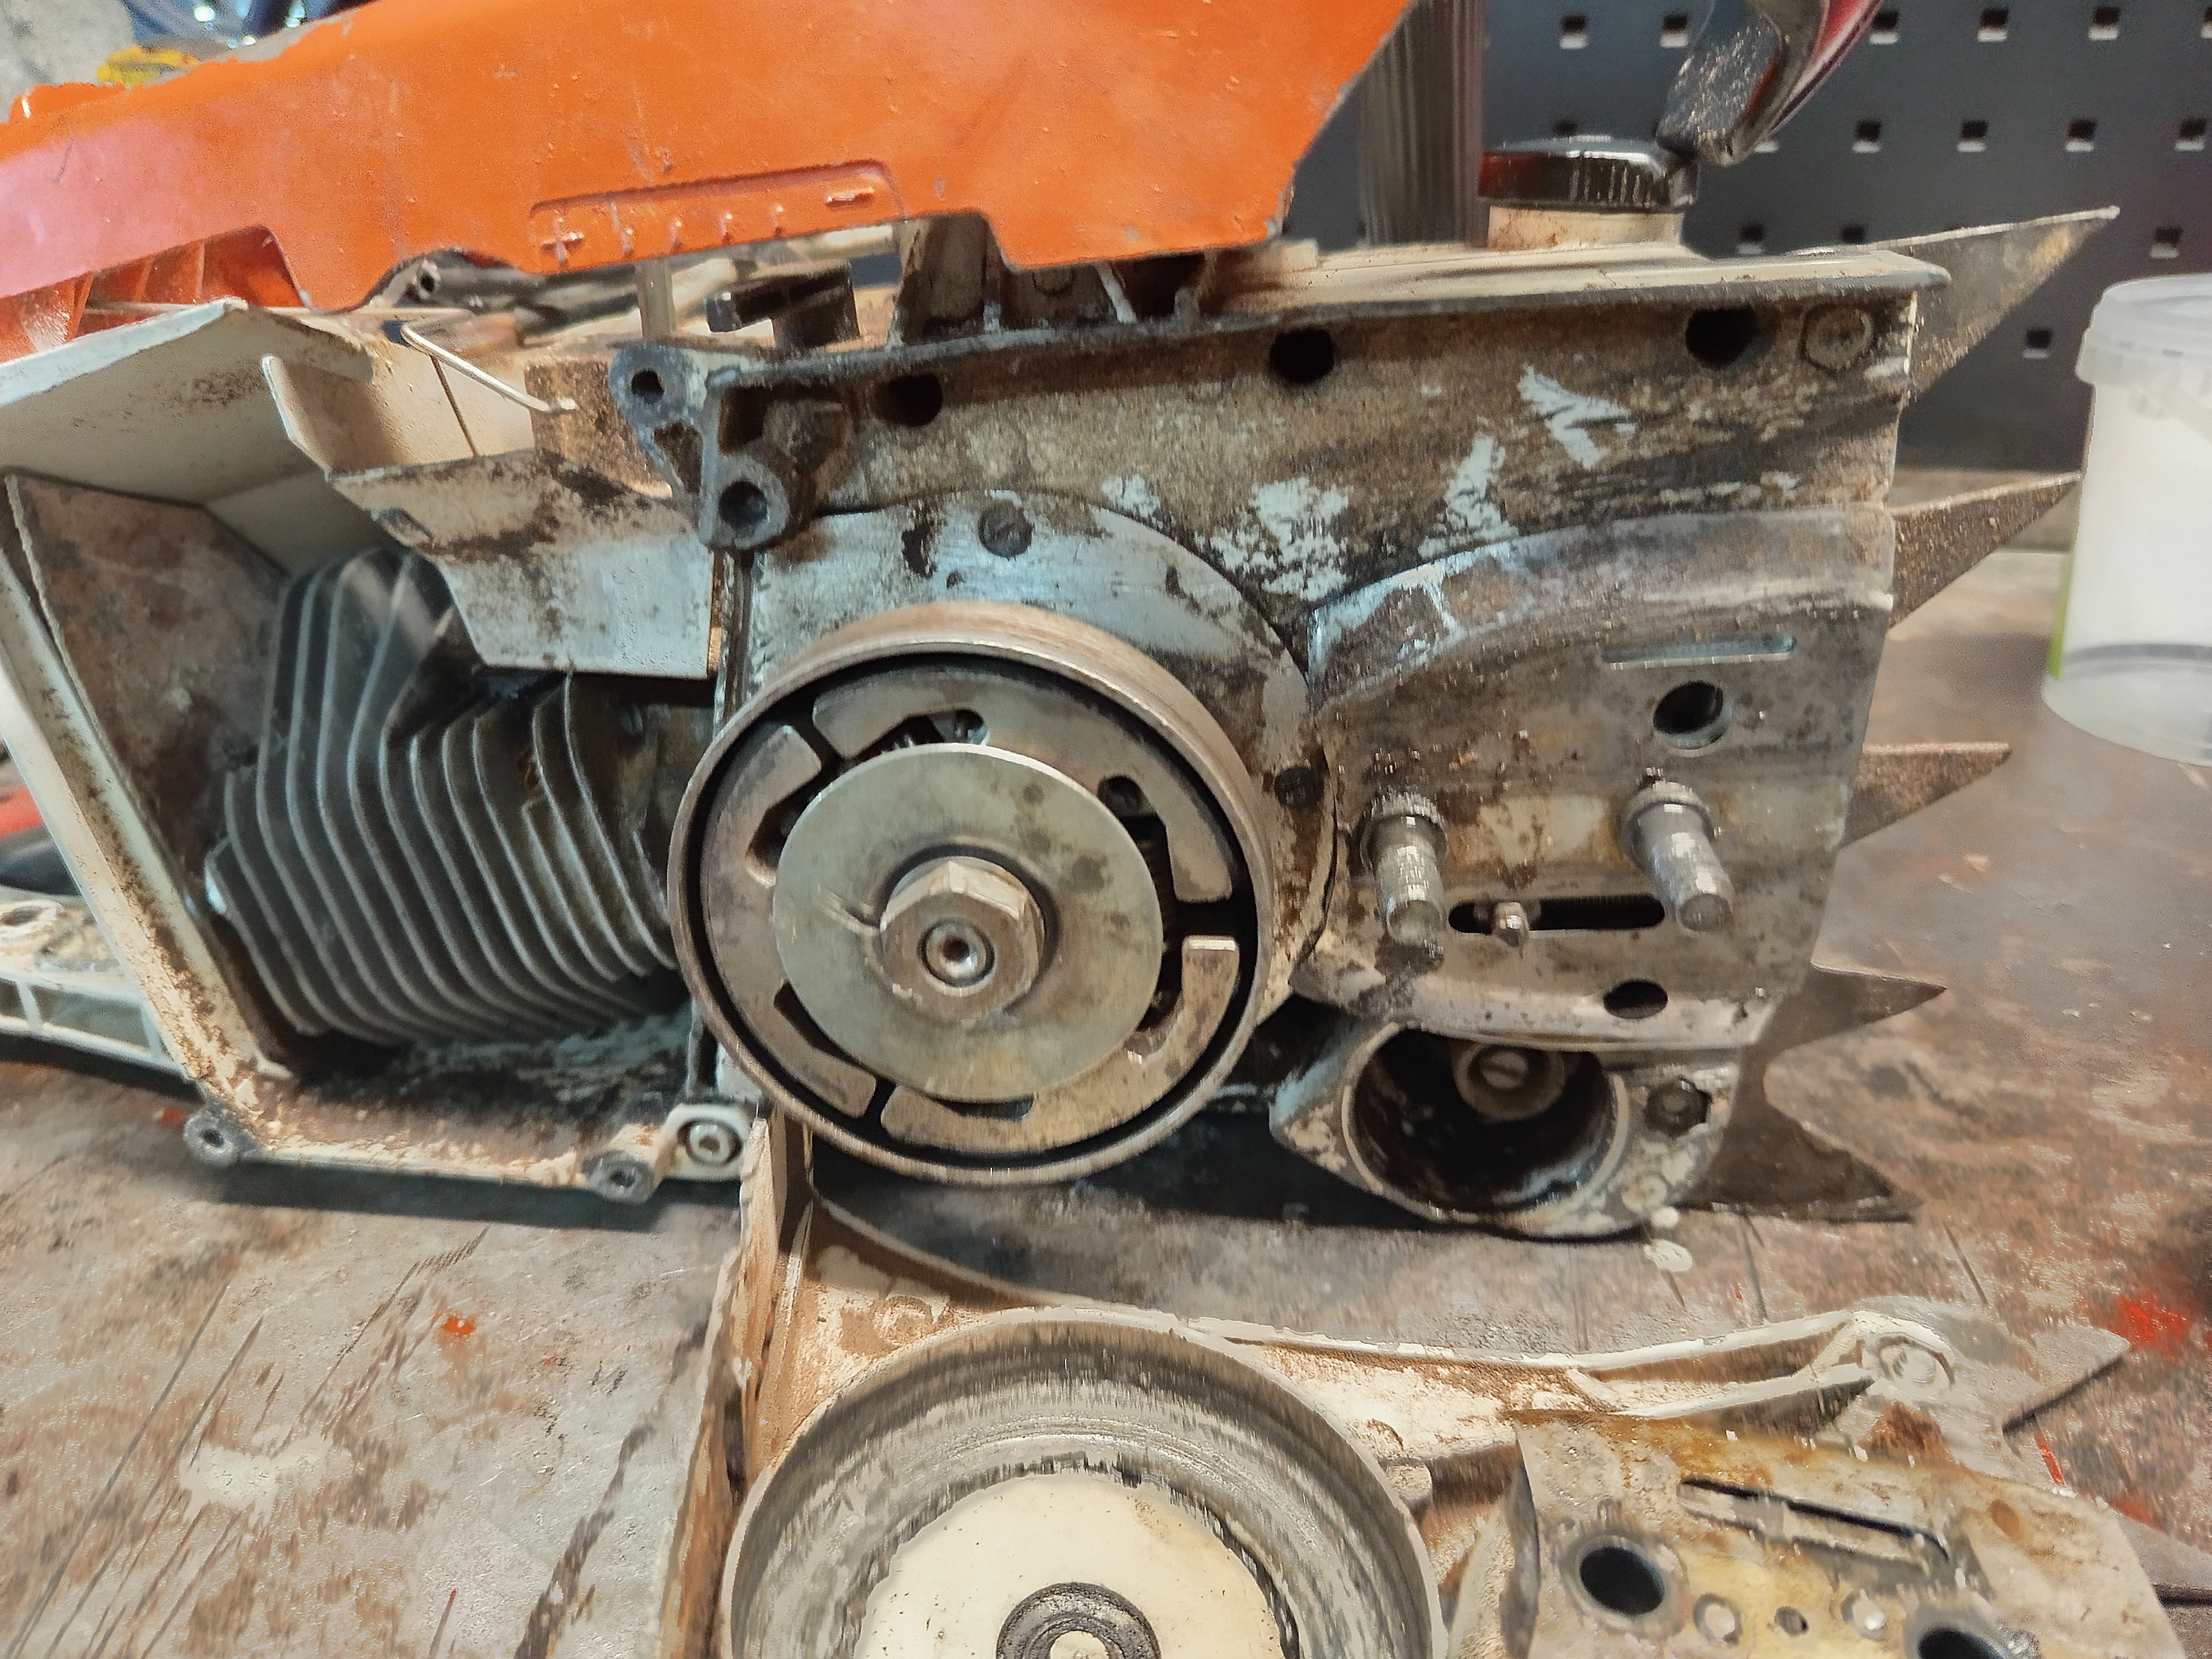
I want to completely tear it down, and look at every part of the saw. Taking it apart is a bit interesting, there are a mix of every kind of screws which is not that surprising in itself considering the age of the machine. However there are some brand new ones, and the carburetor is quite clean compared to the other parts, and it’s not an original Tillotson but some kind of aftermarket one, but if it works then it’s fine for me. It looks like someone already started to fix up this thing, but stopped at halfway.

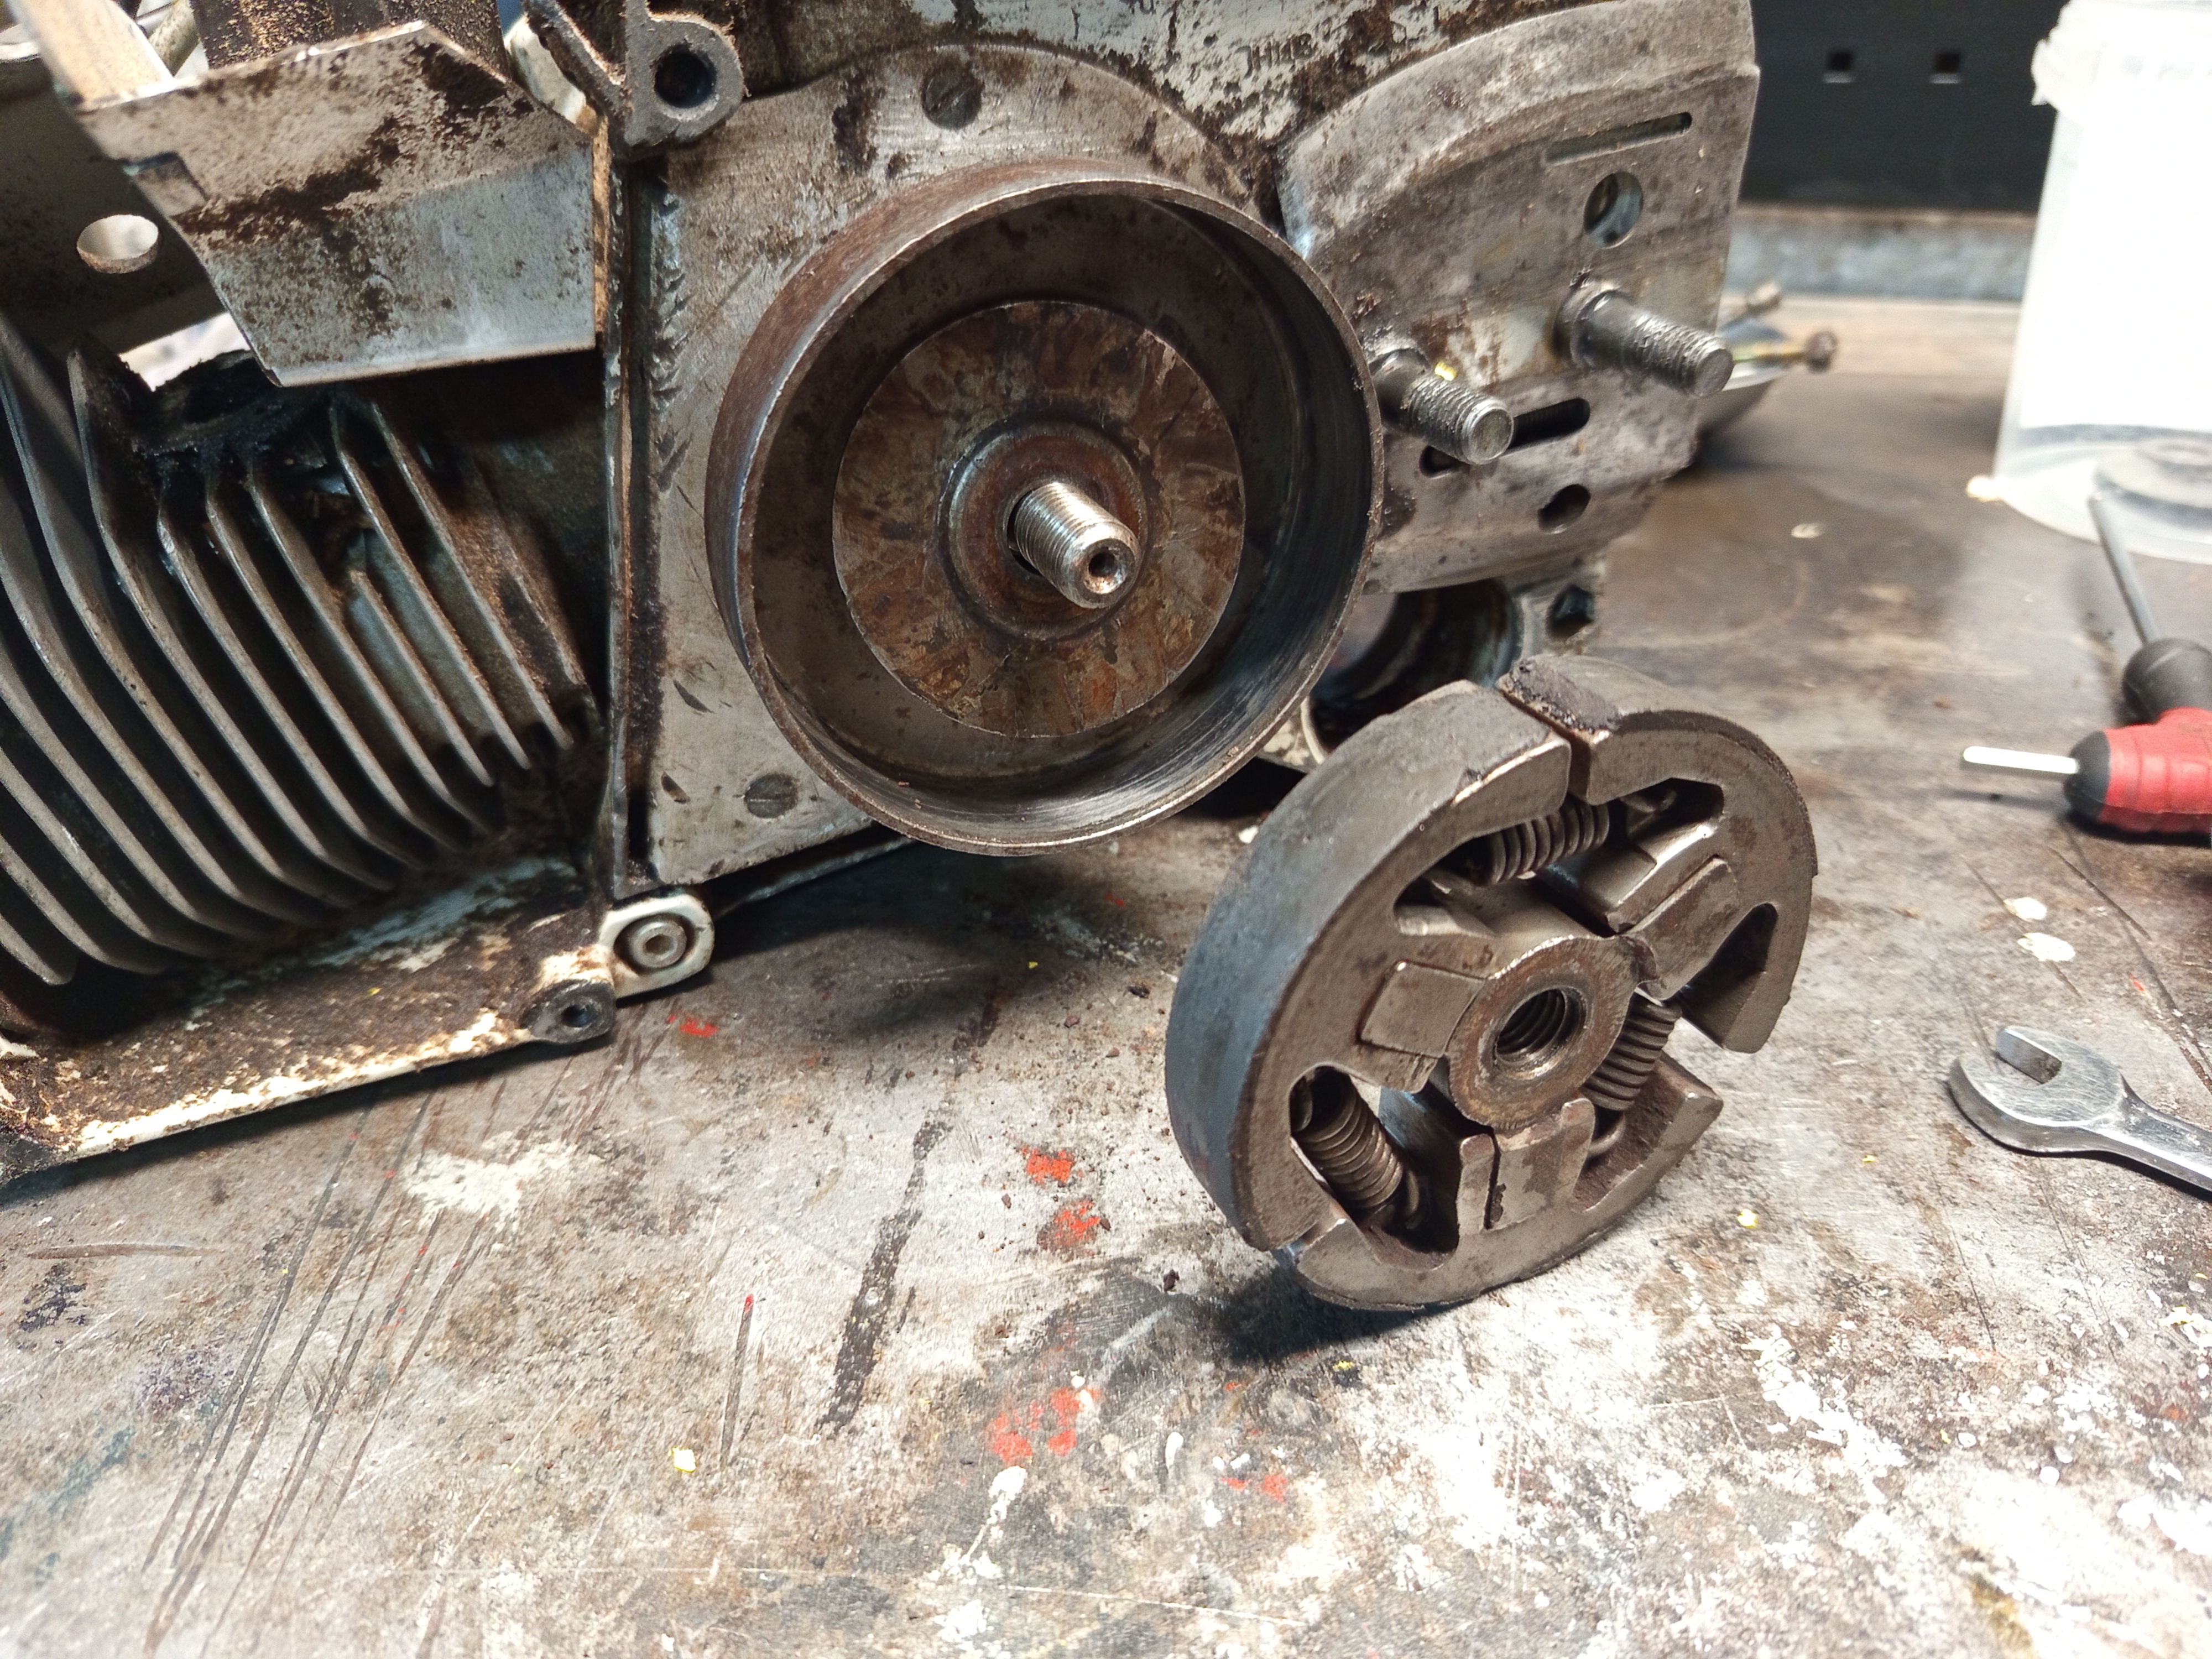
The clutch is quite worn and probably needs to be replaced0 I’m not sure about that large washer (plate?), it doesn’t look like an original one (last image), according to the exploded diagram.
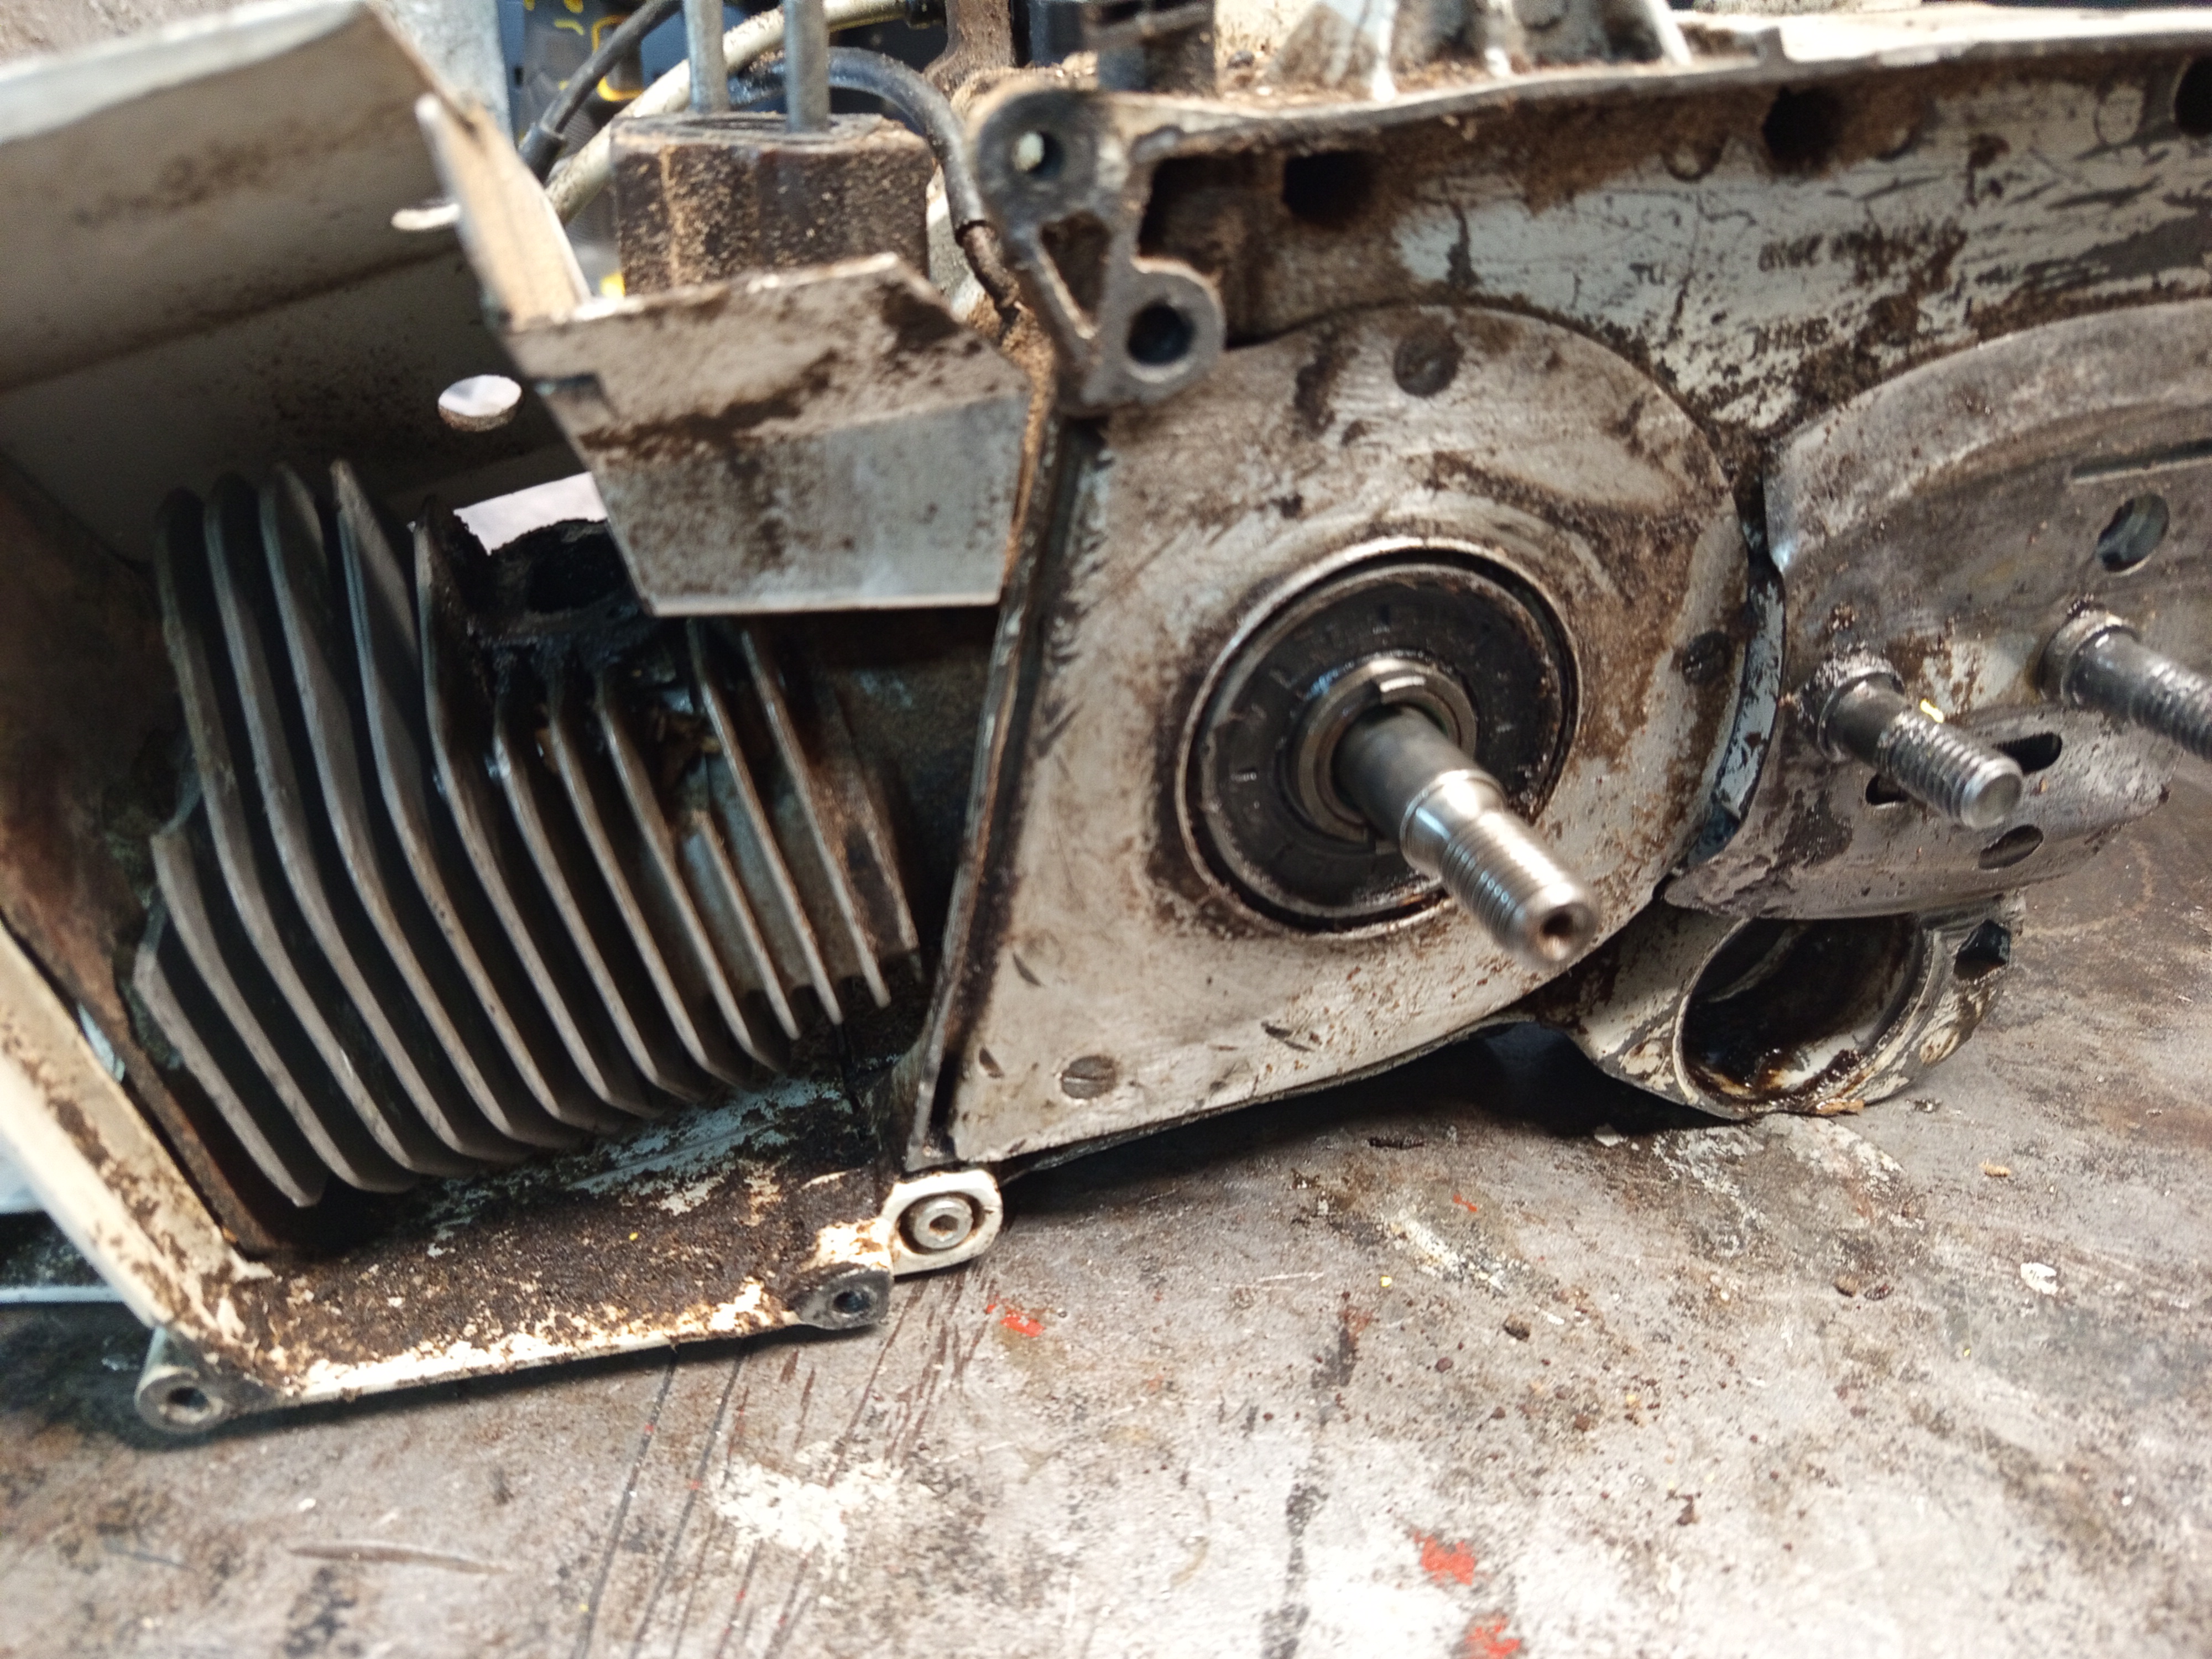

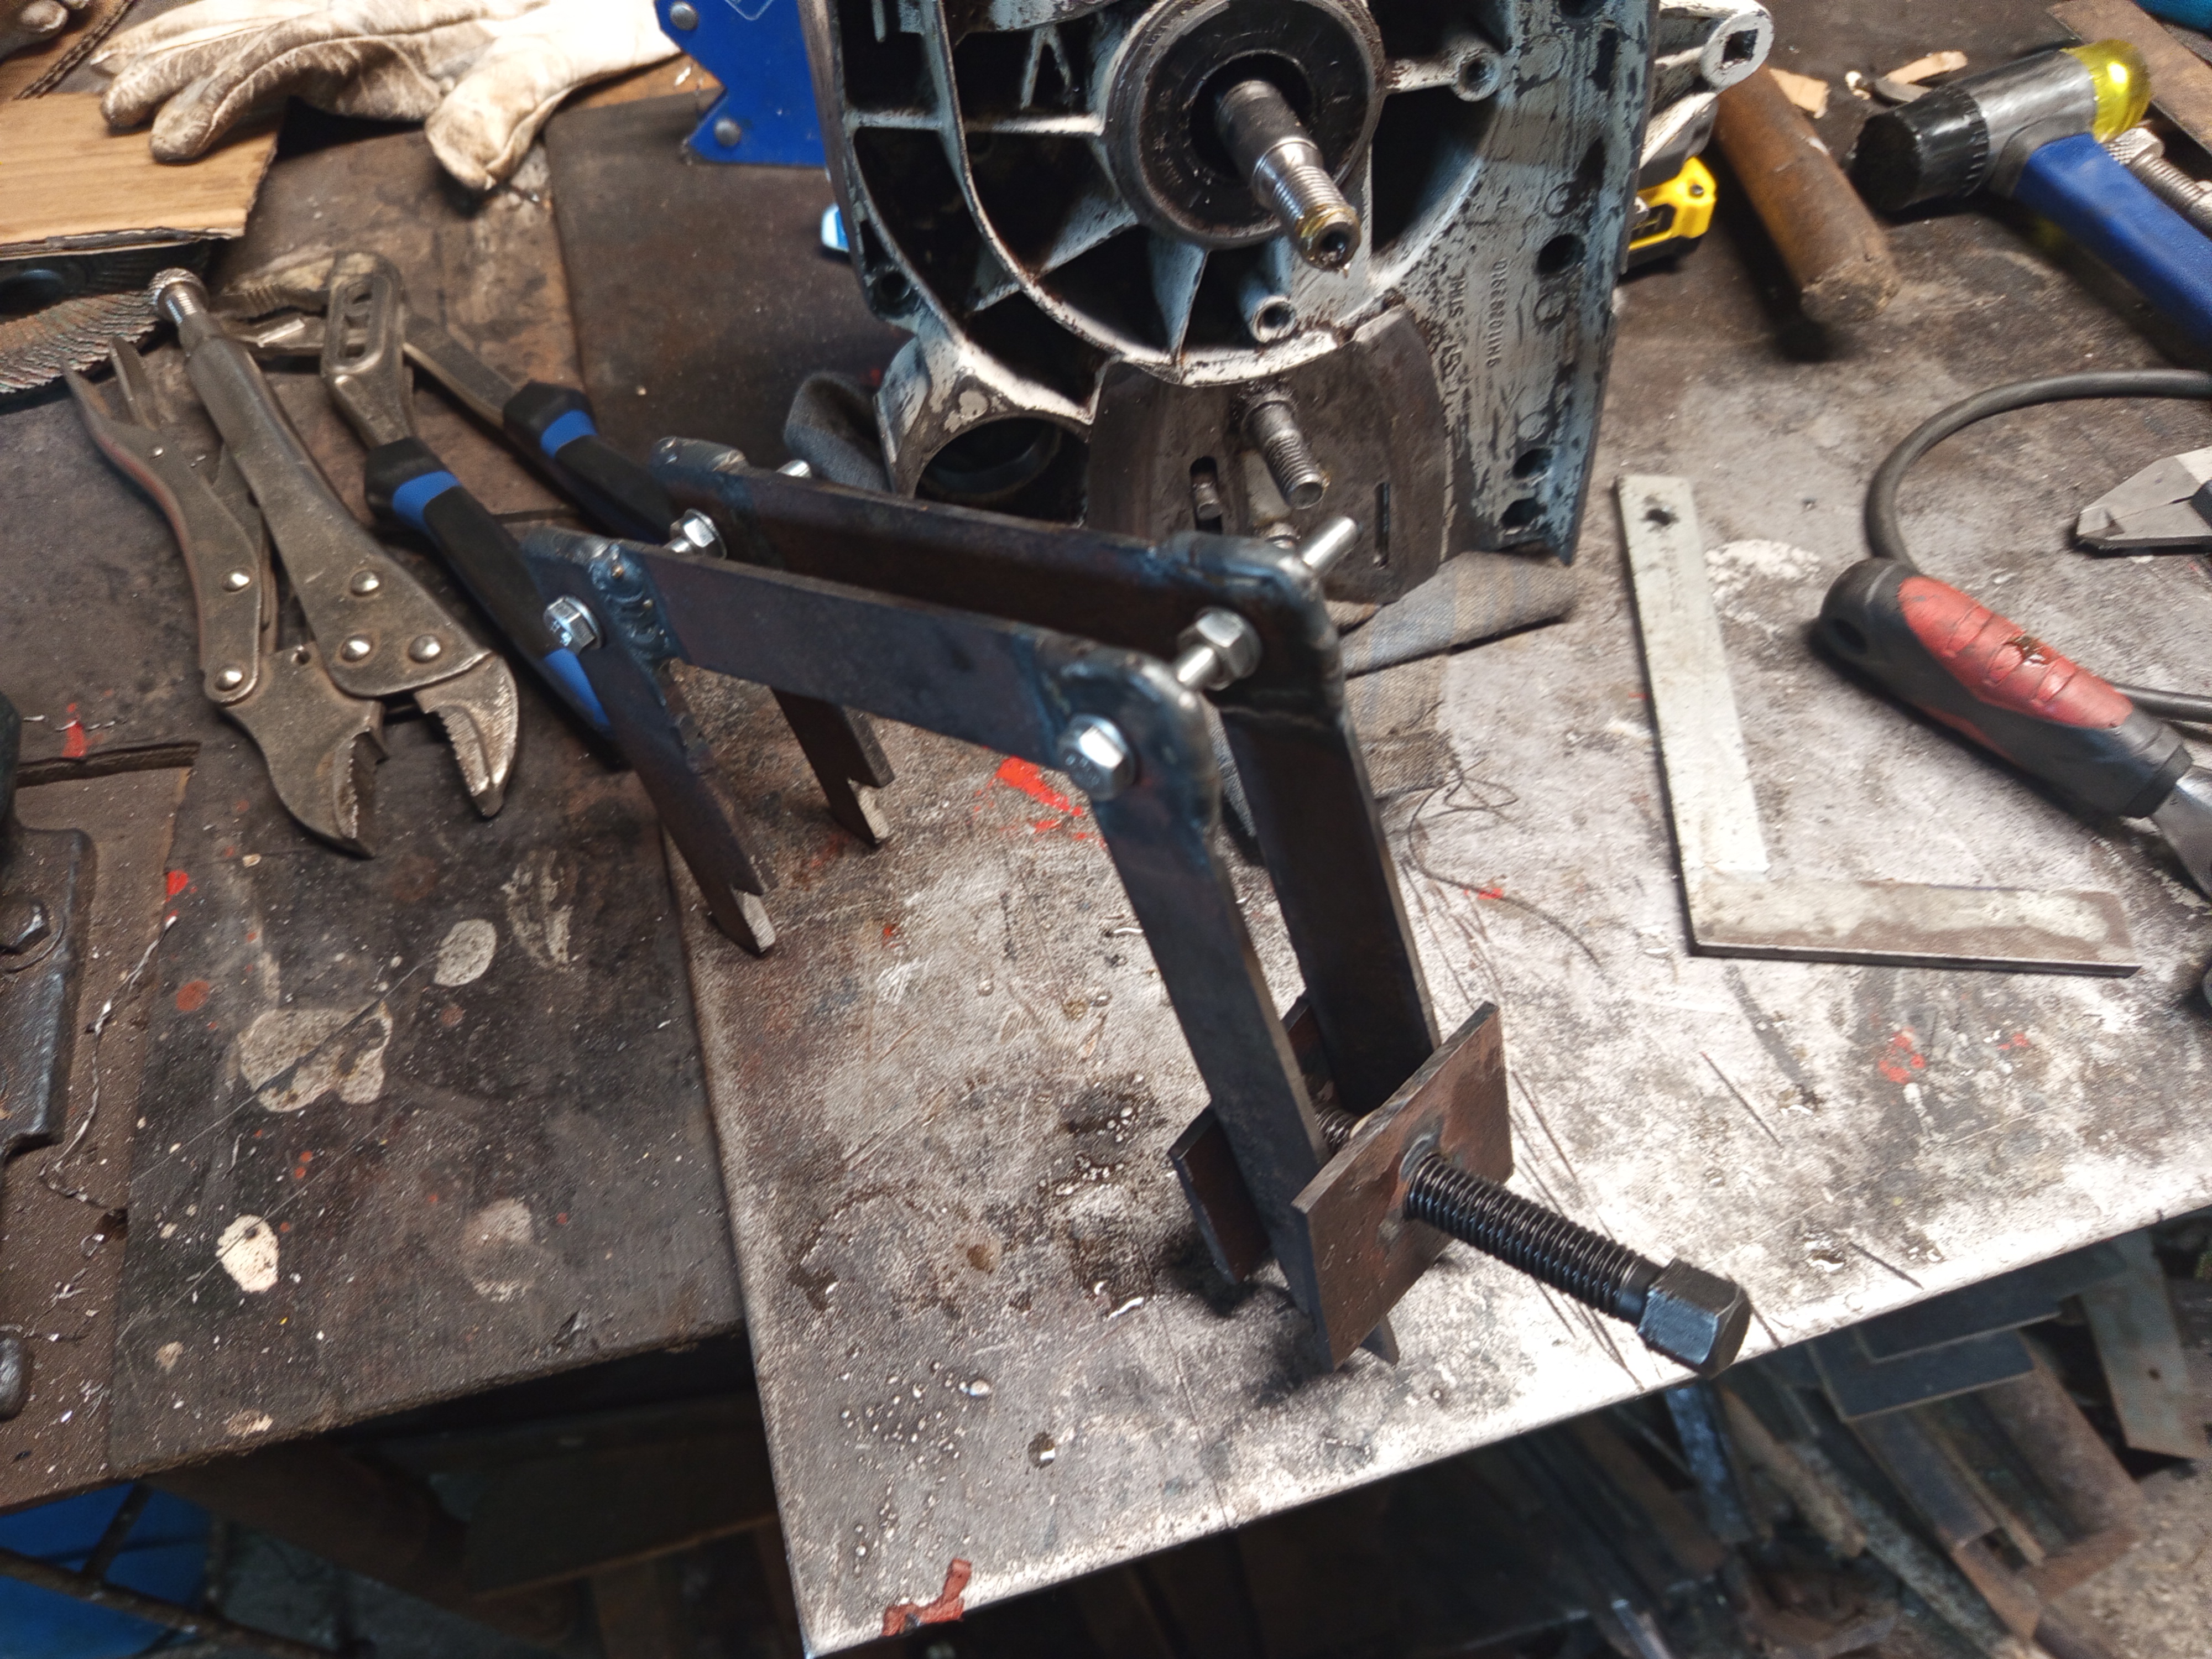
Flywheel removal
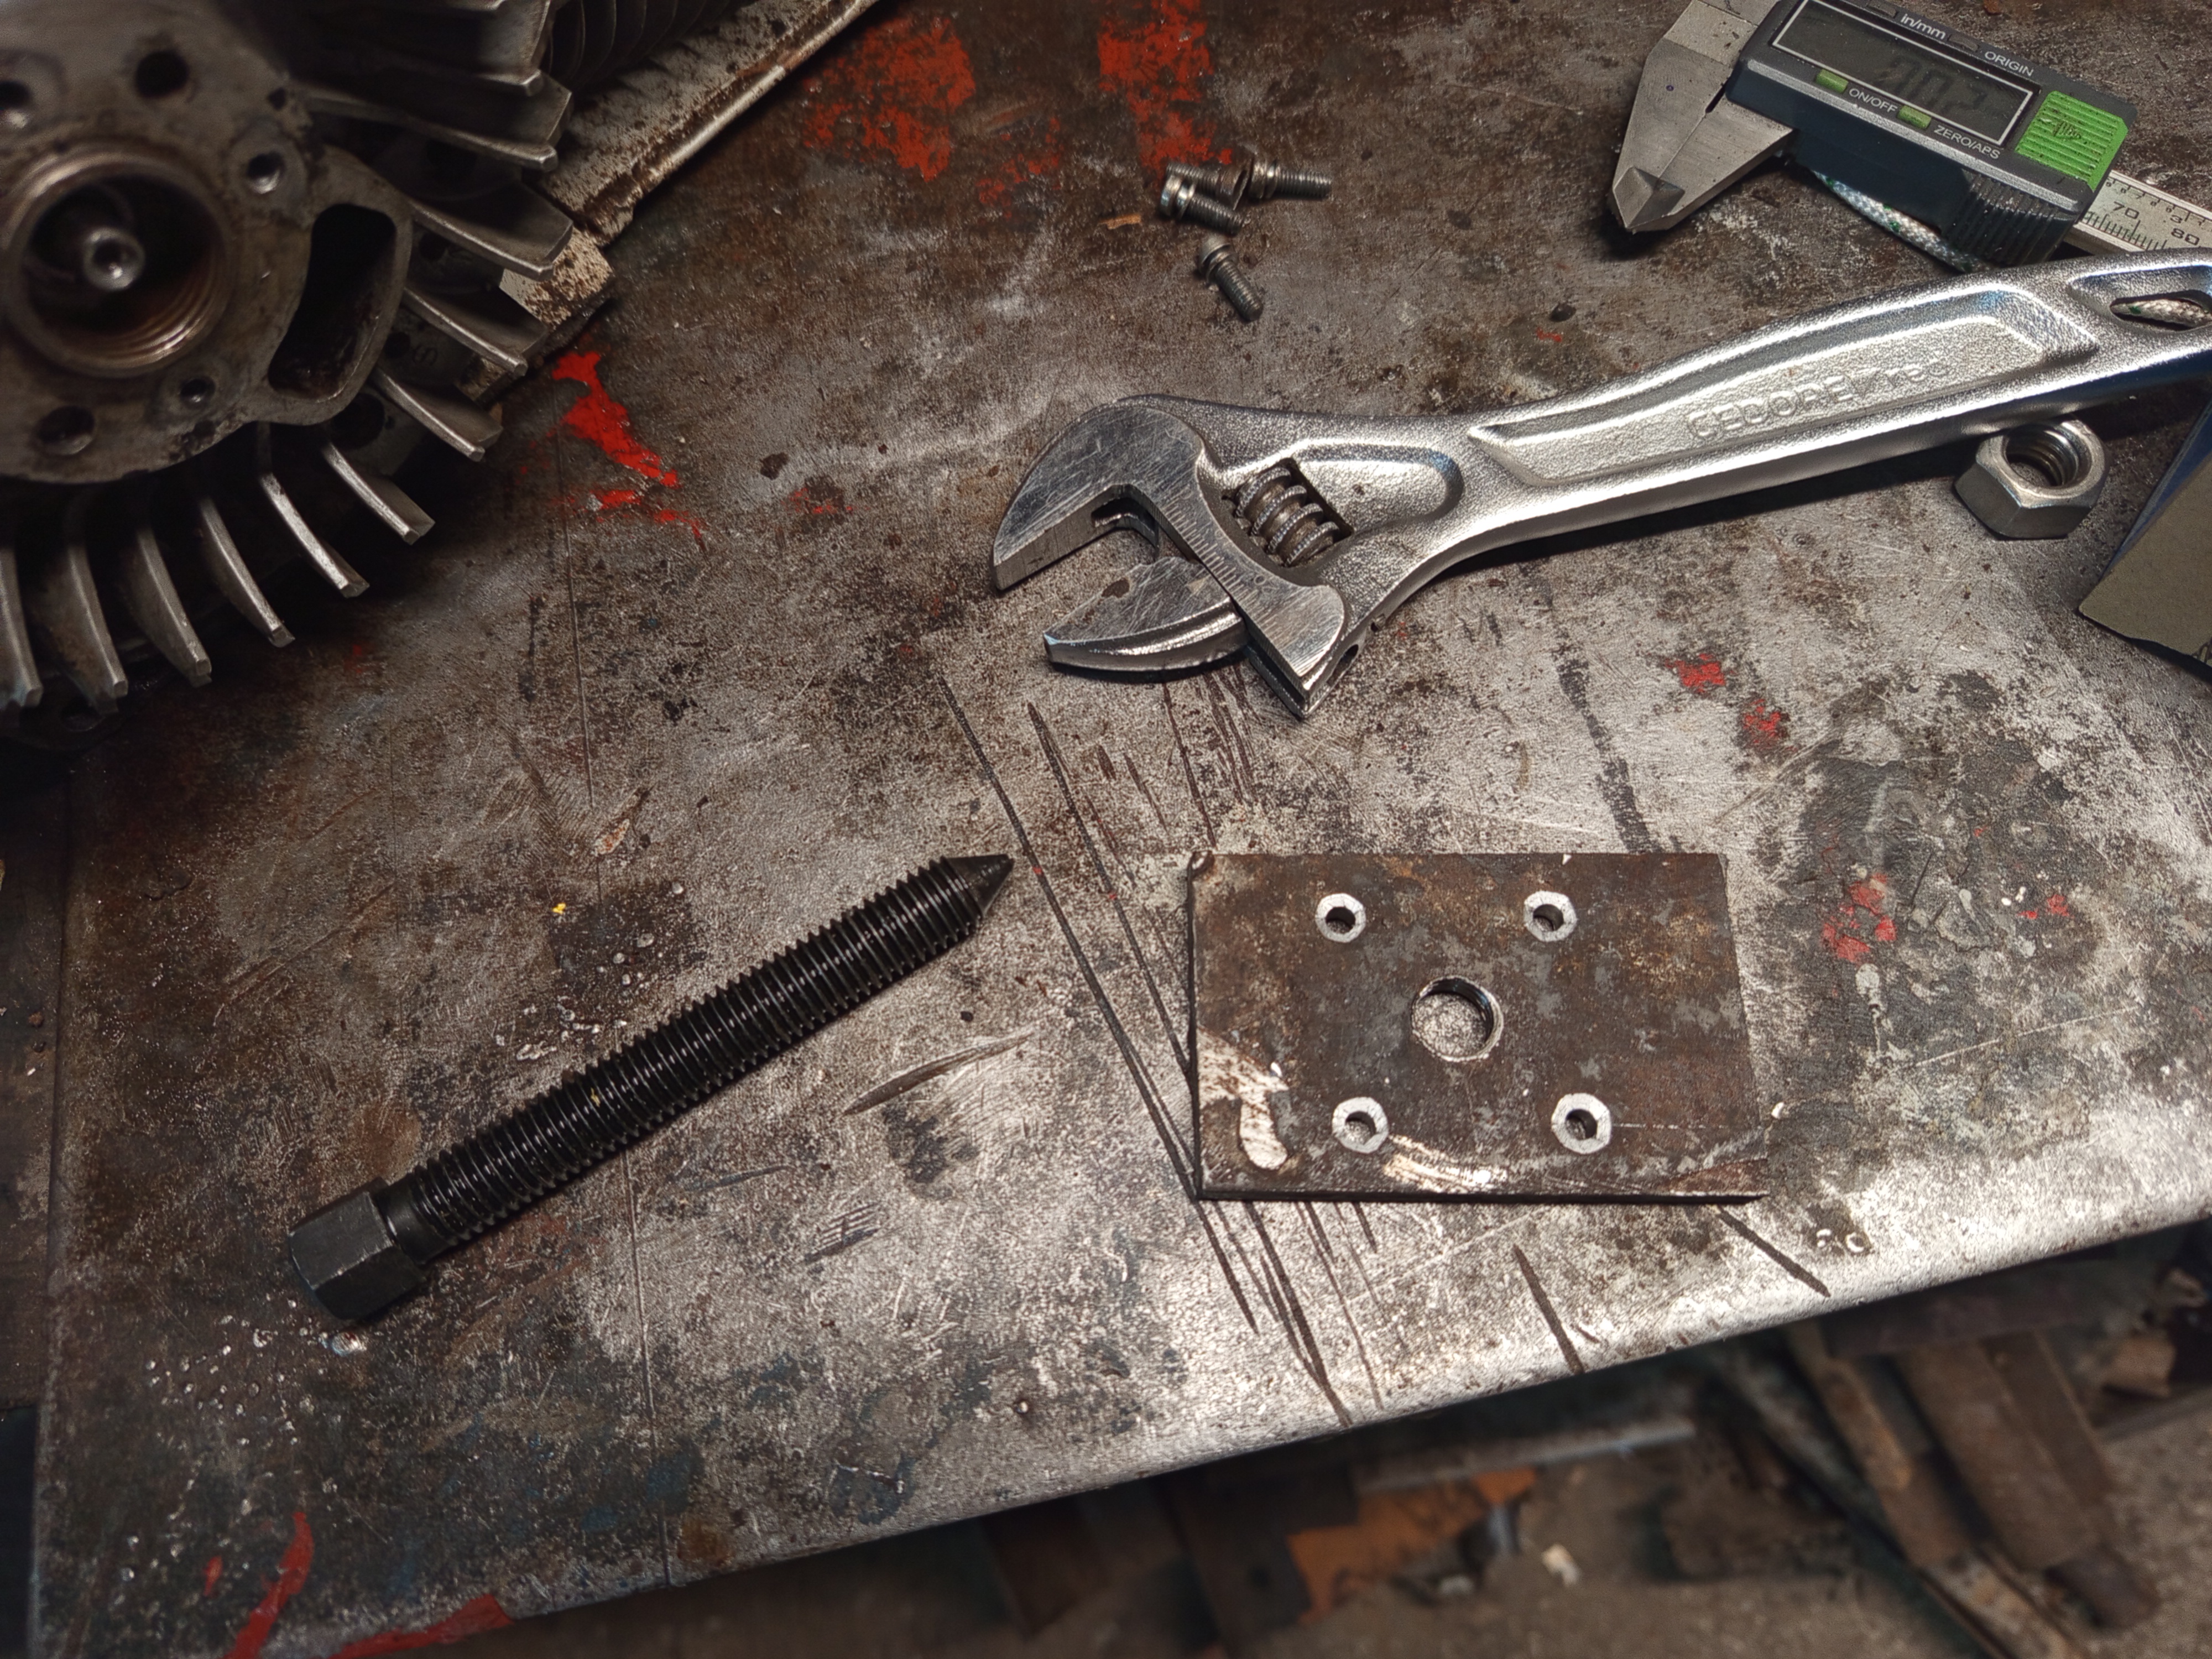
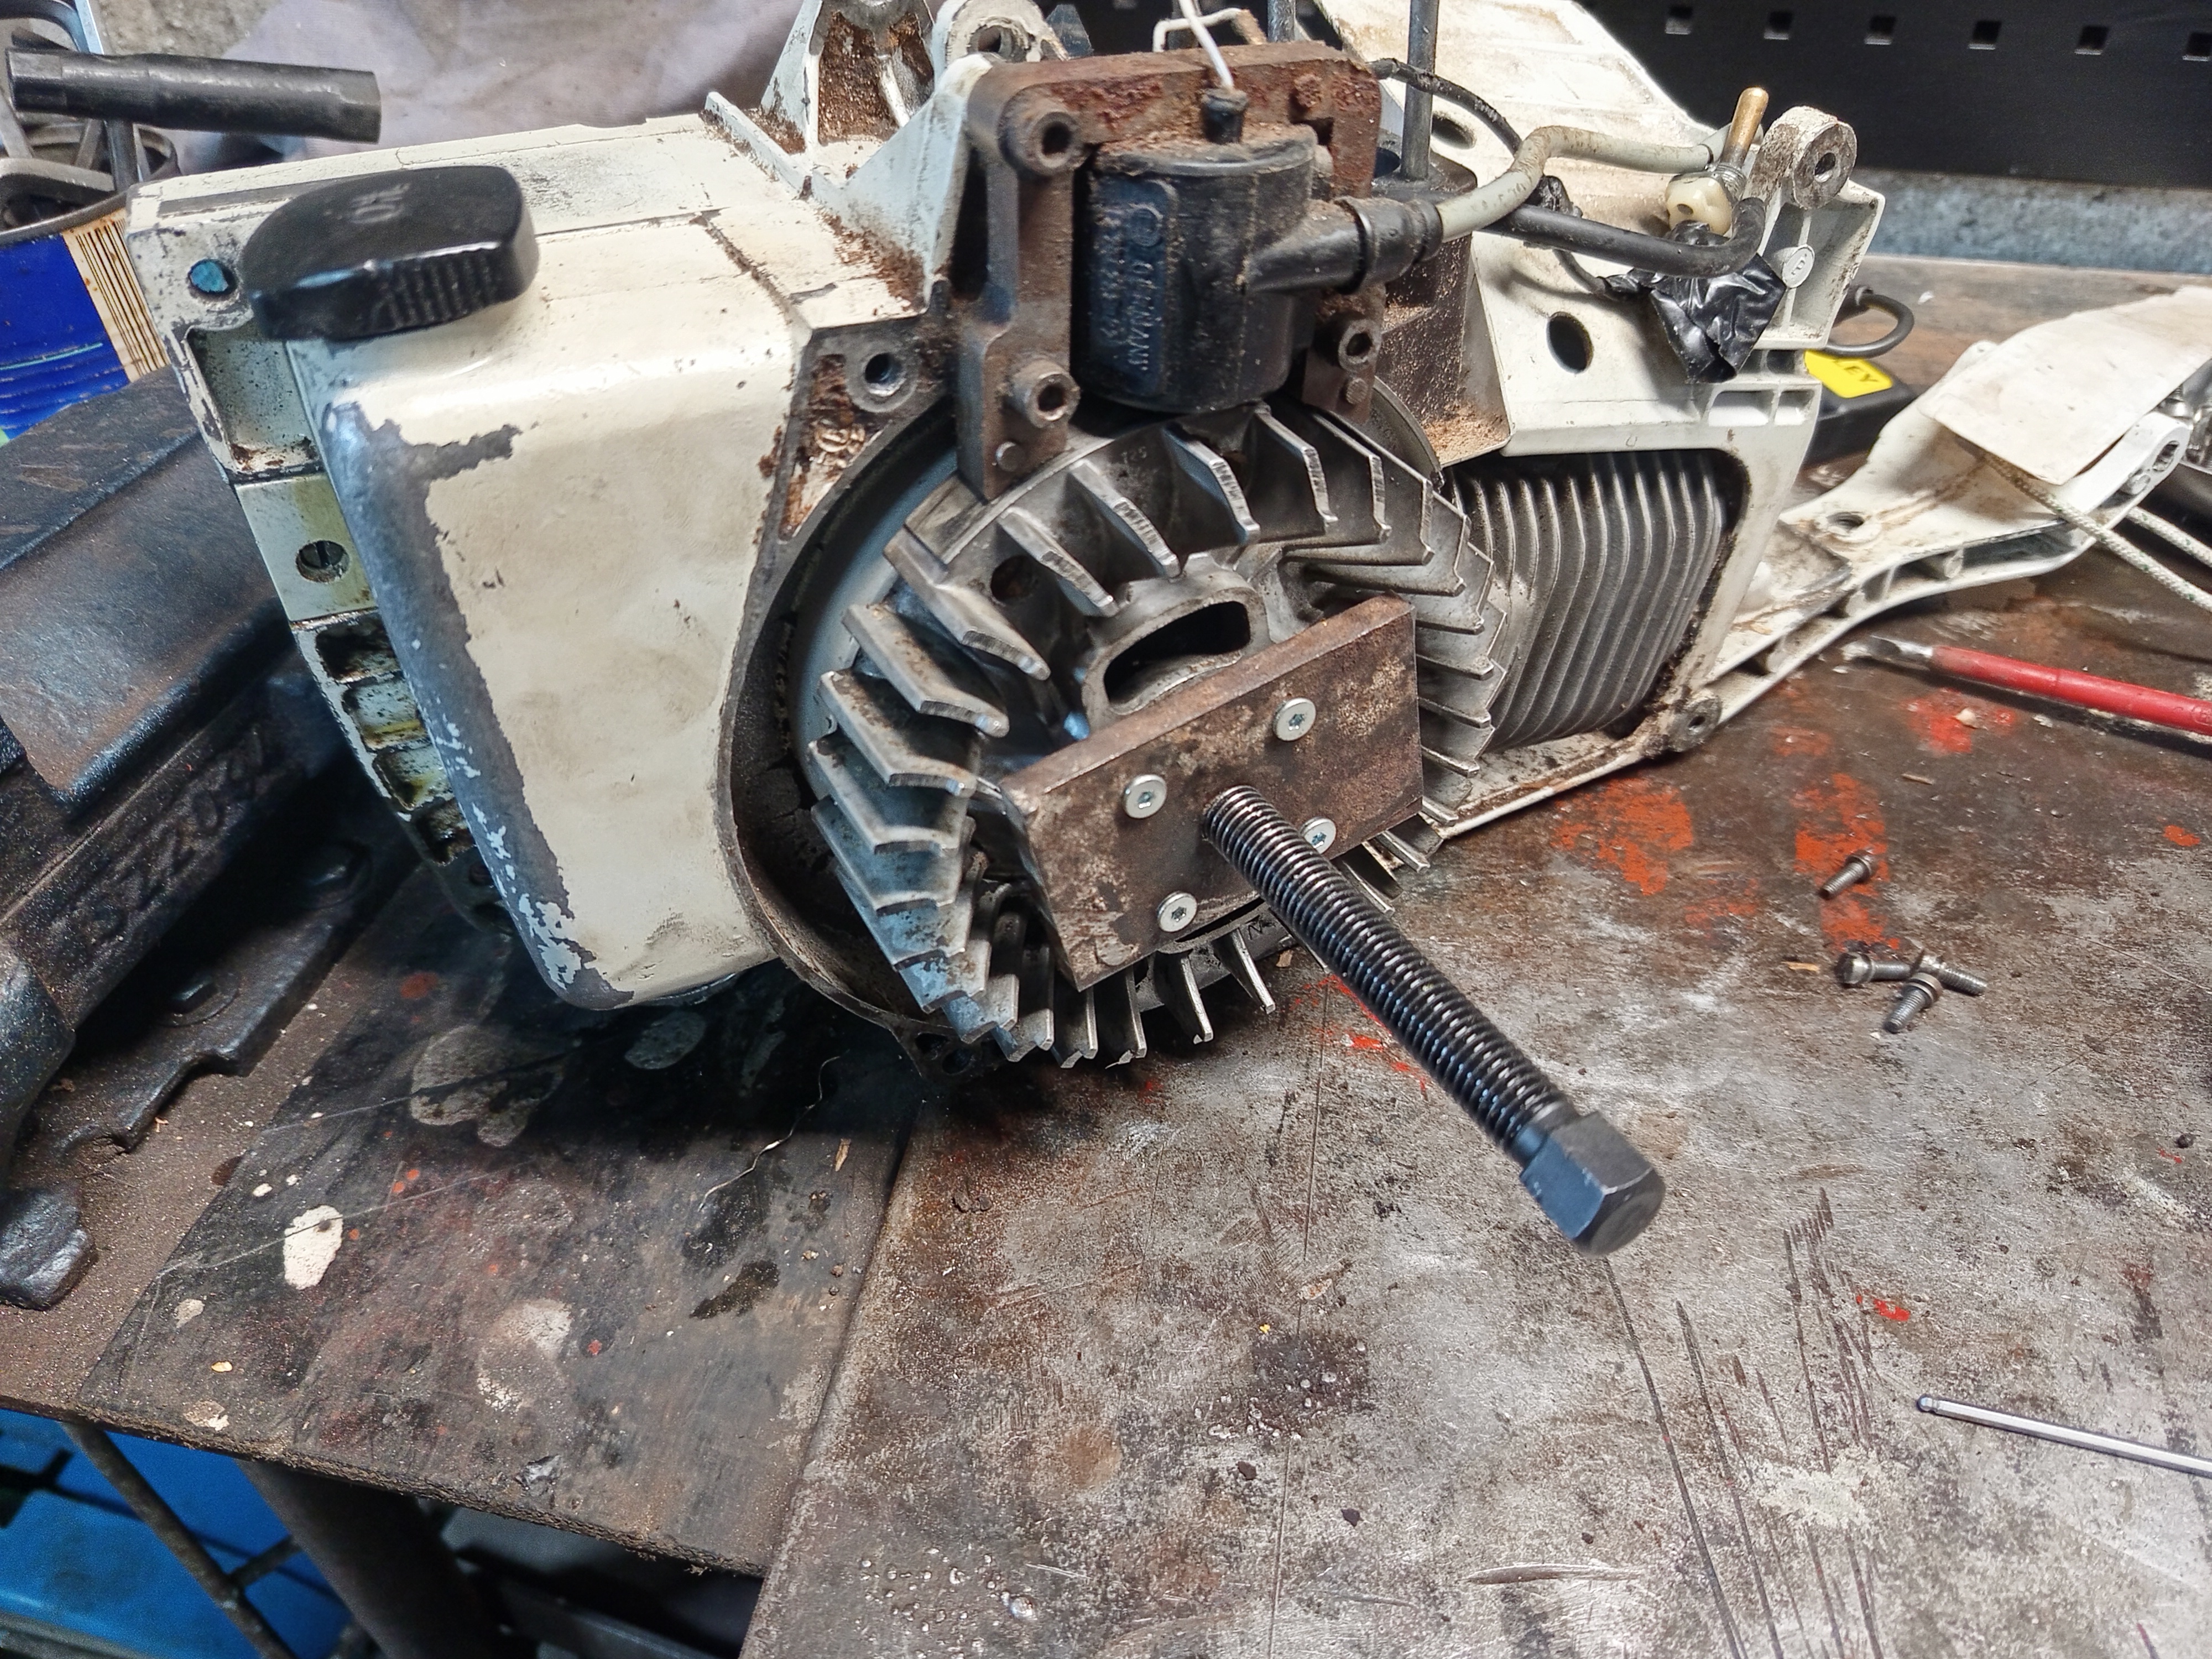
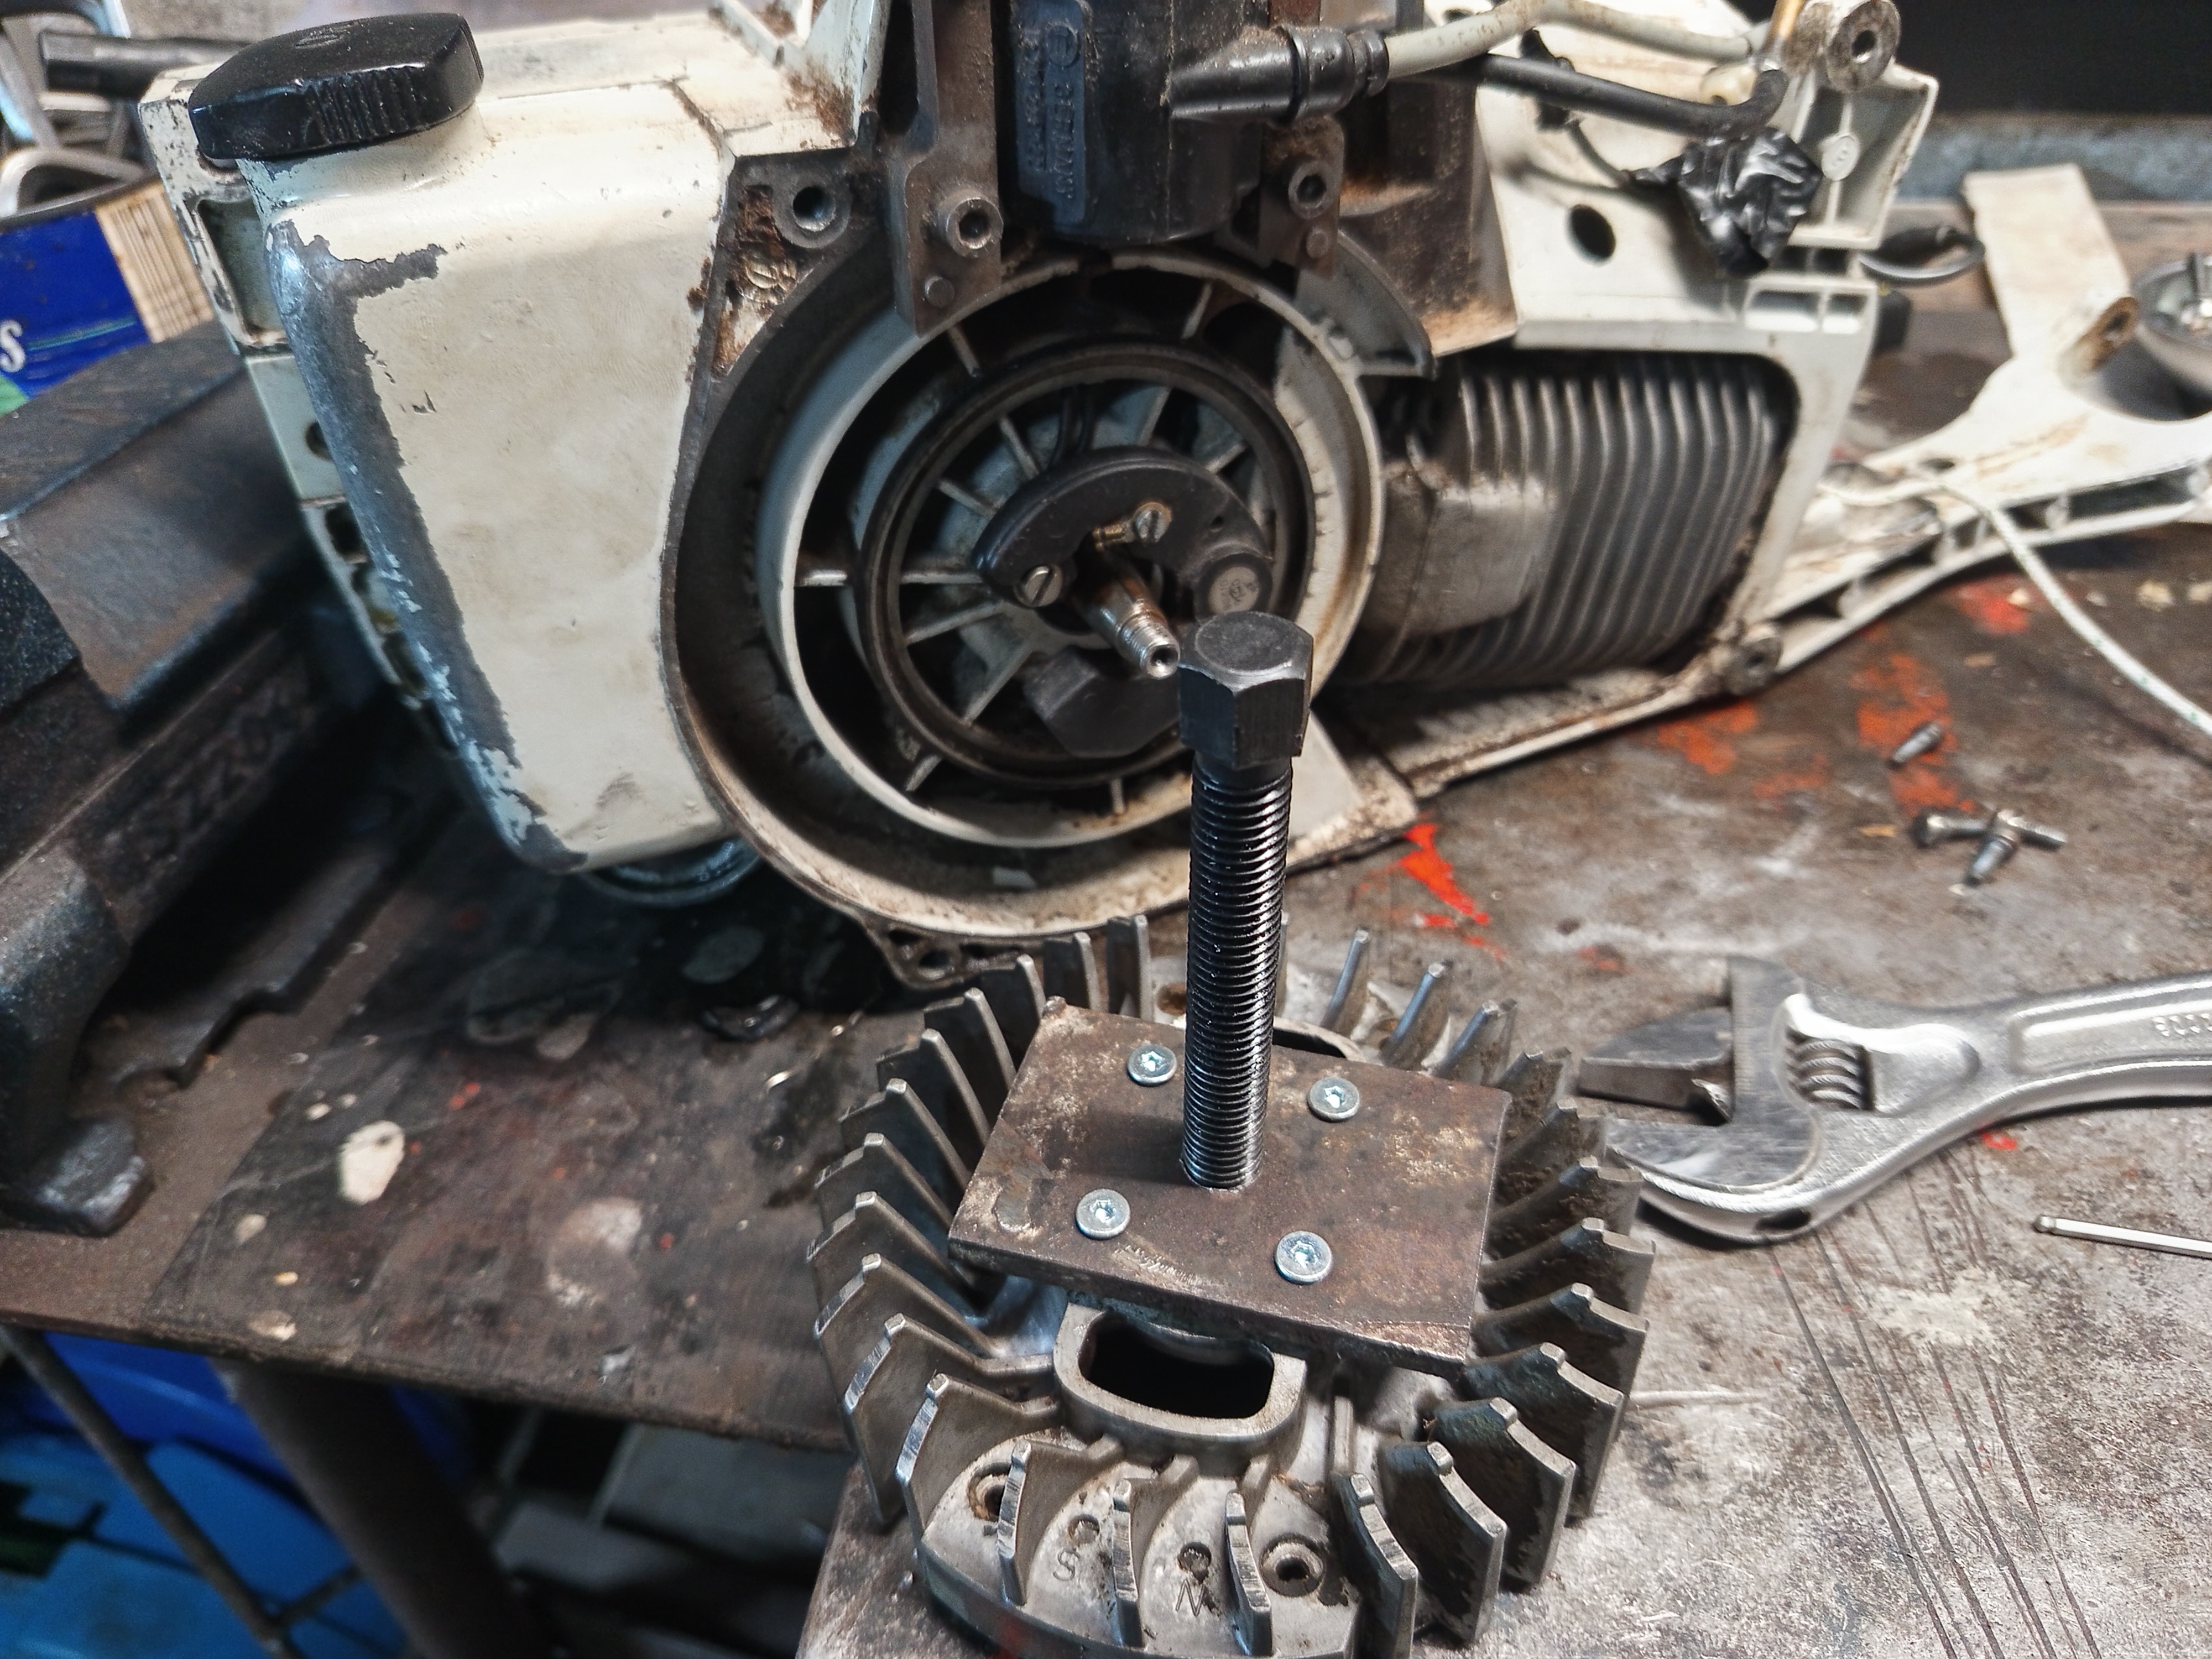
On the other side is the flywheel, that would require a puller the remove it easily, I dont’t have one for this exact size, but it could be done on the lathe, or, in retrospect my Simson’s puller might fit it, but I don’t know. But it doesn’t matter because it might not be cleary visible on the photo but the threads are stripped, so I decided to make another type of tool for this one.

There are four M5 threads for the started cup, these are not that strong, but it should be enough to pop it off from the taper, well if it’s not totally rusted and seized, but thankfully this is not the case. I used a piece of 8 mm flat bar, threaded in four M5 threads and an M12 in the middle for the screw of a bearing puller, and this worked nicely.
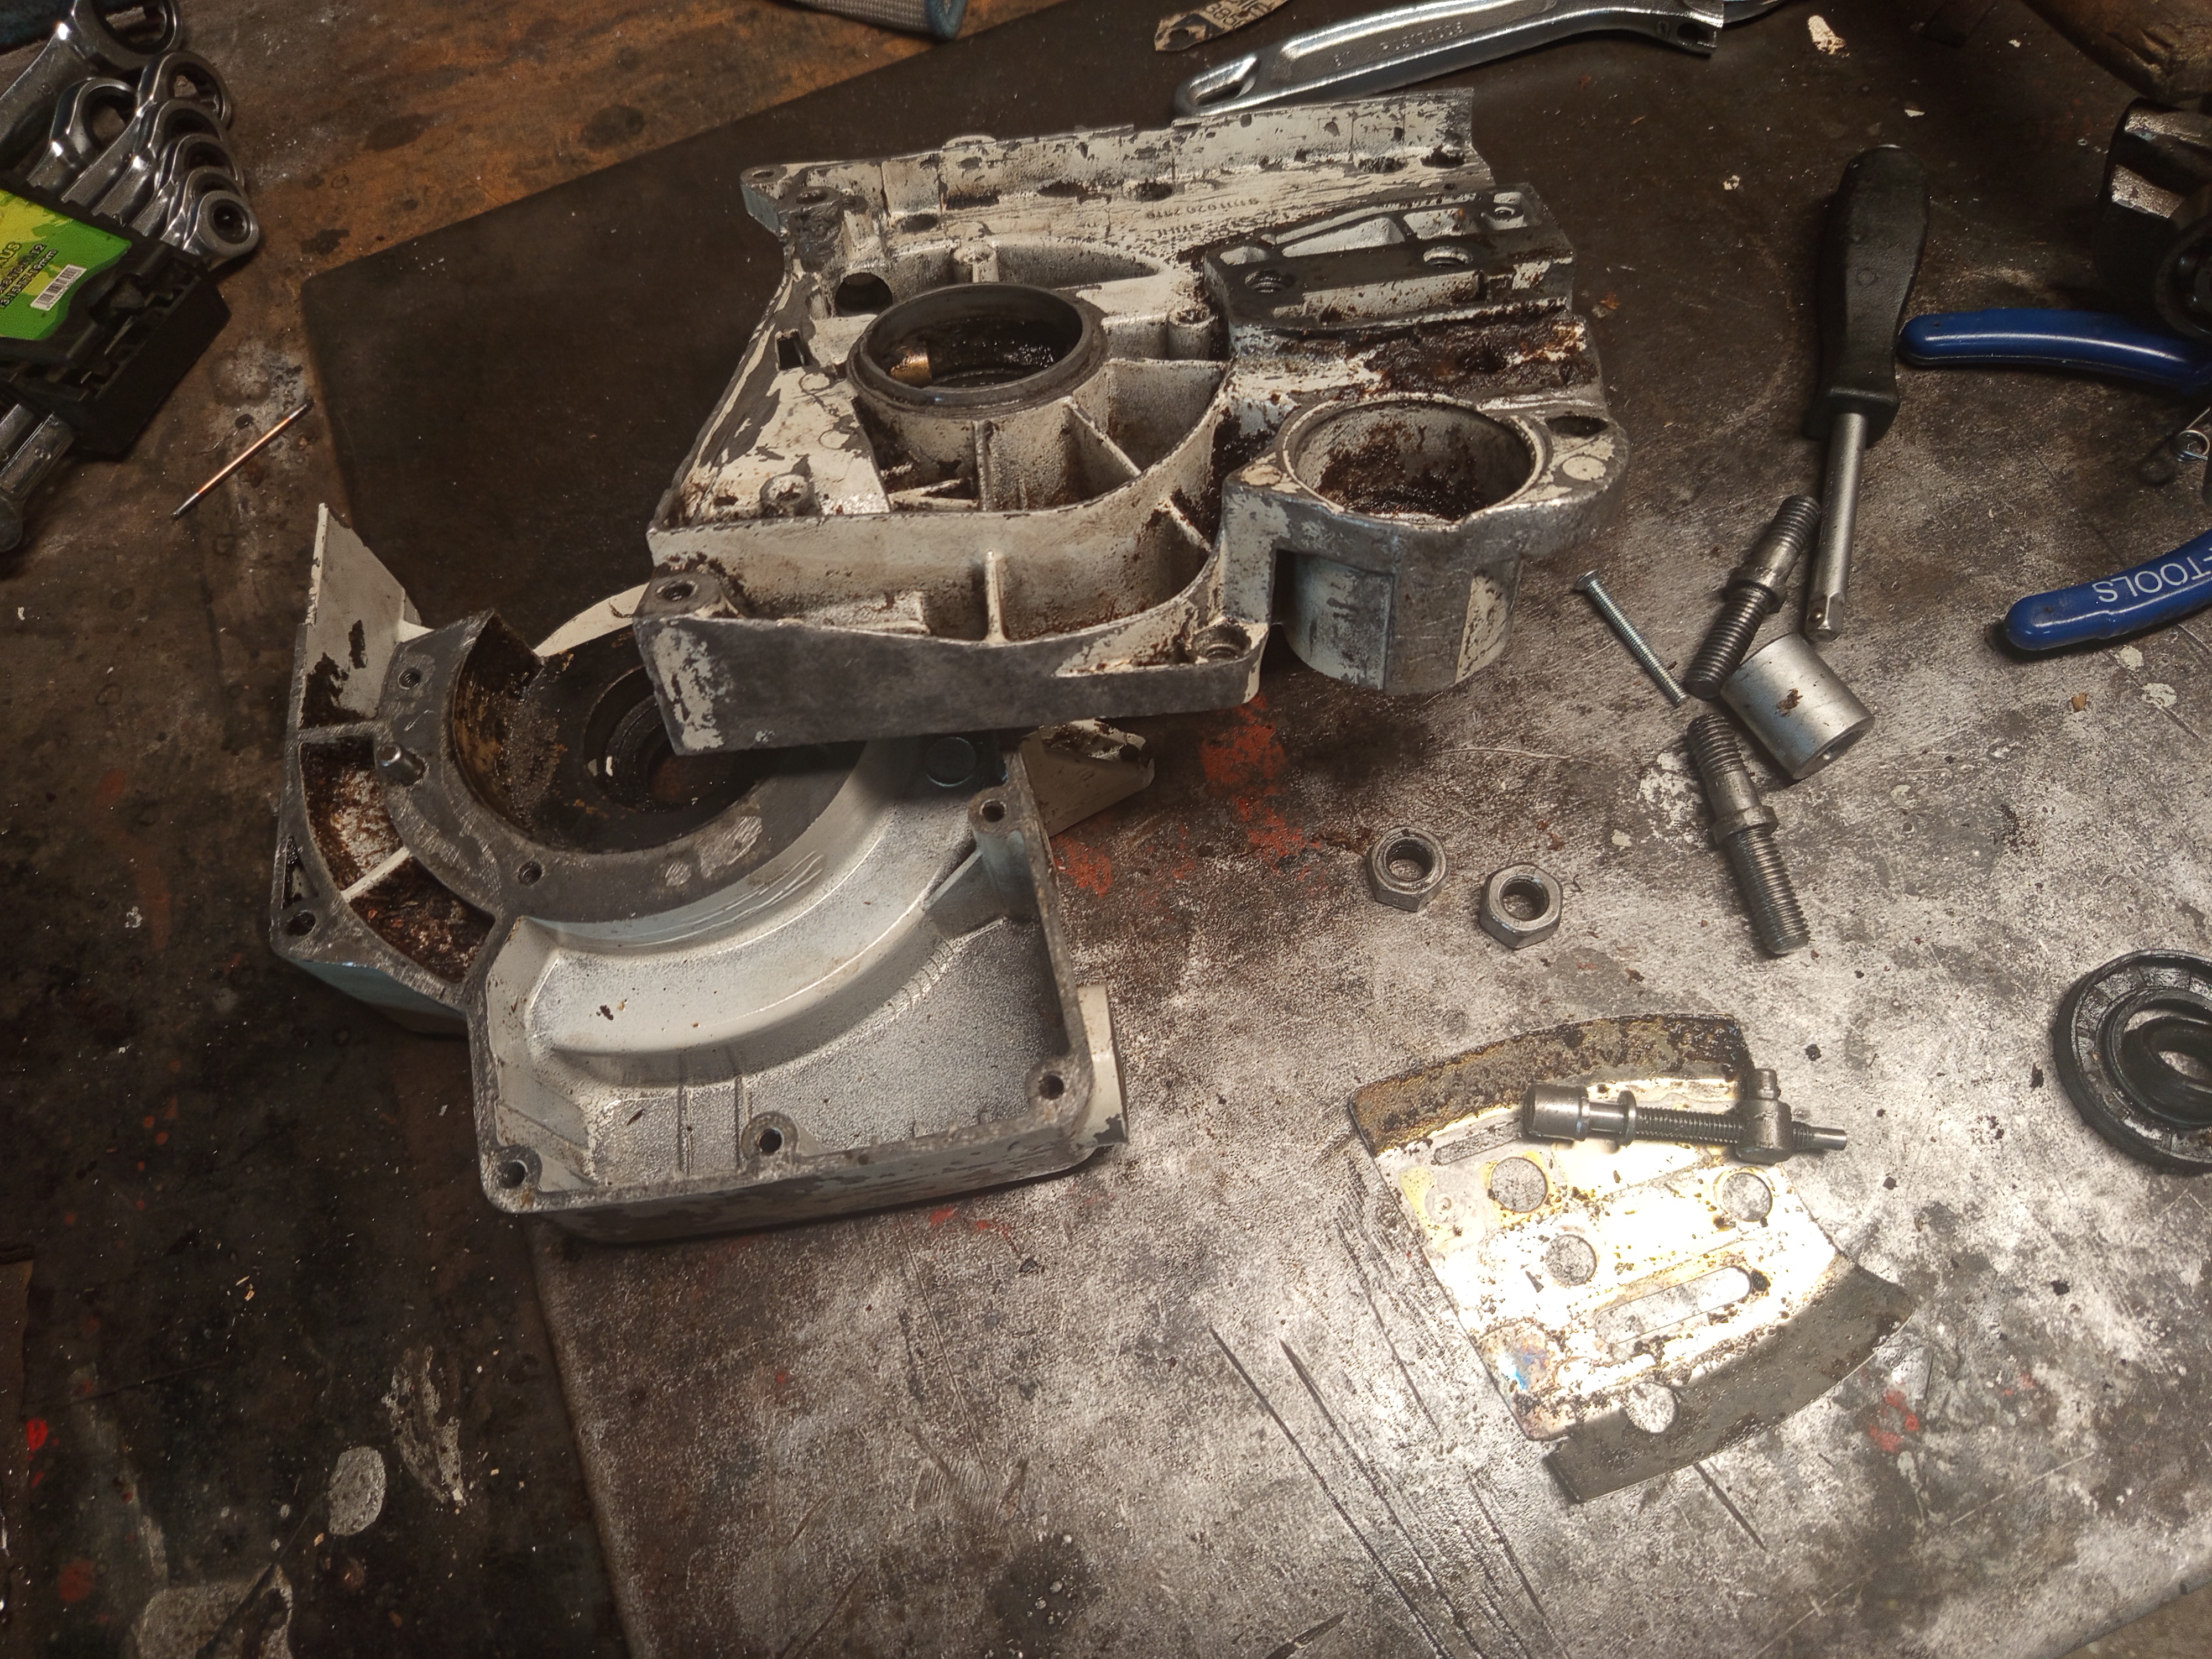
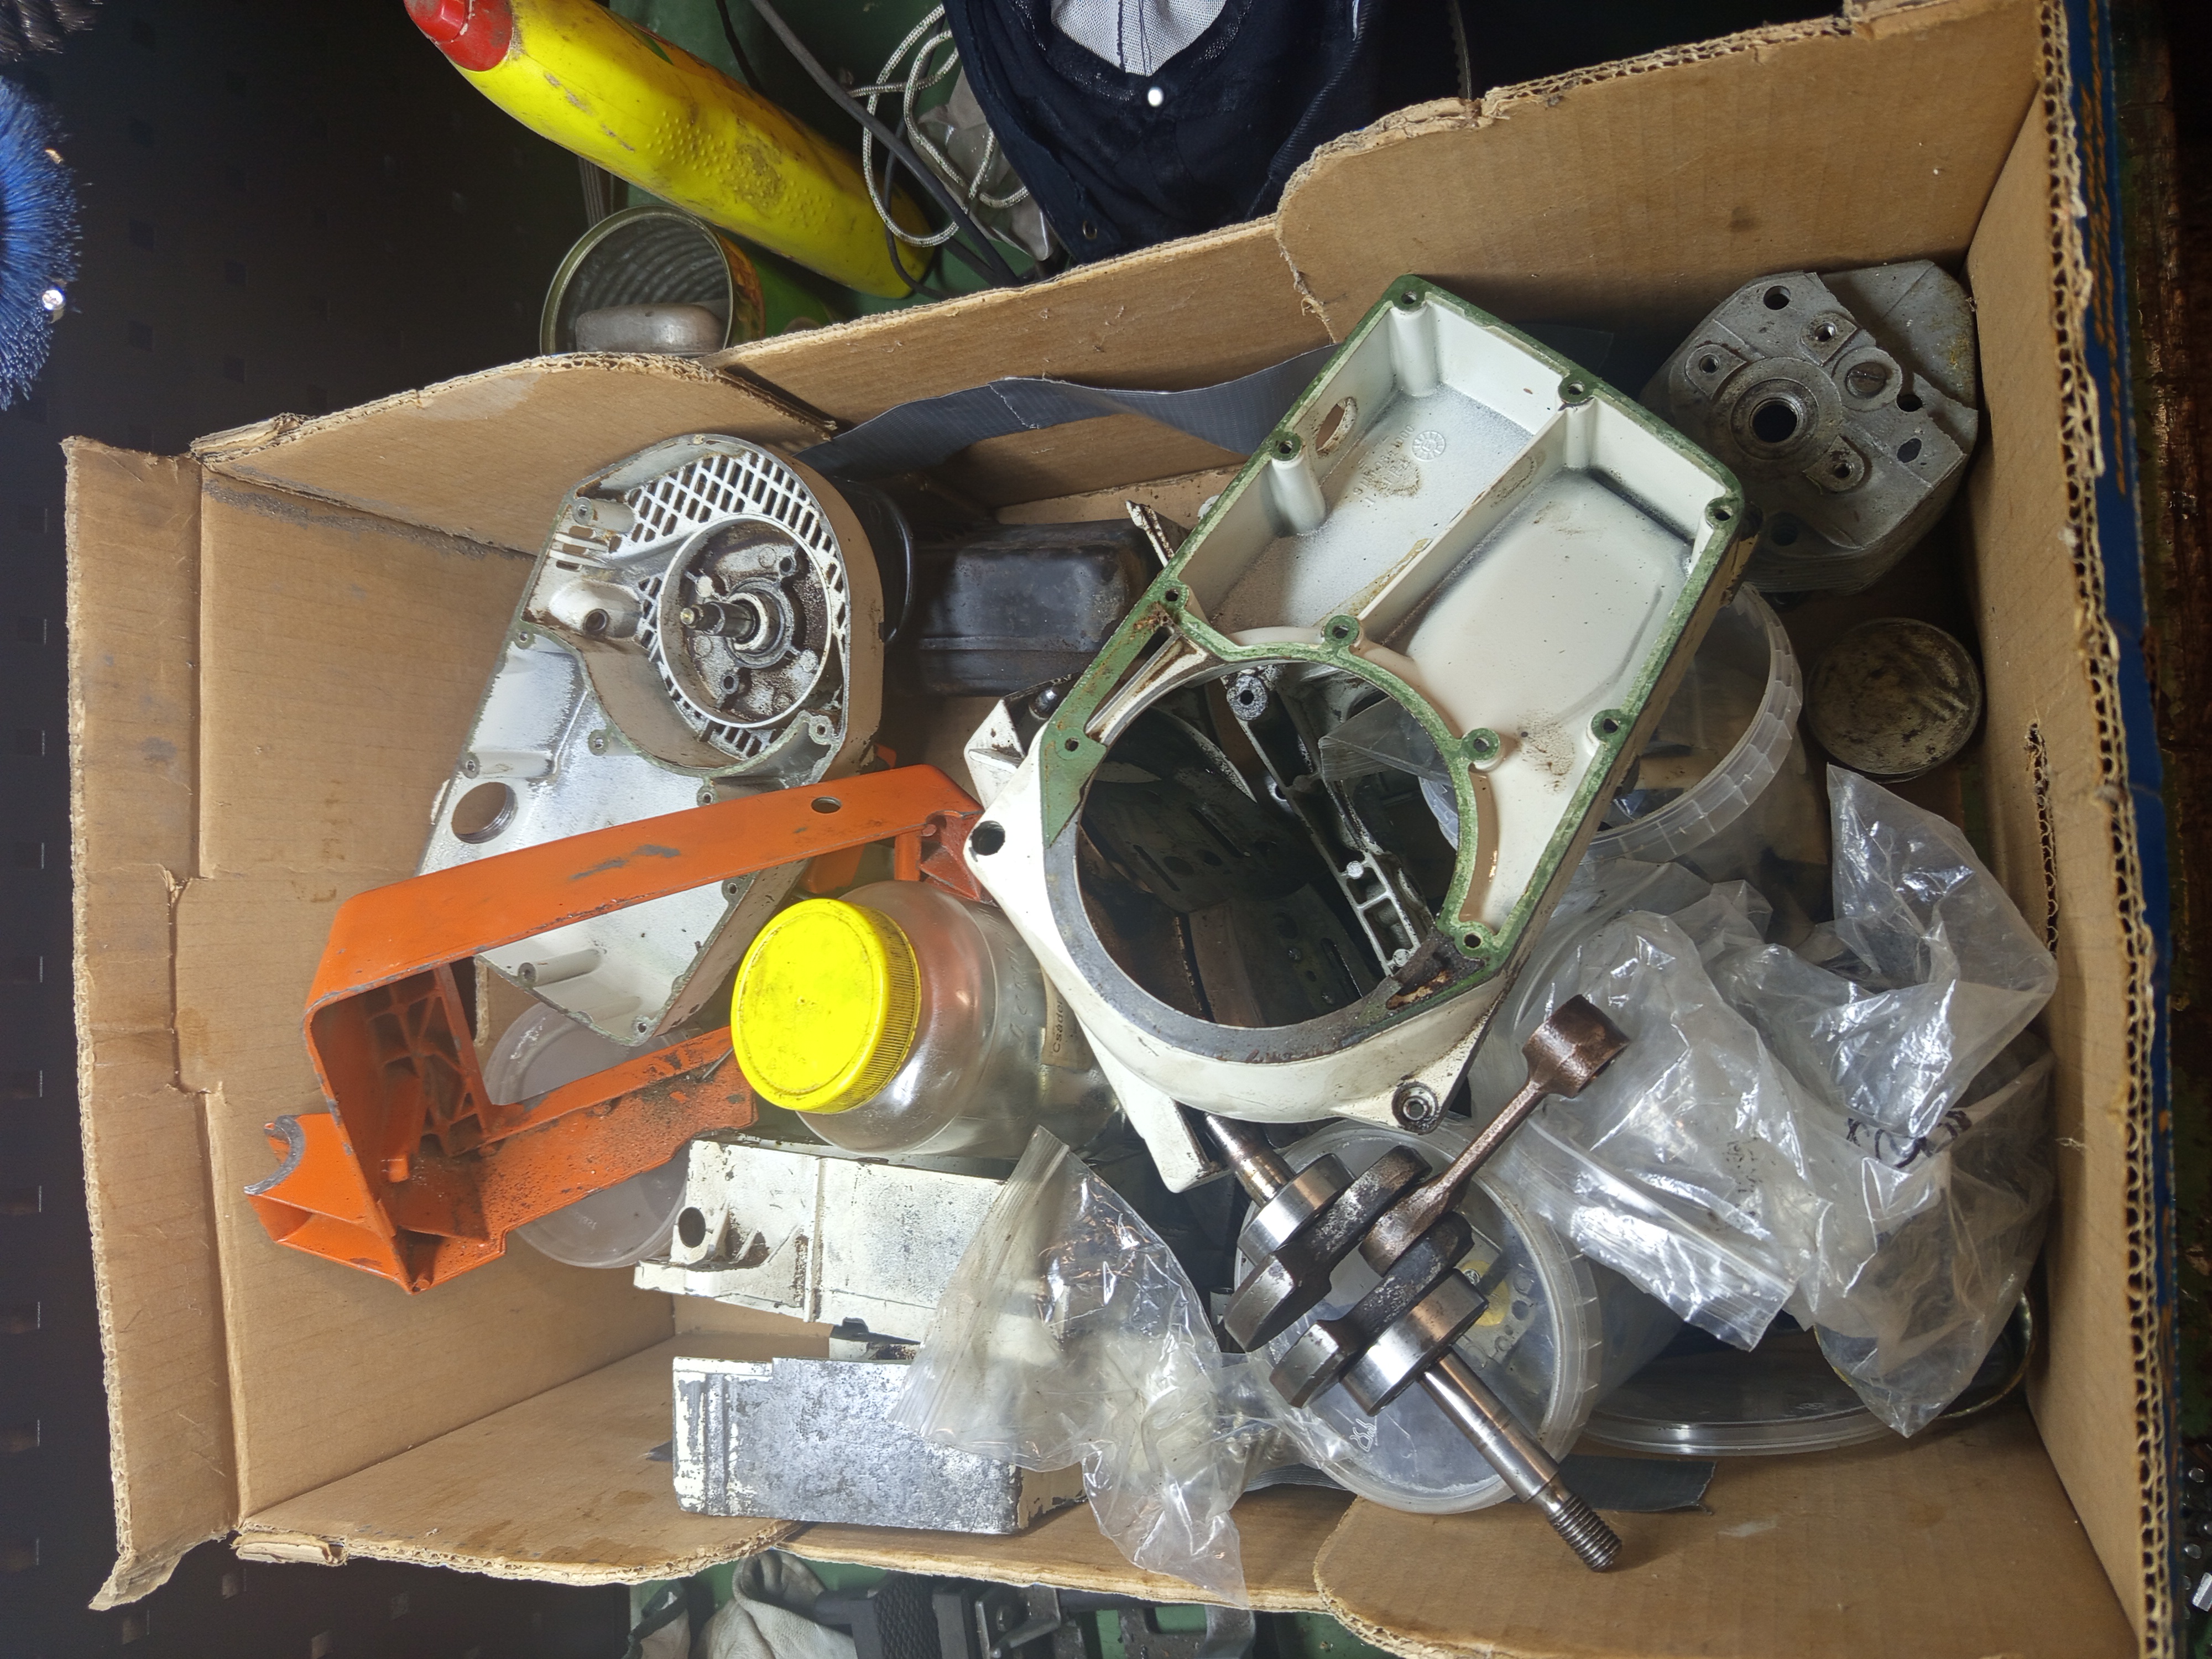
Stripping the engine
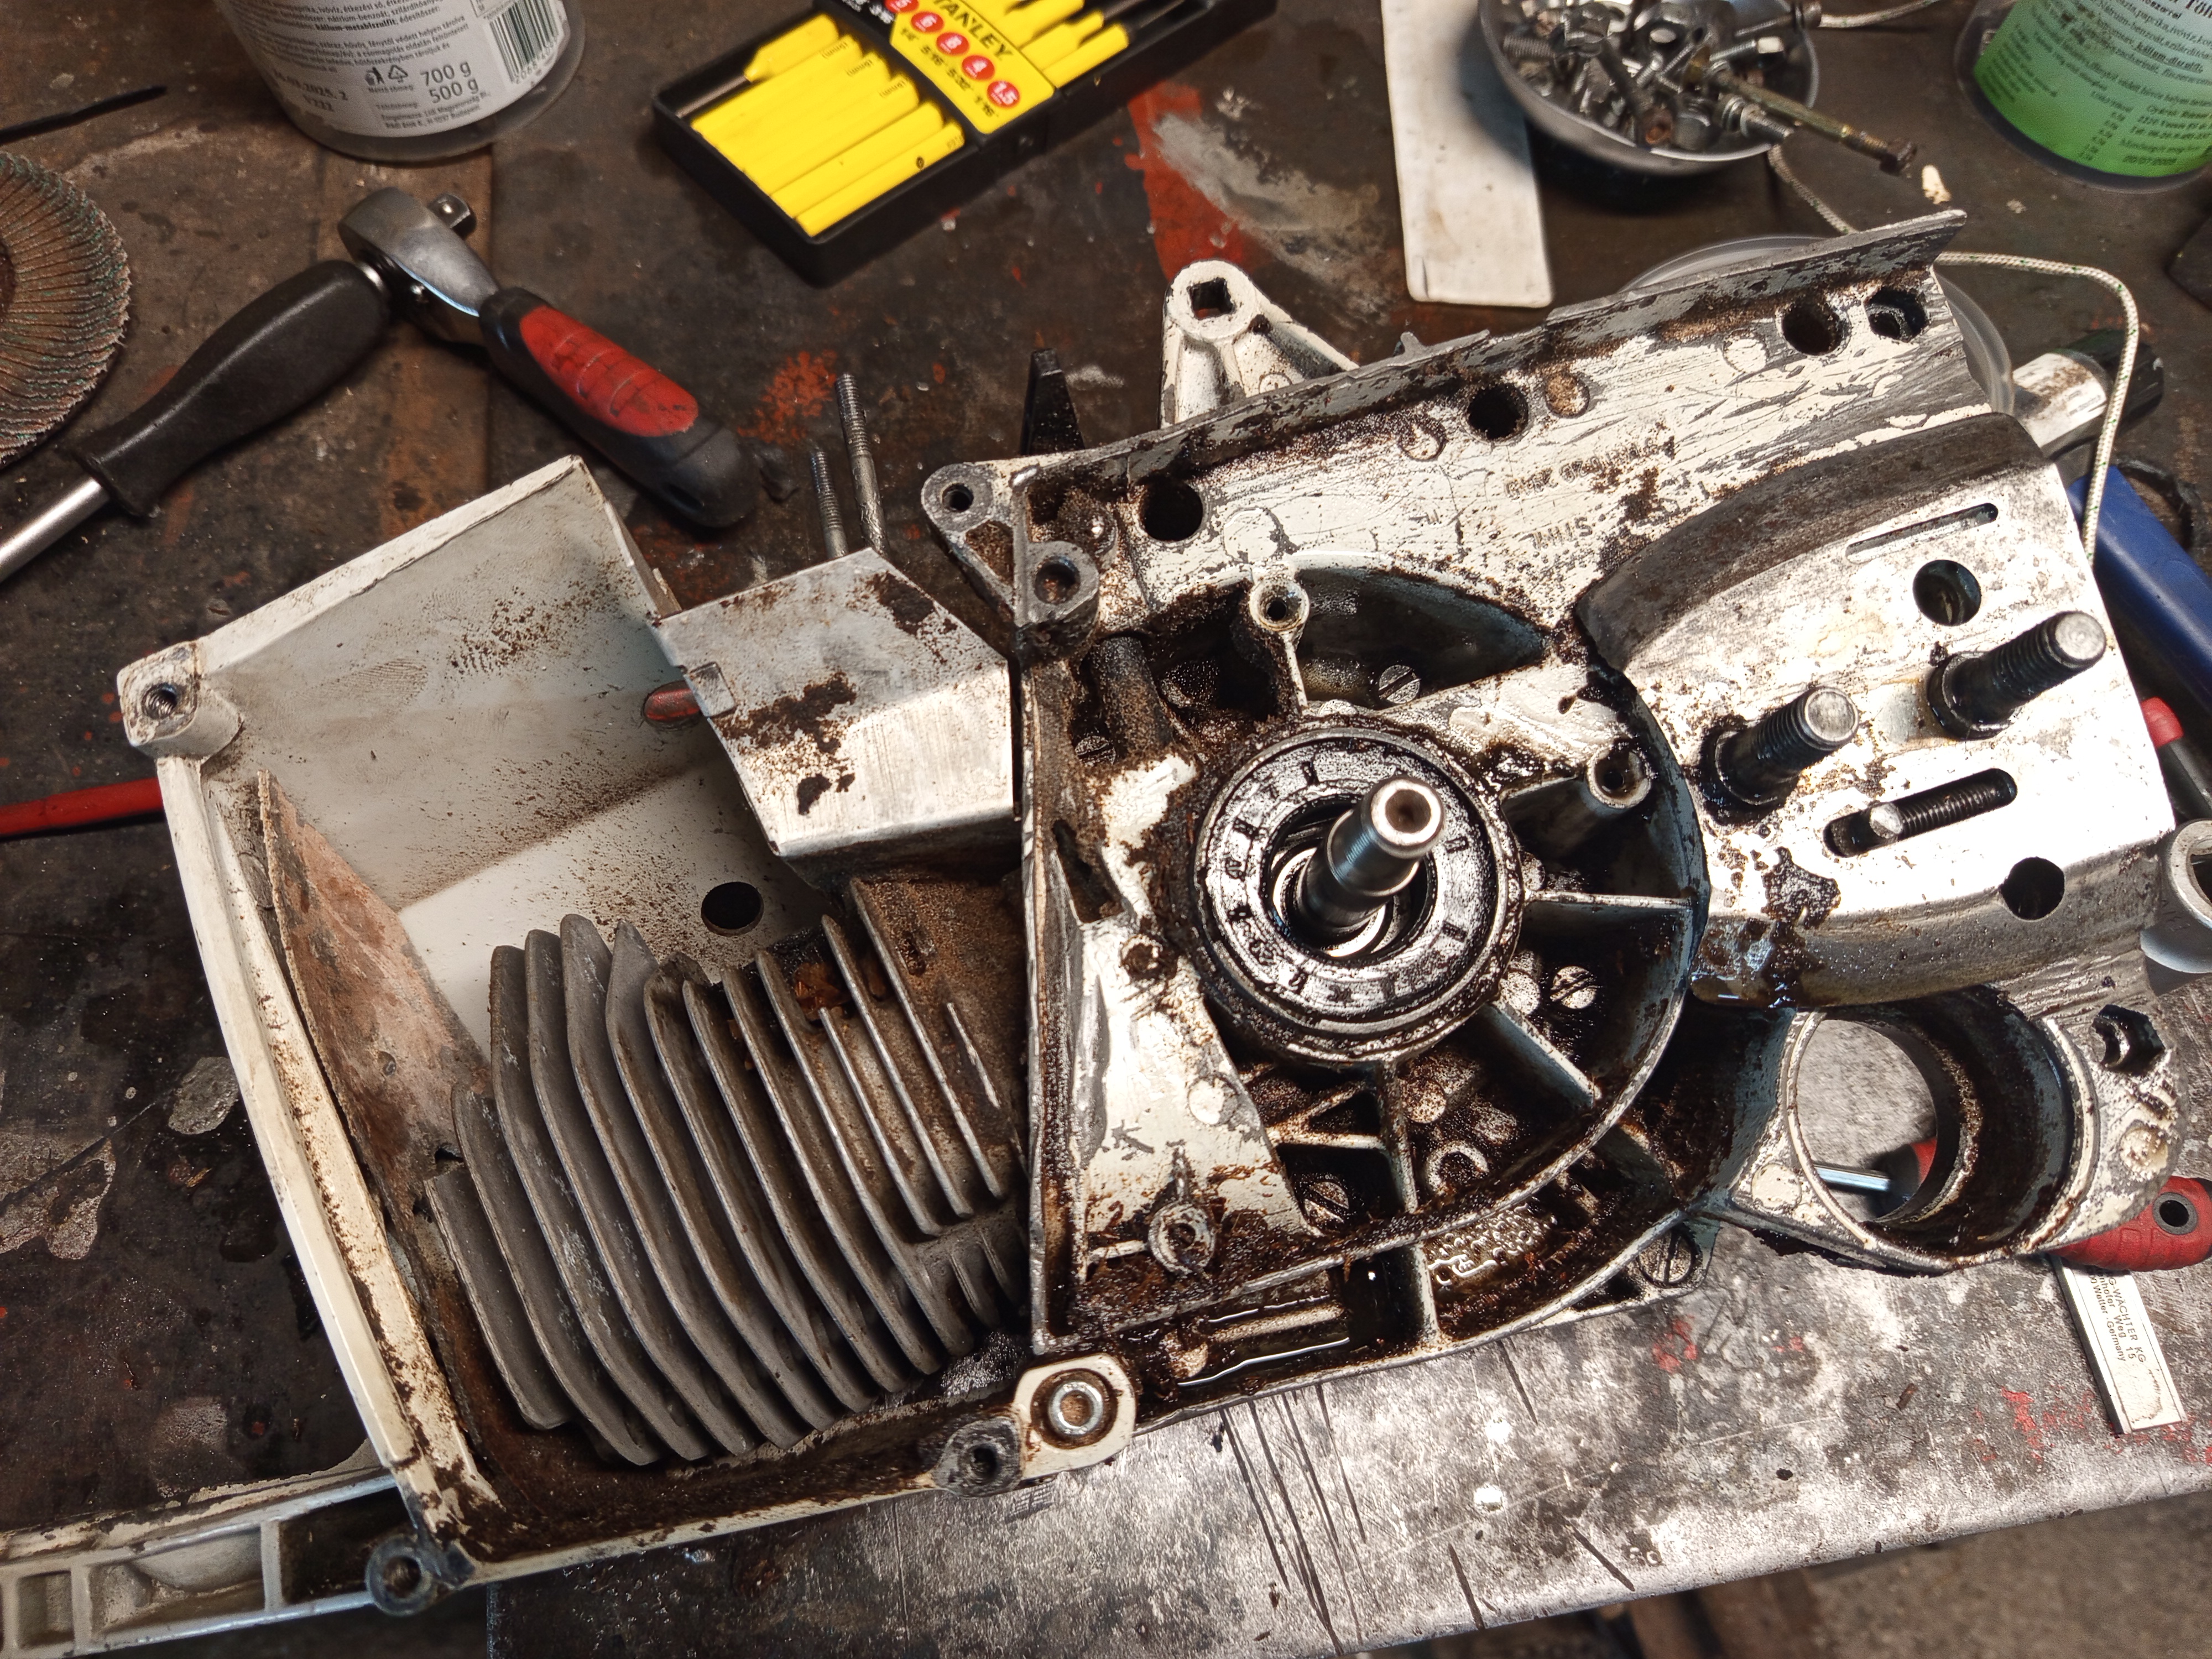
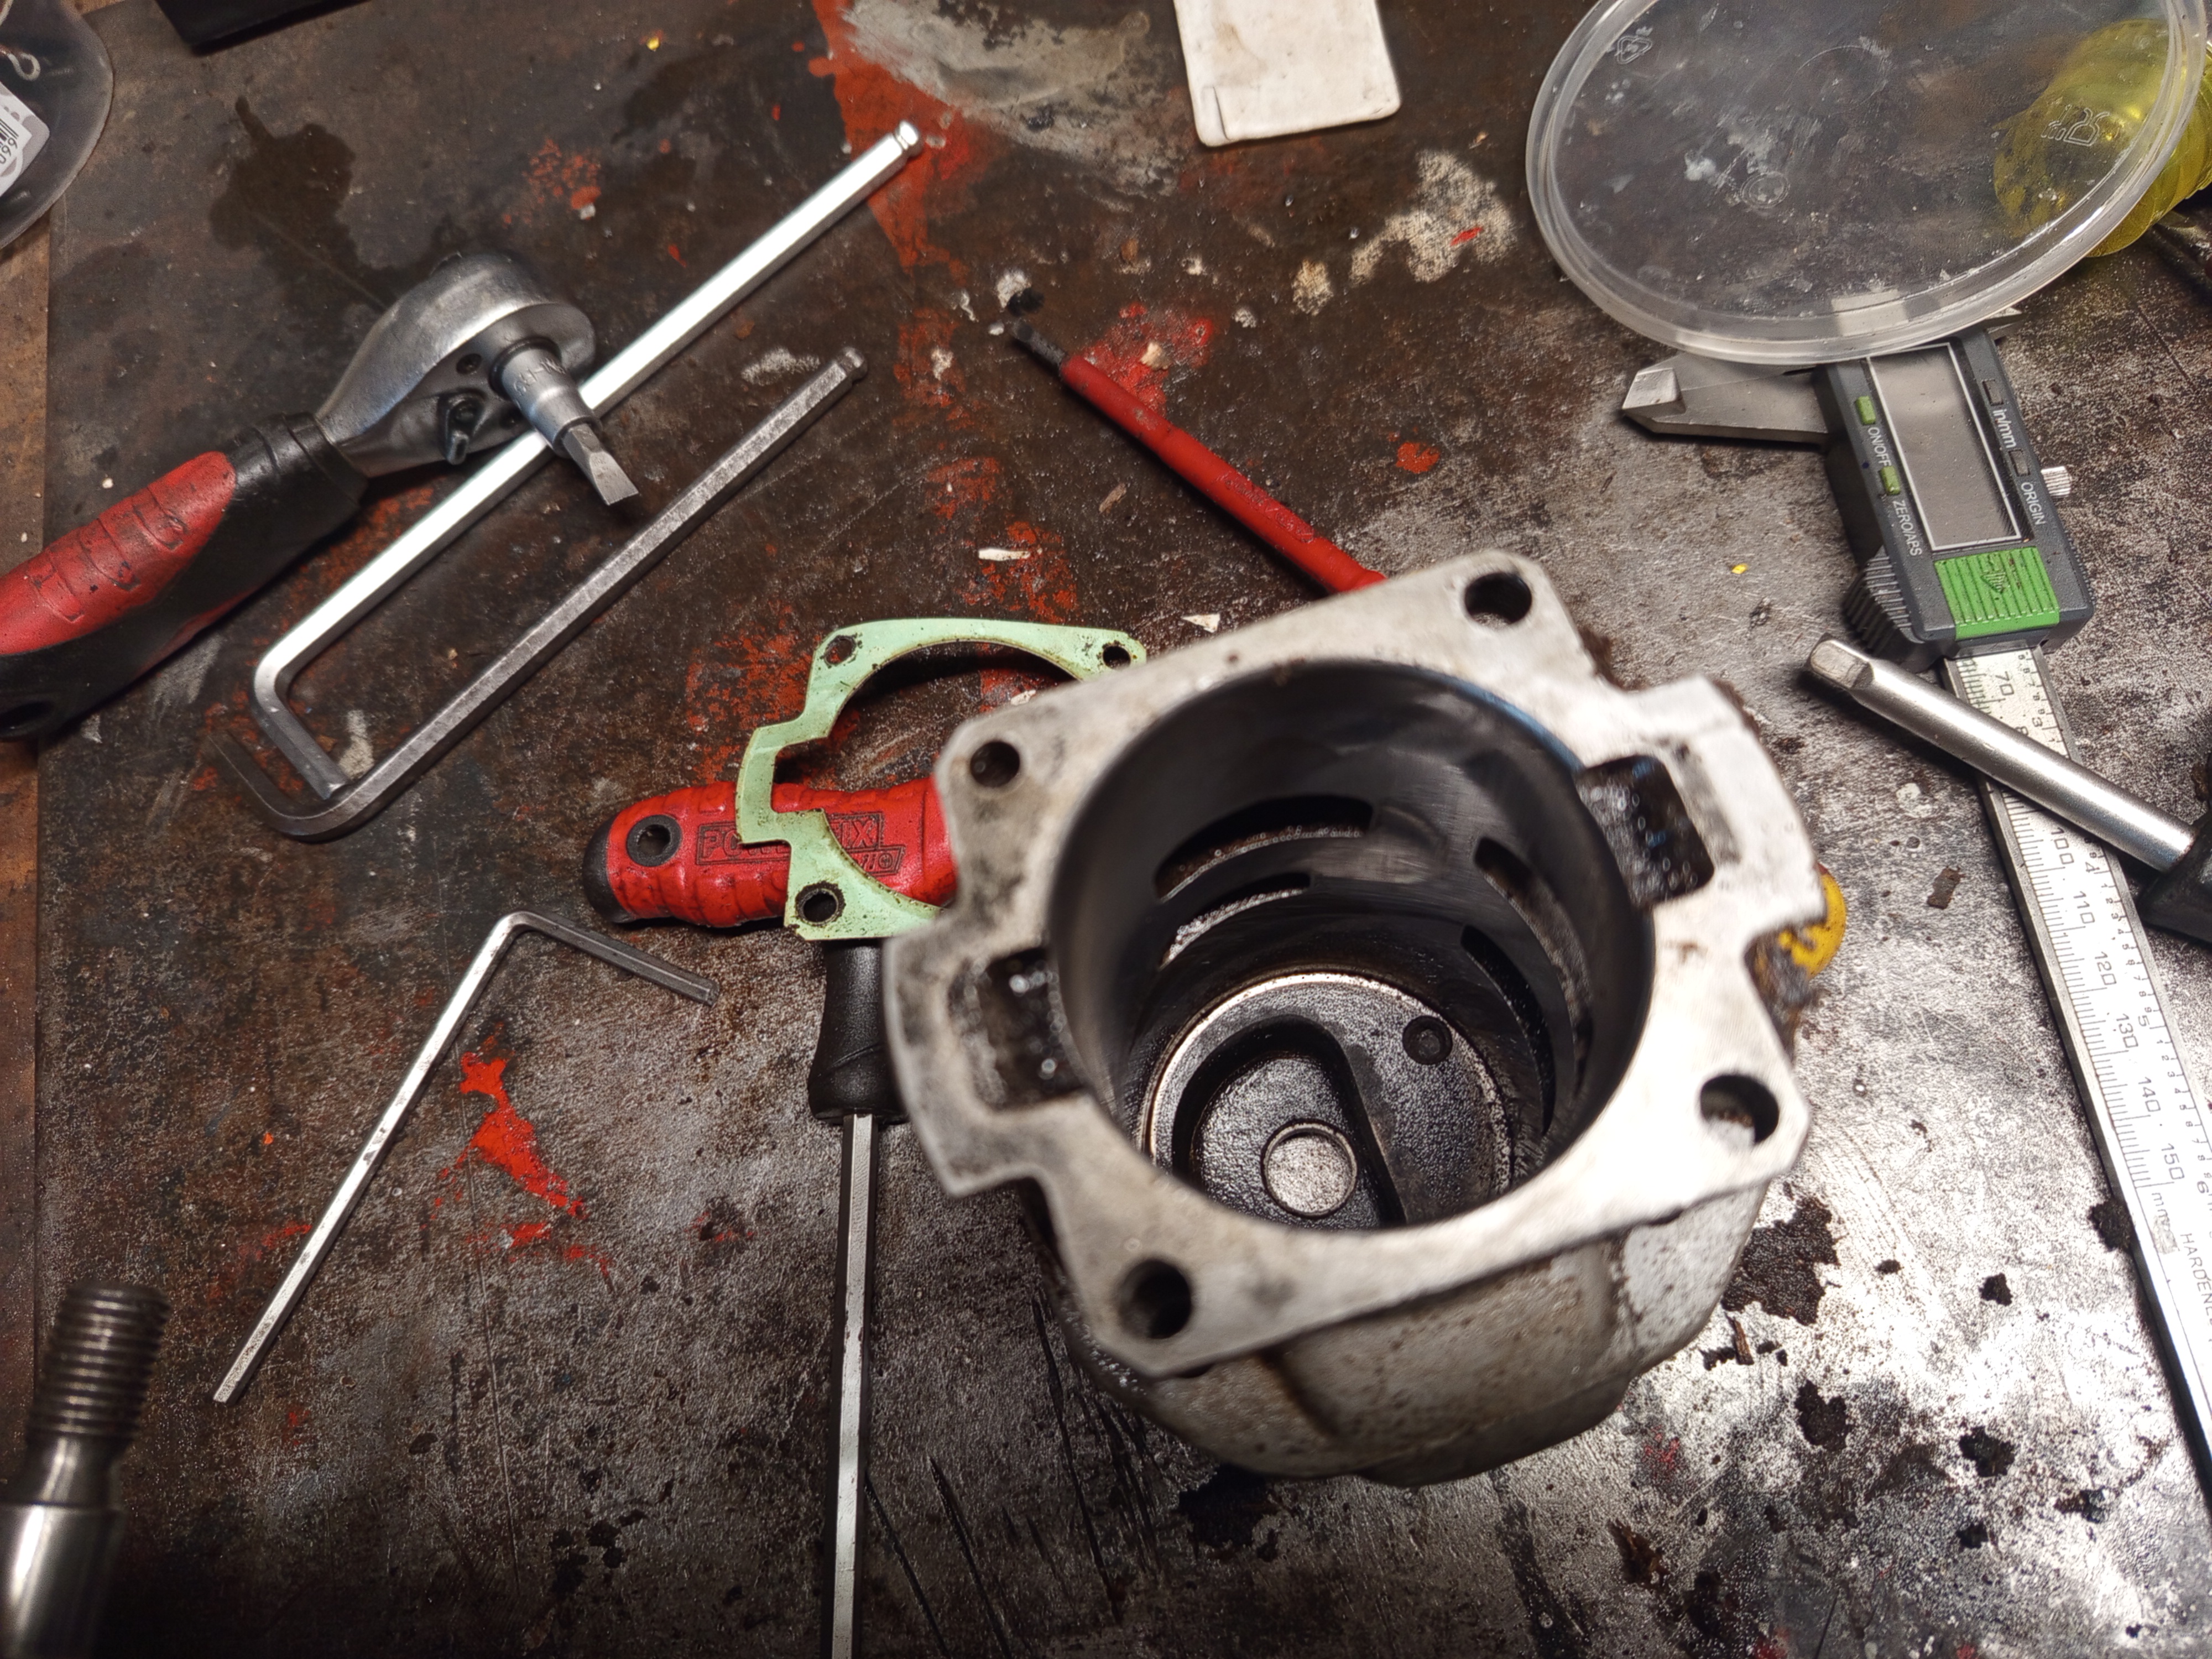
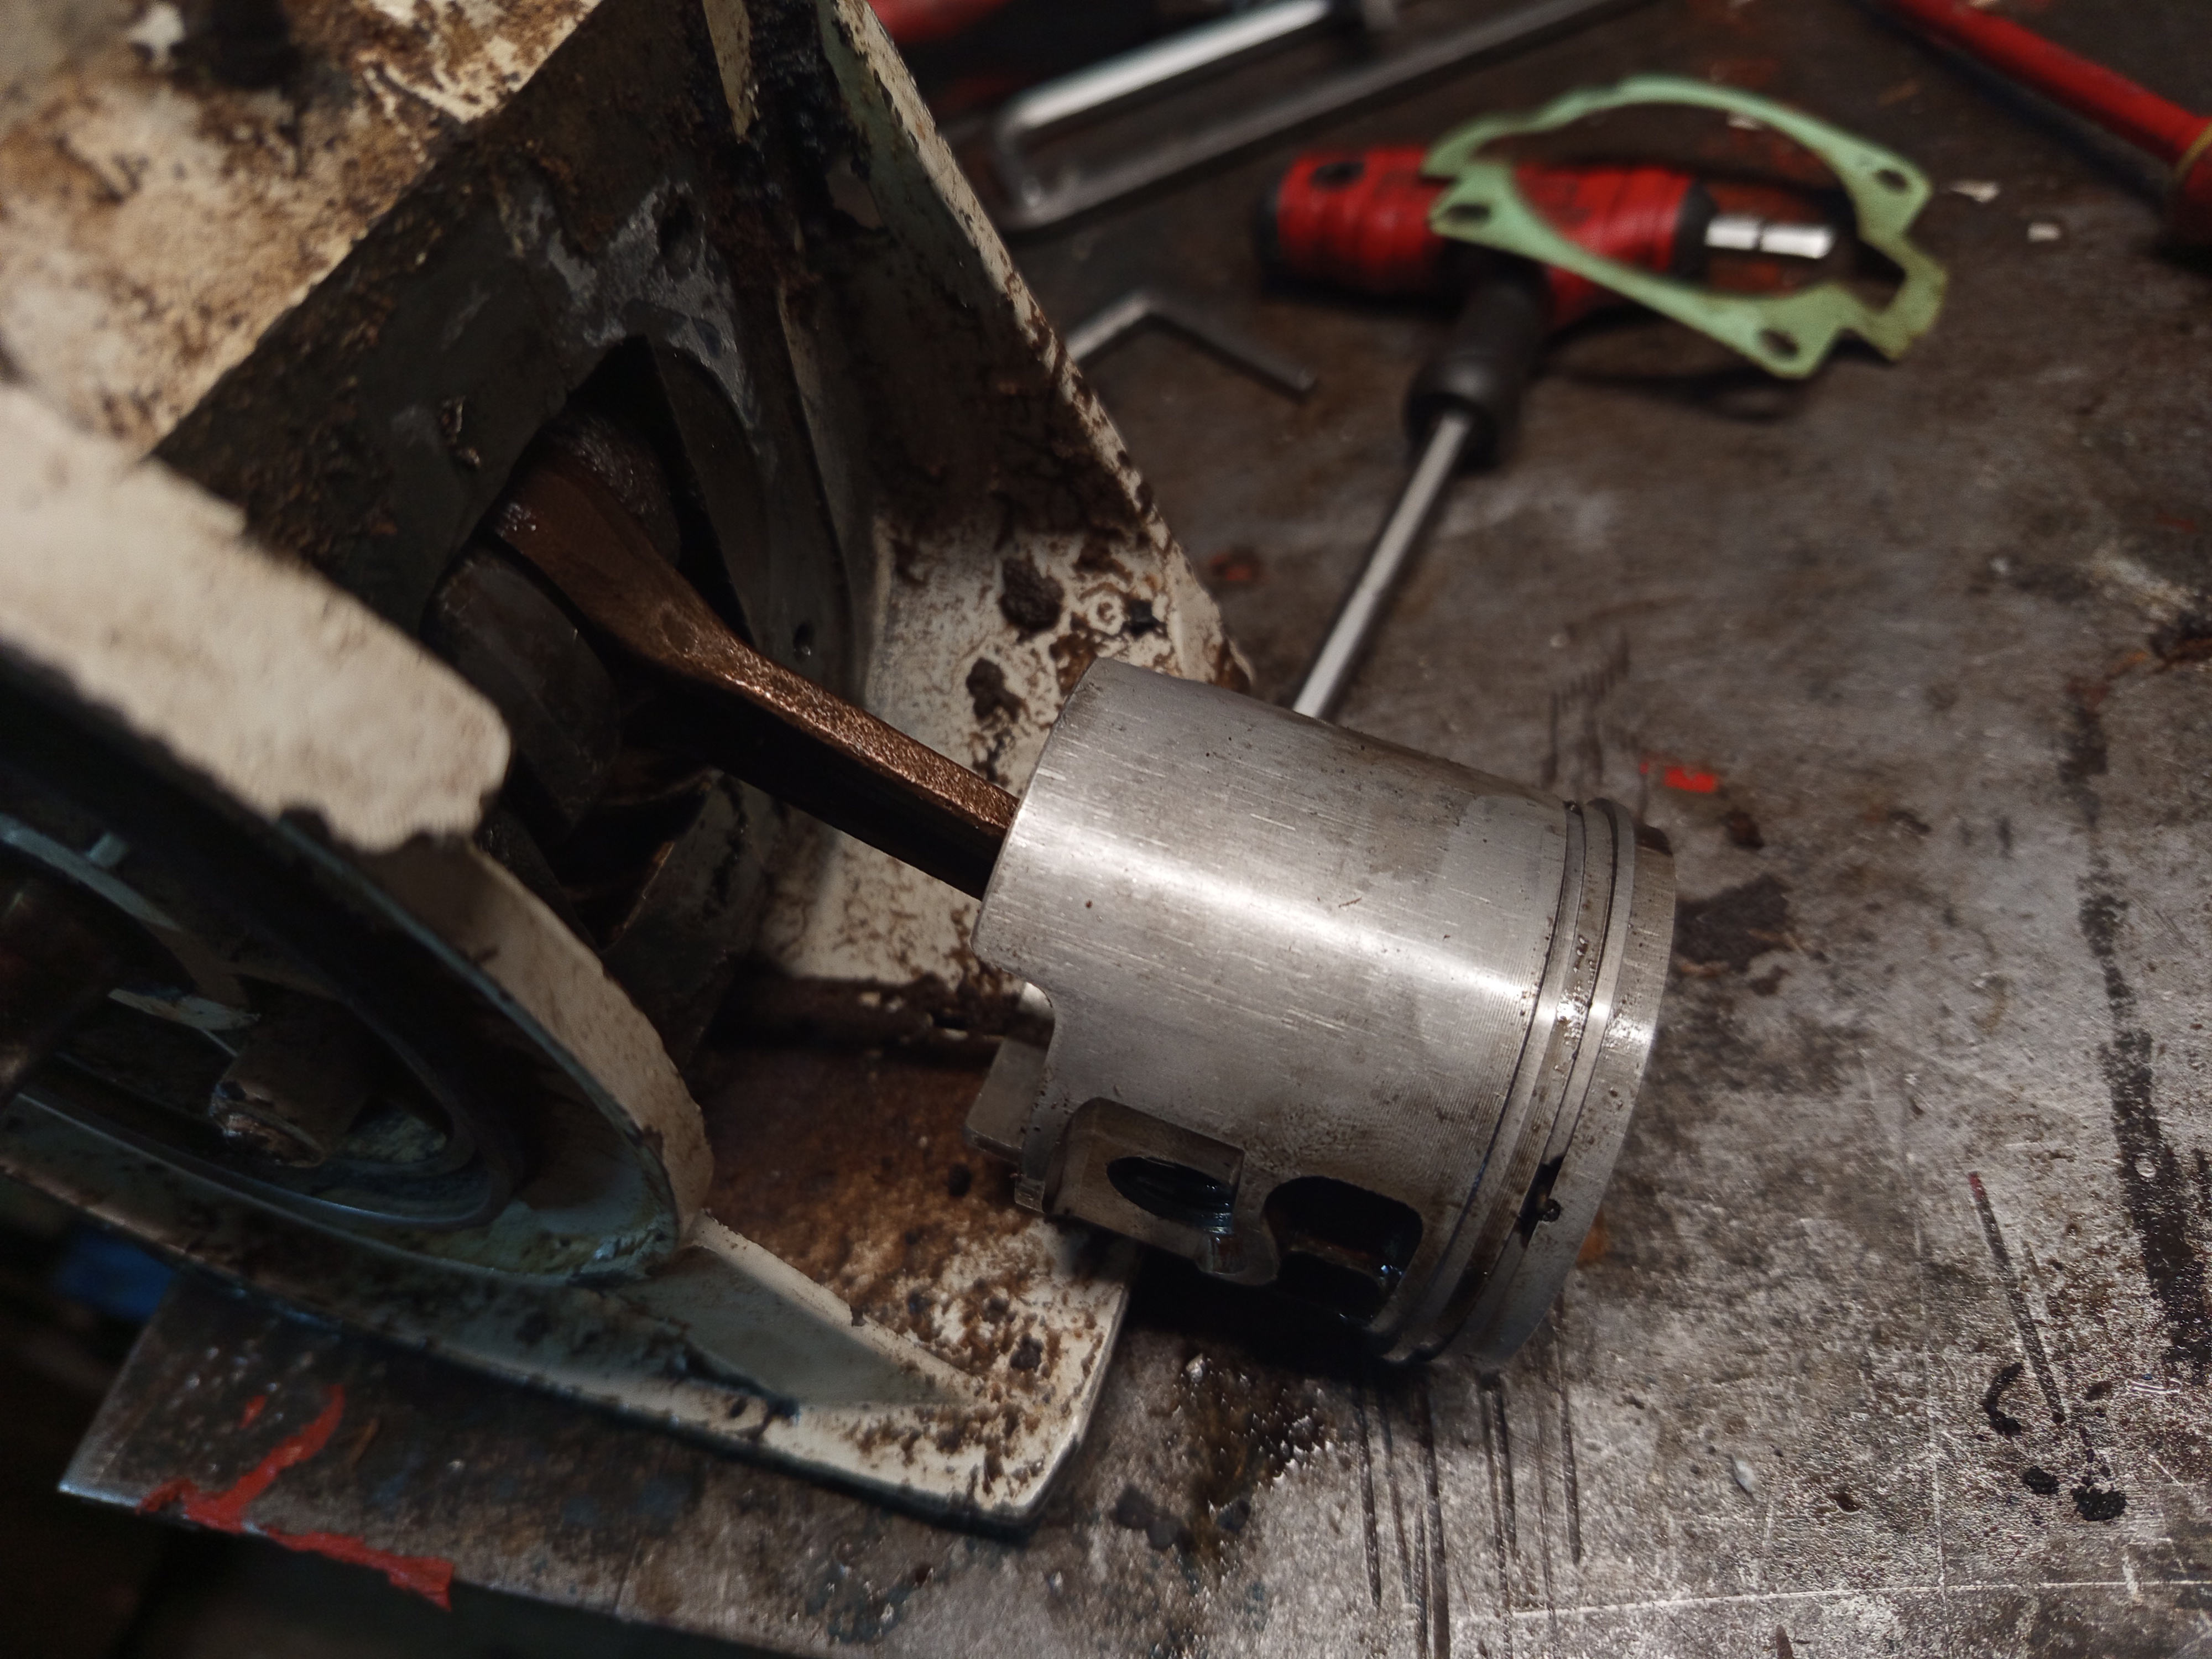
Removing everything else, there is already a box of parts. The cylinder looks absolutely spotless, and clean, it almost looks like a new one. The piston also doesn’t have any damage, just some normal looking wear, some slight scribe marks. The connecting rod also doesn’t have any vertical play, these are good news.
Some screws didn’t really want to give in though, but thankfully only one of them had to be drilled out, the one that holds the oil adjuster in place, this has to be replaced.

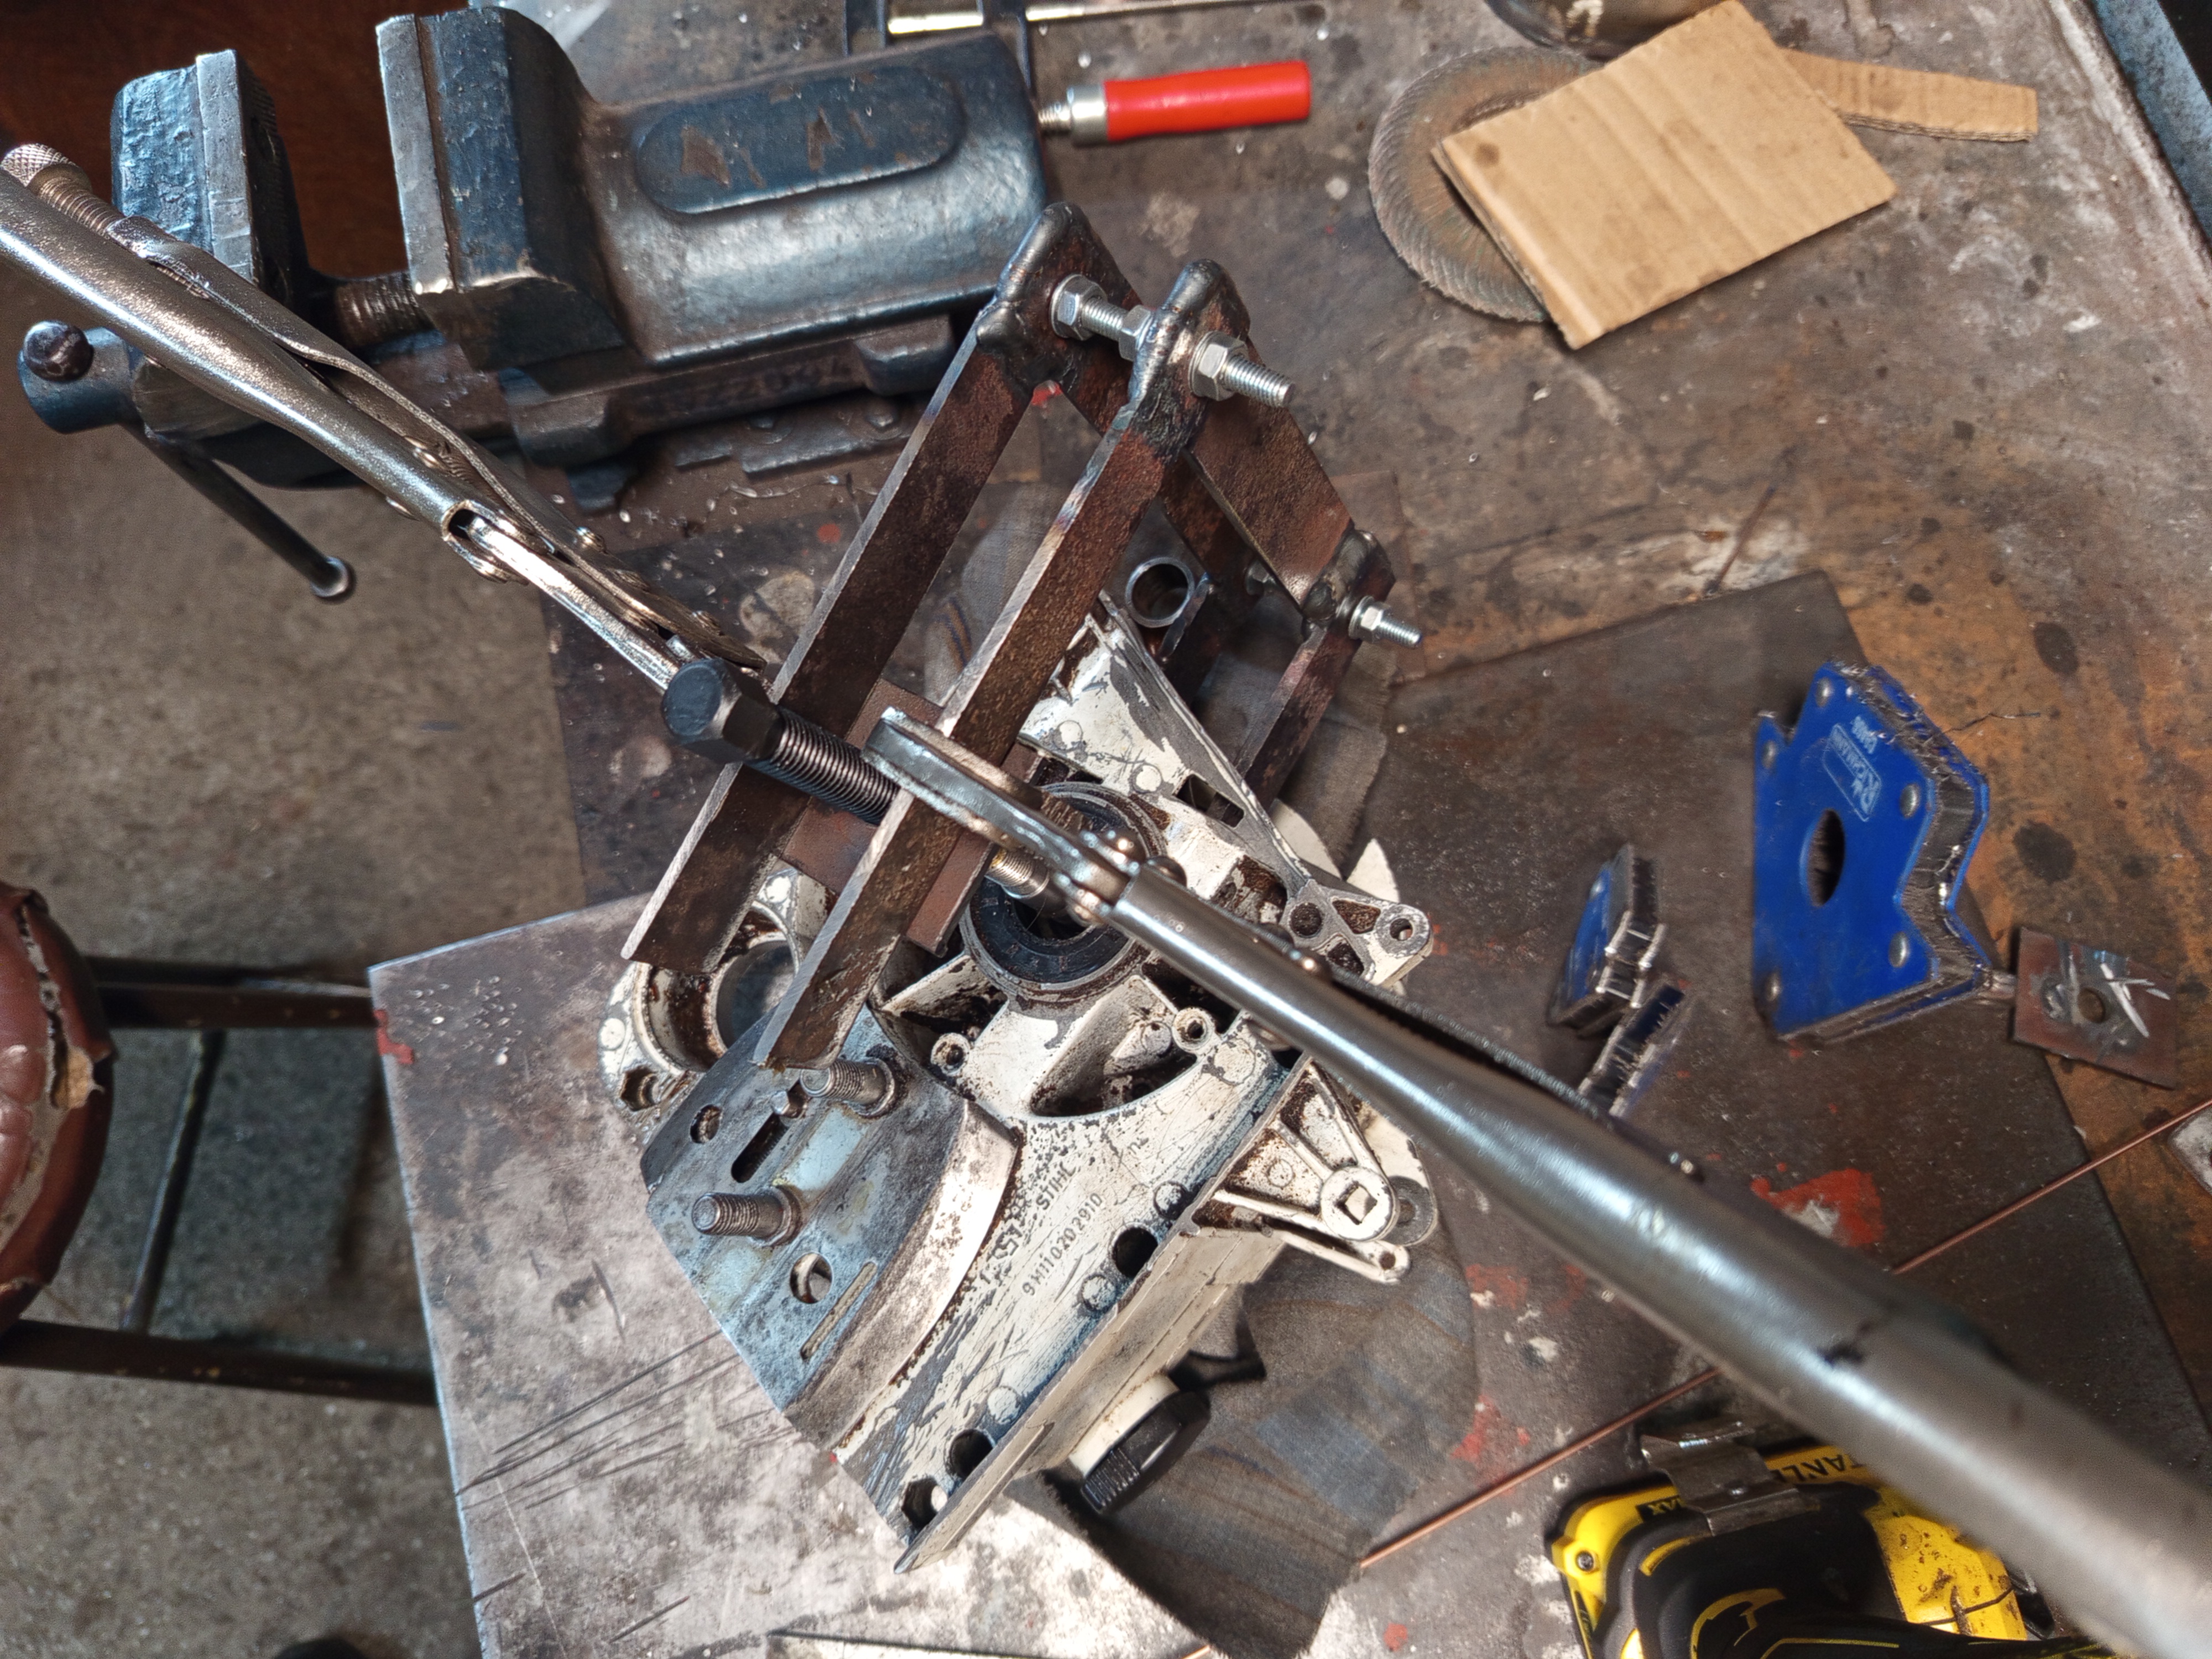
Crankcase splitting
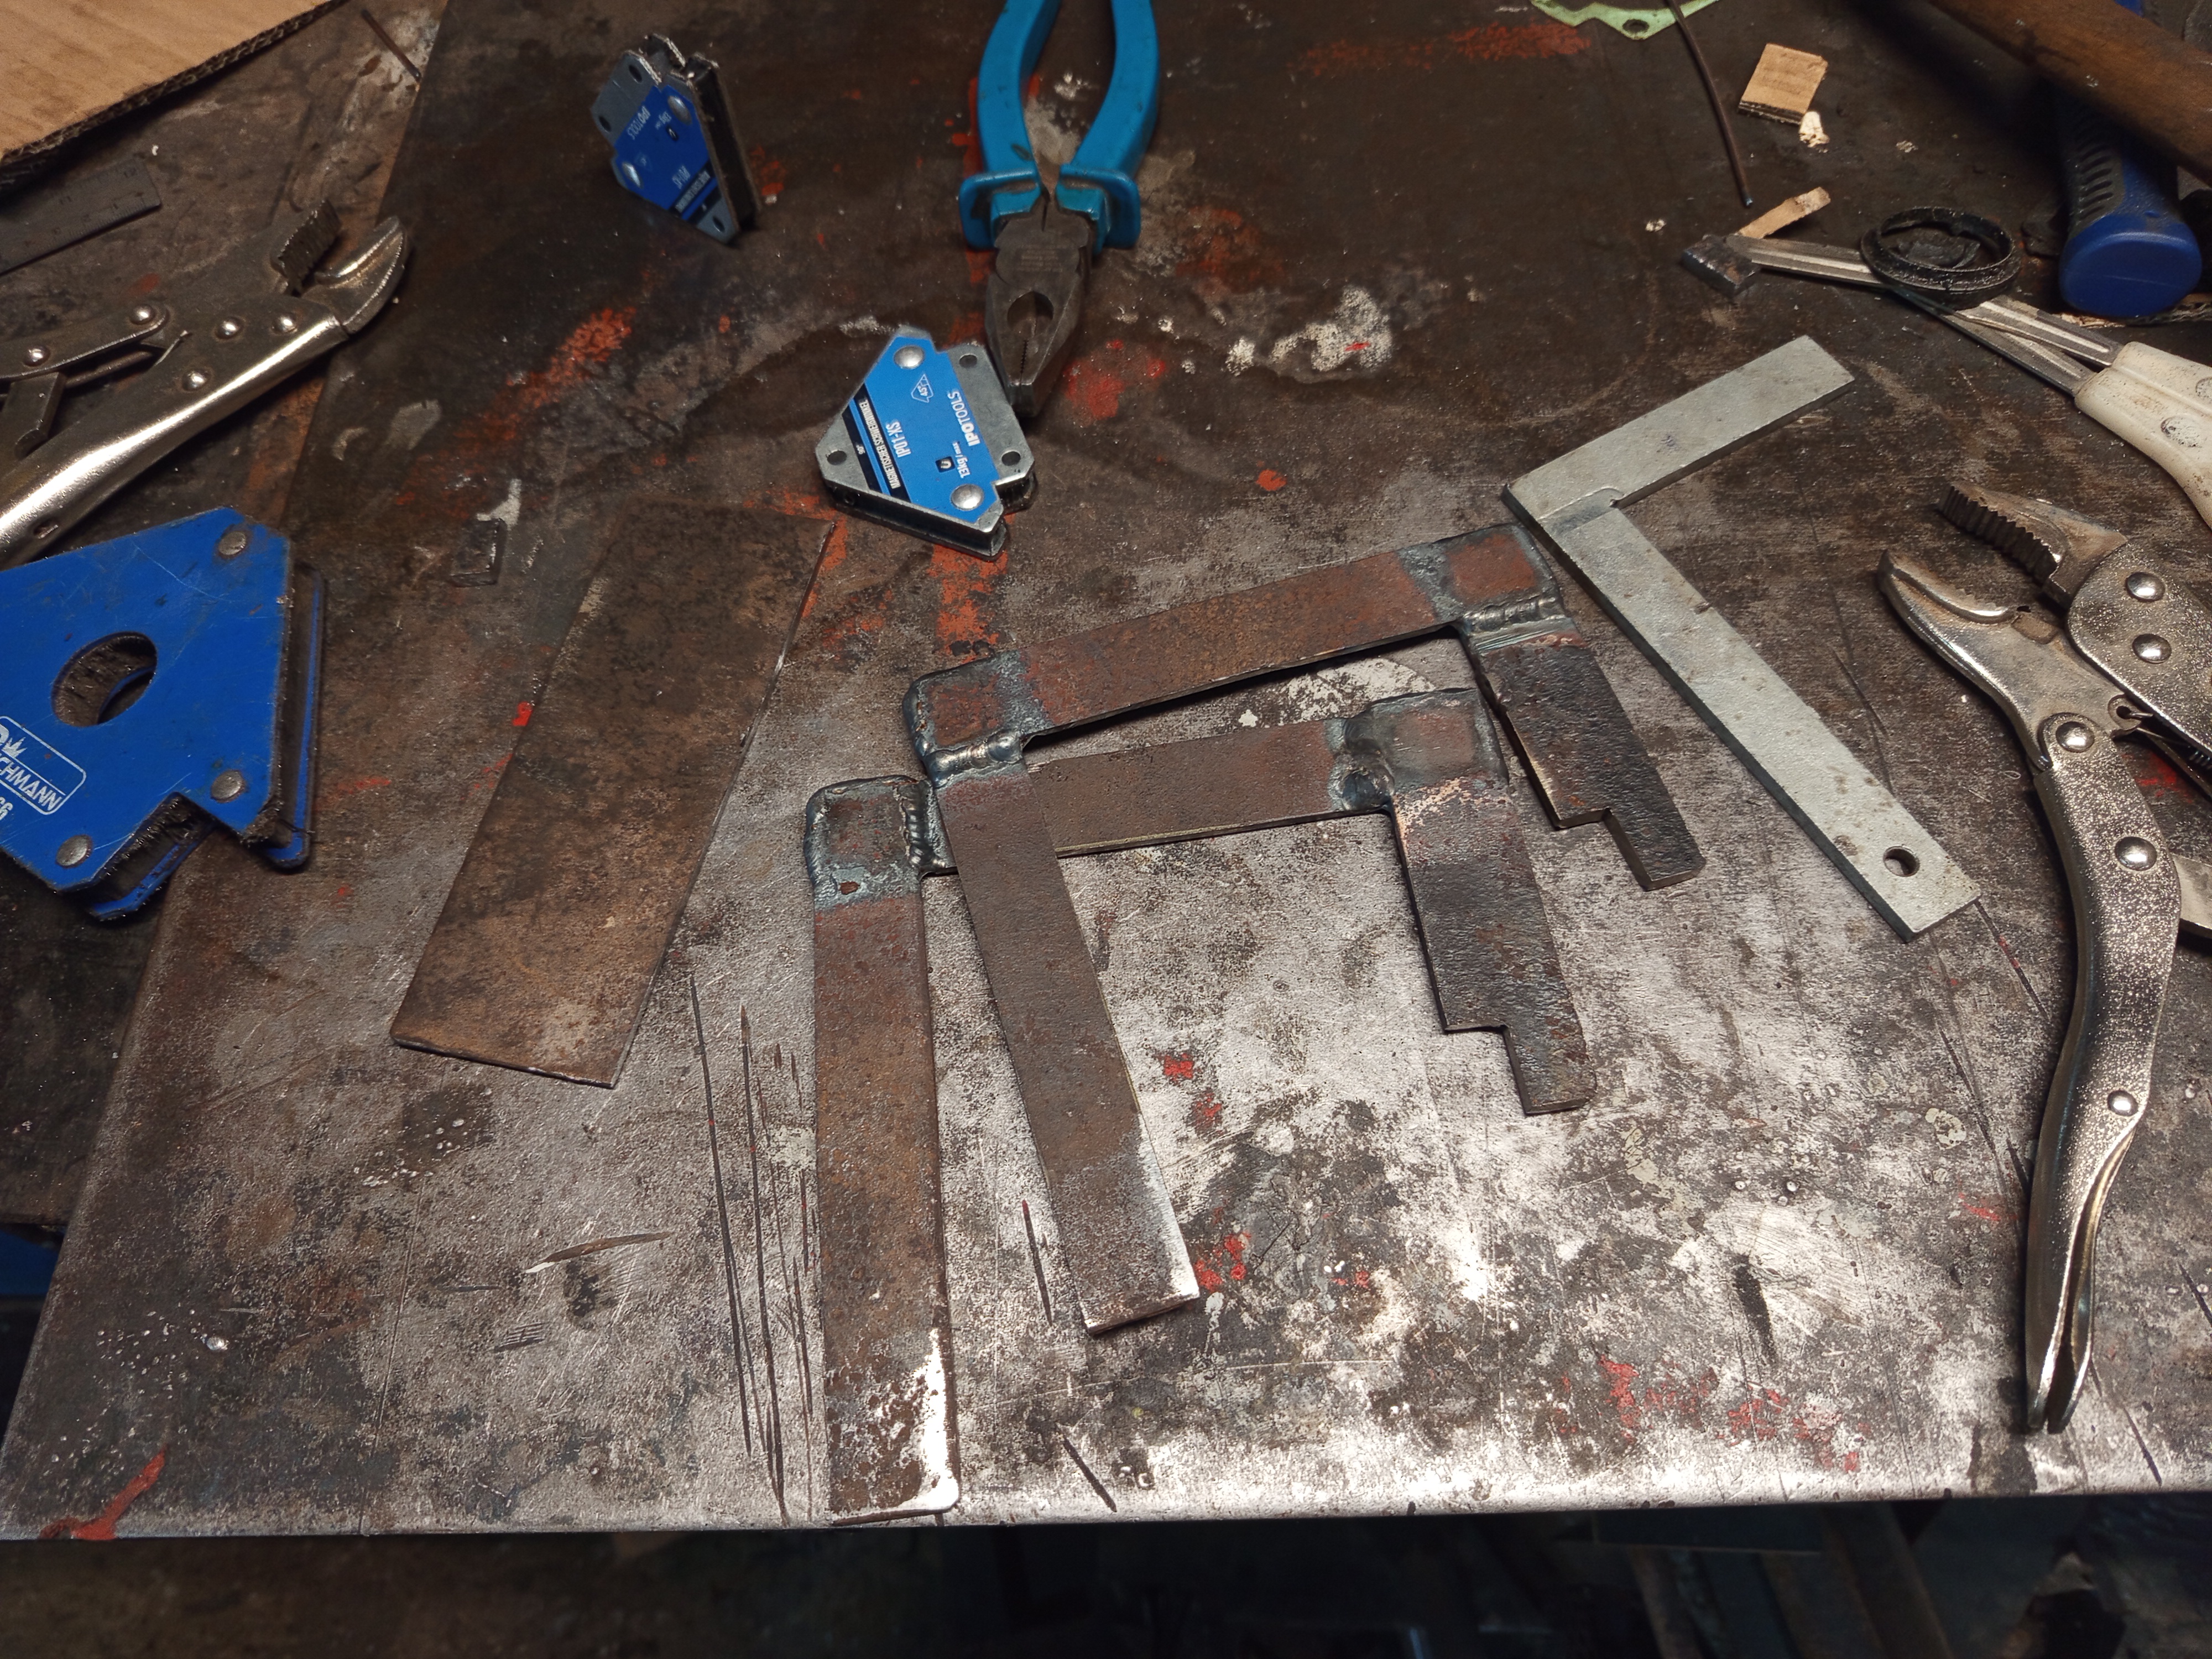
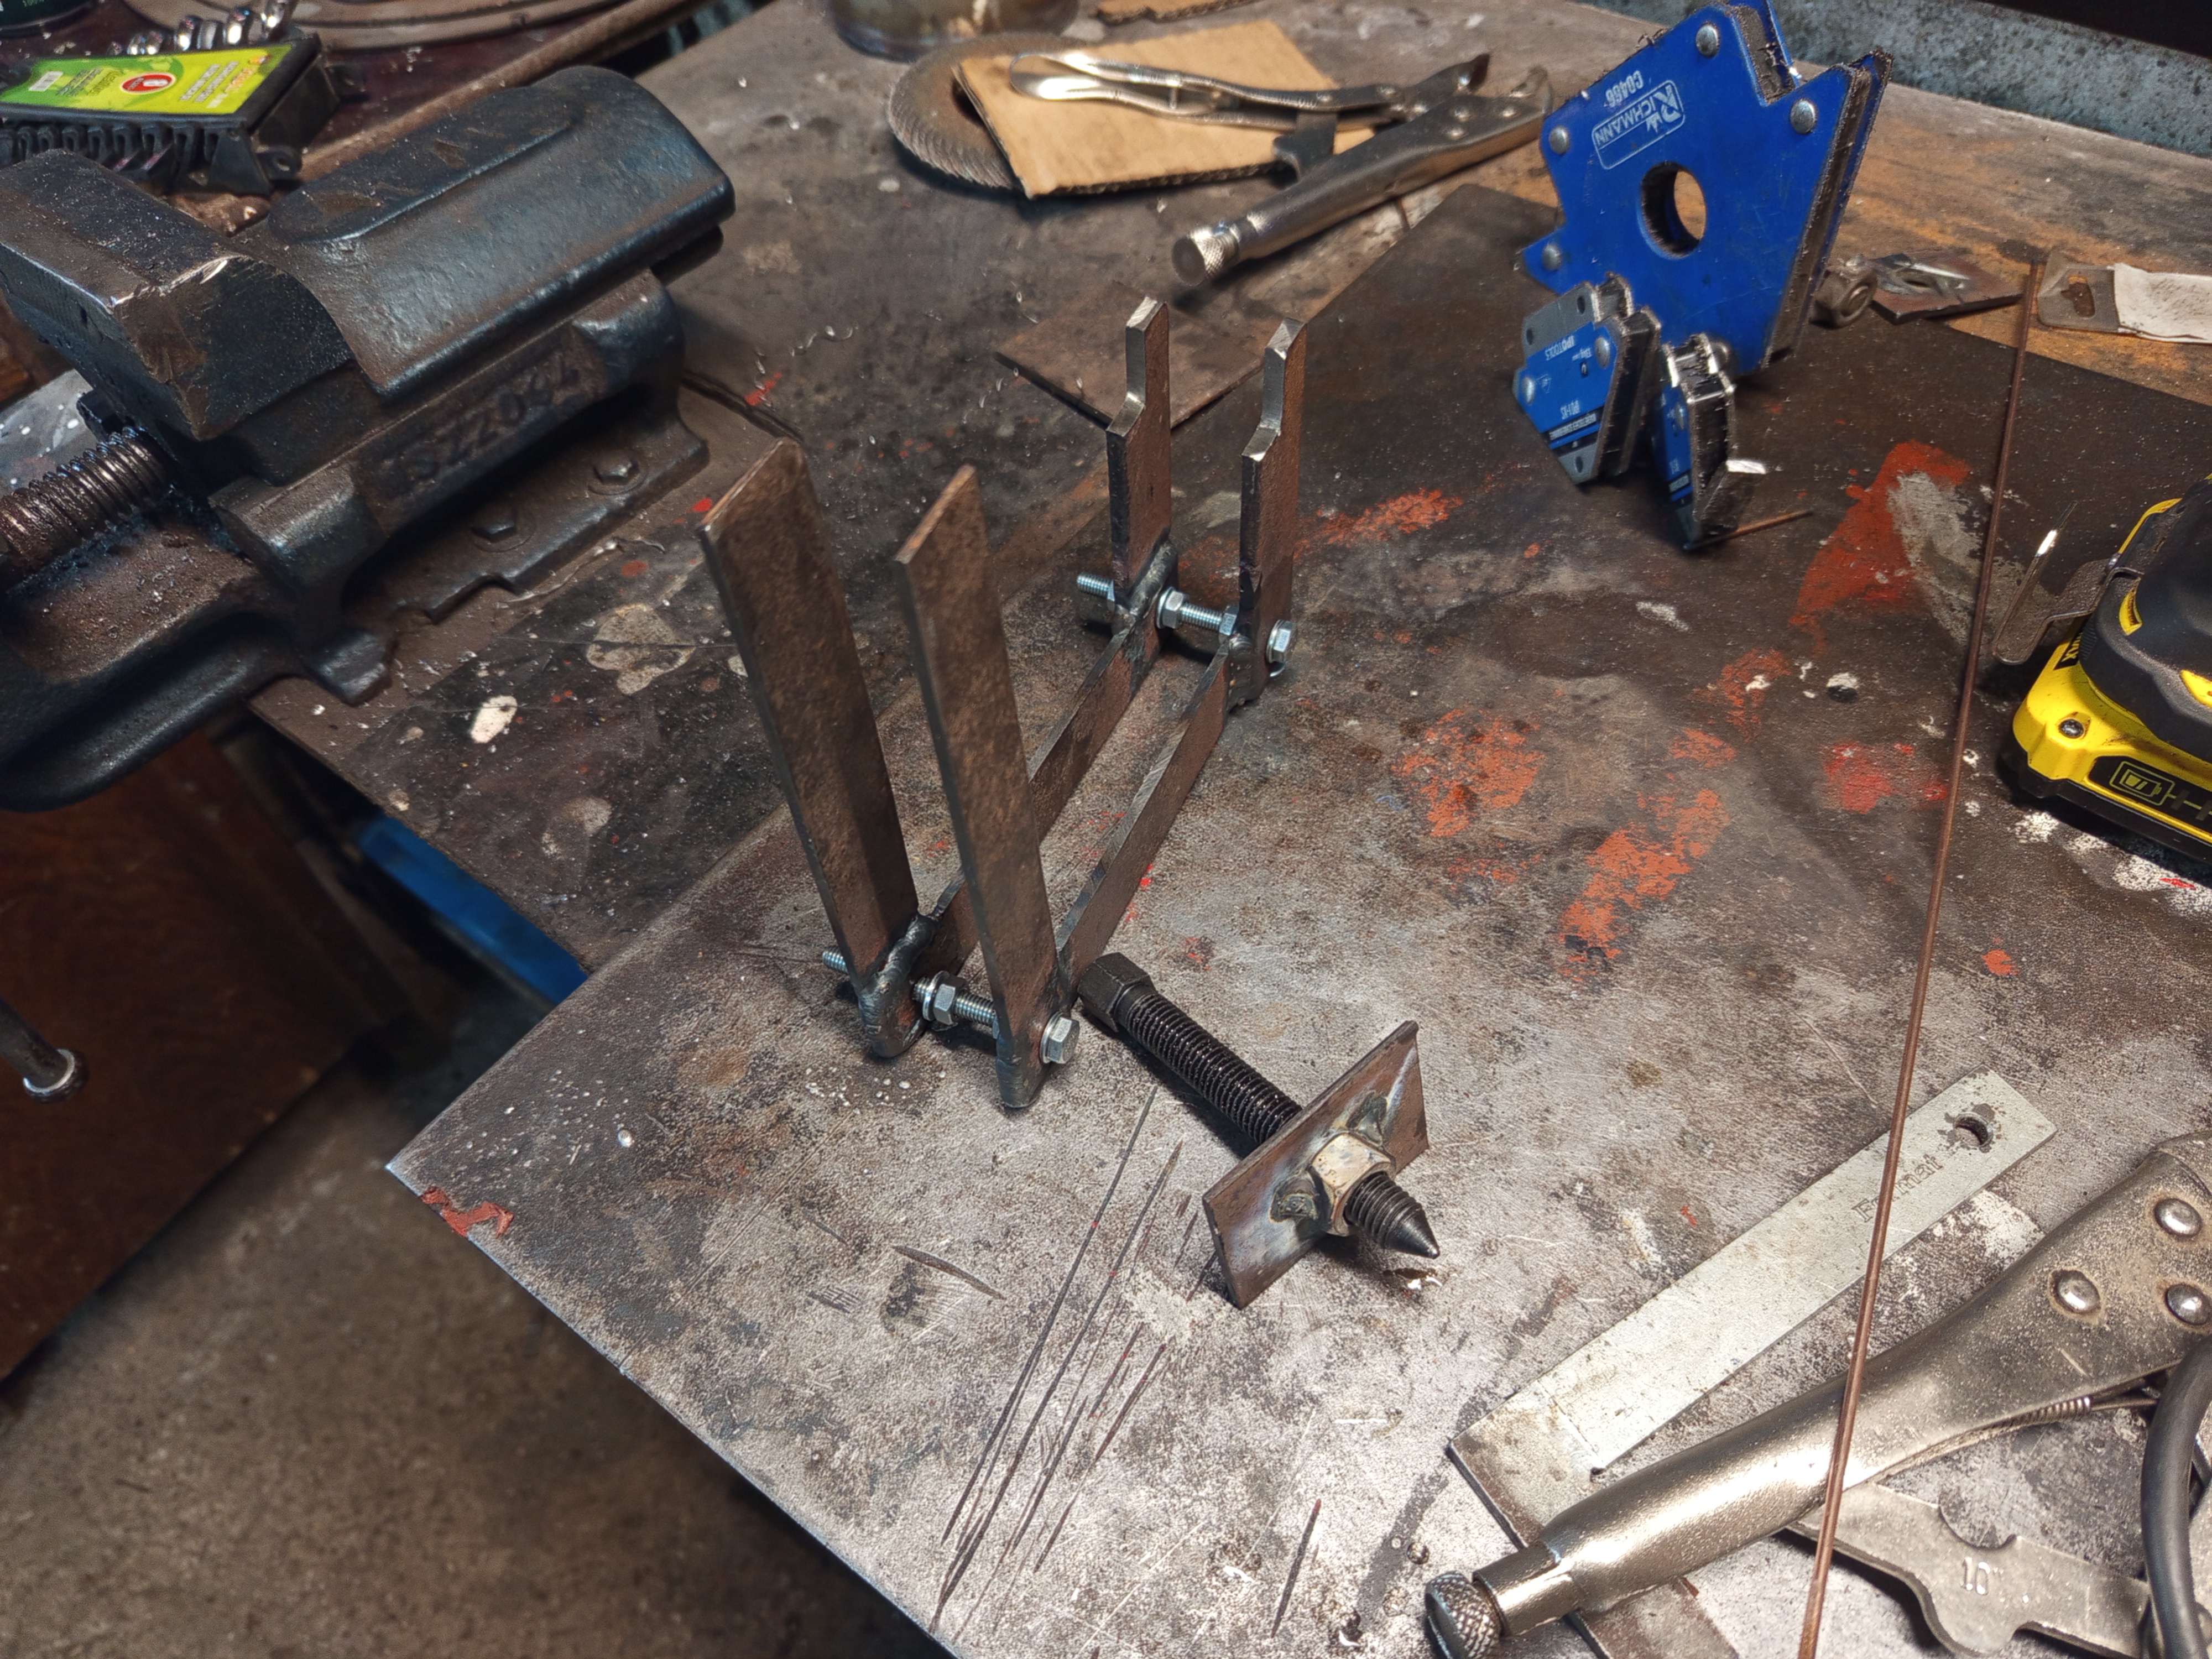
The last thing remaining is the crankcase, which also requires a splitting tool ideally, at least I didn’t want to try to hammer it apart or something like that. What I went with is trying to copy the concept of those chainsaw splitting tools you can buy online.

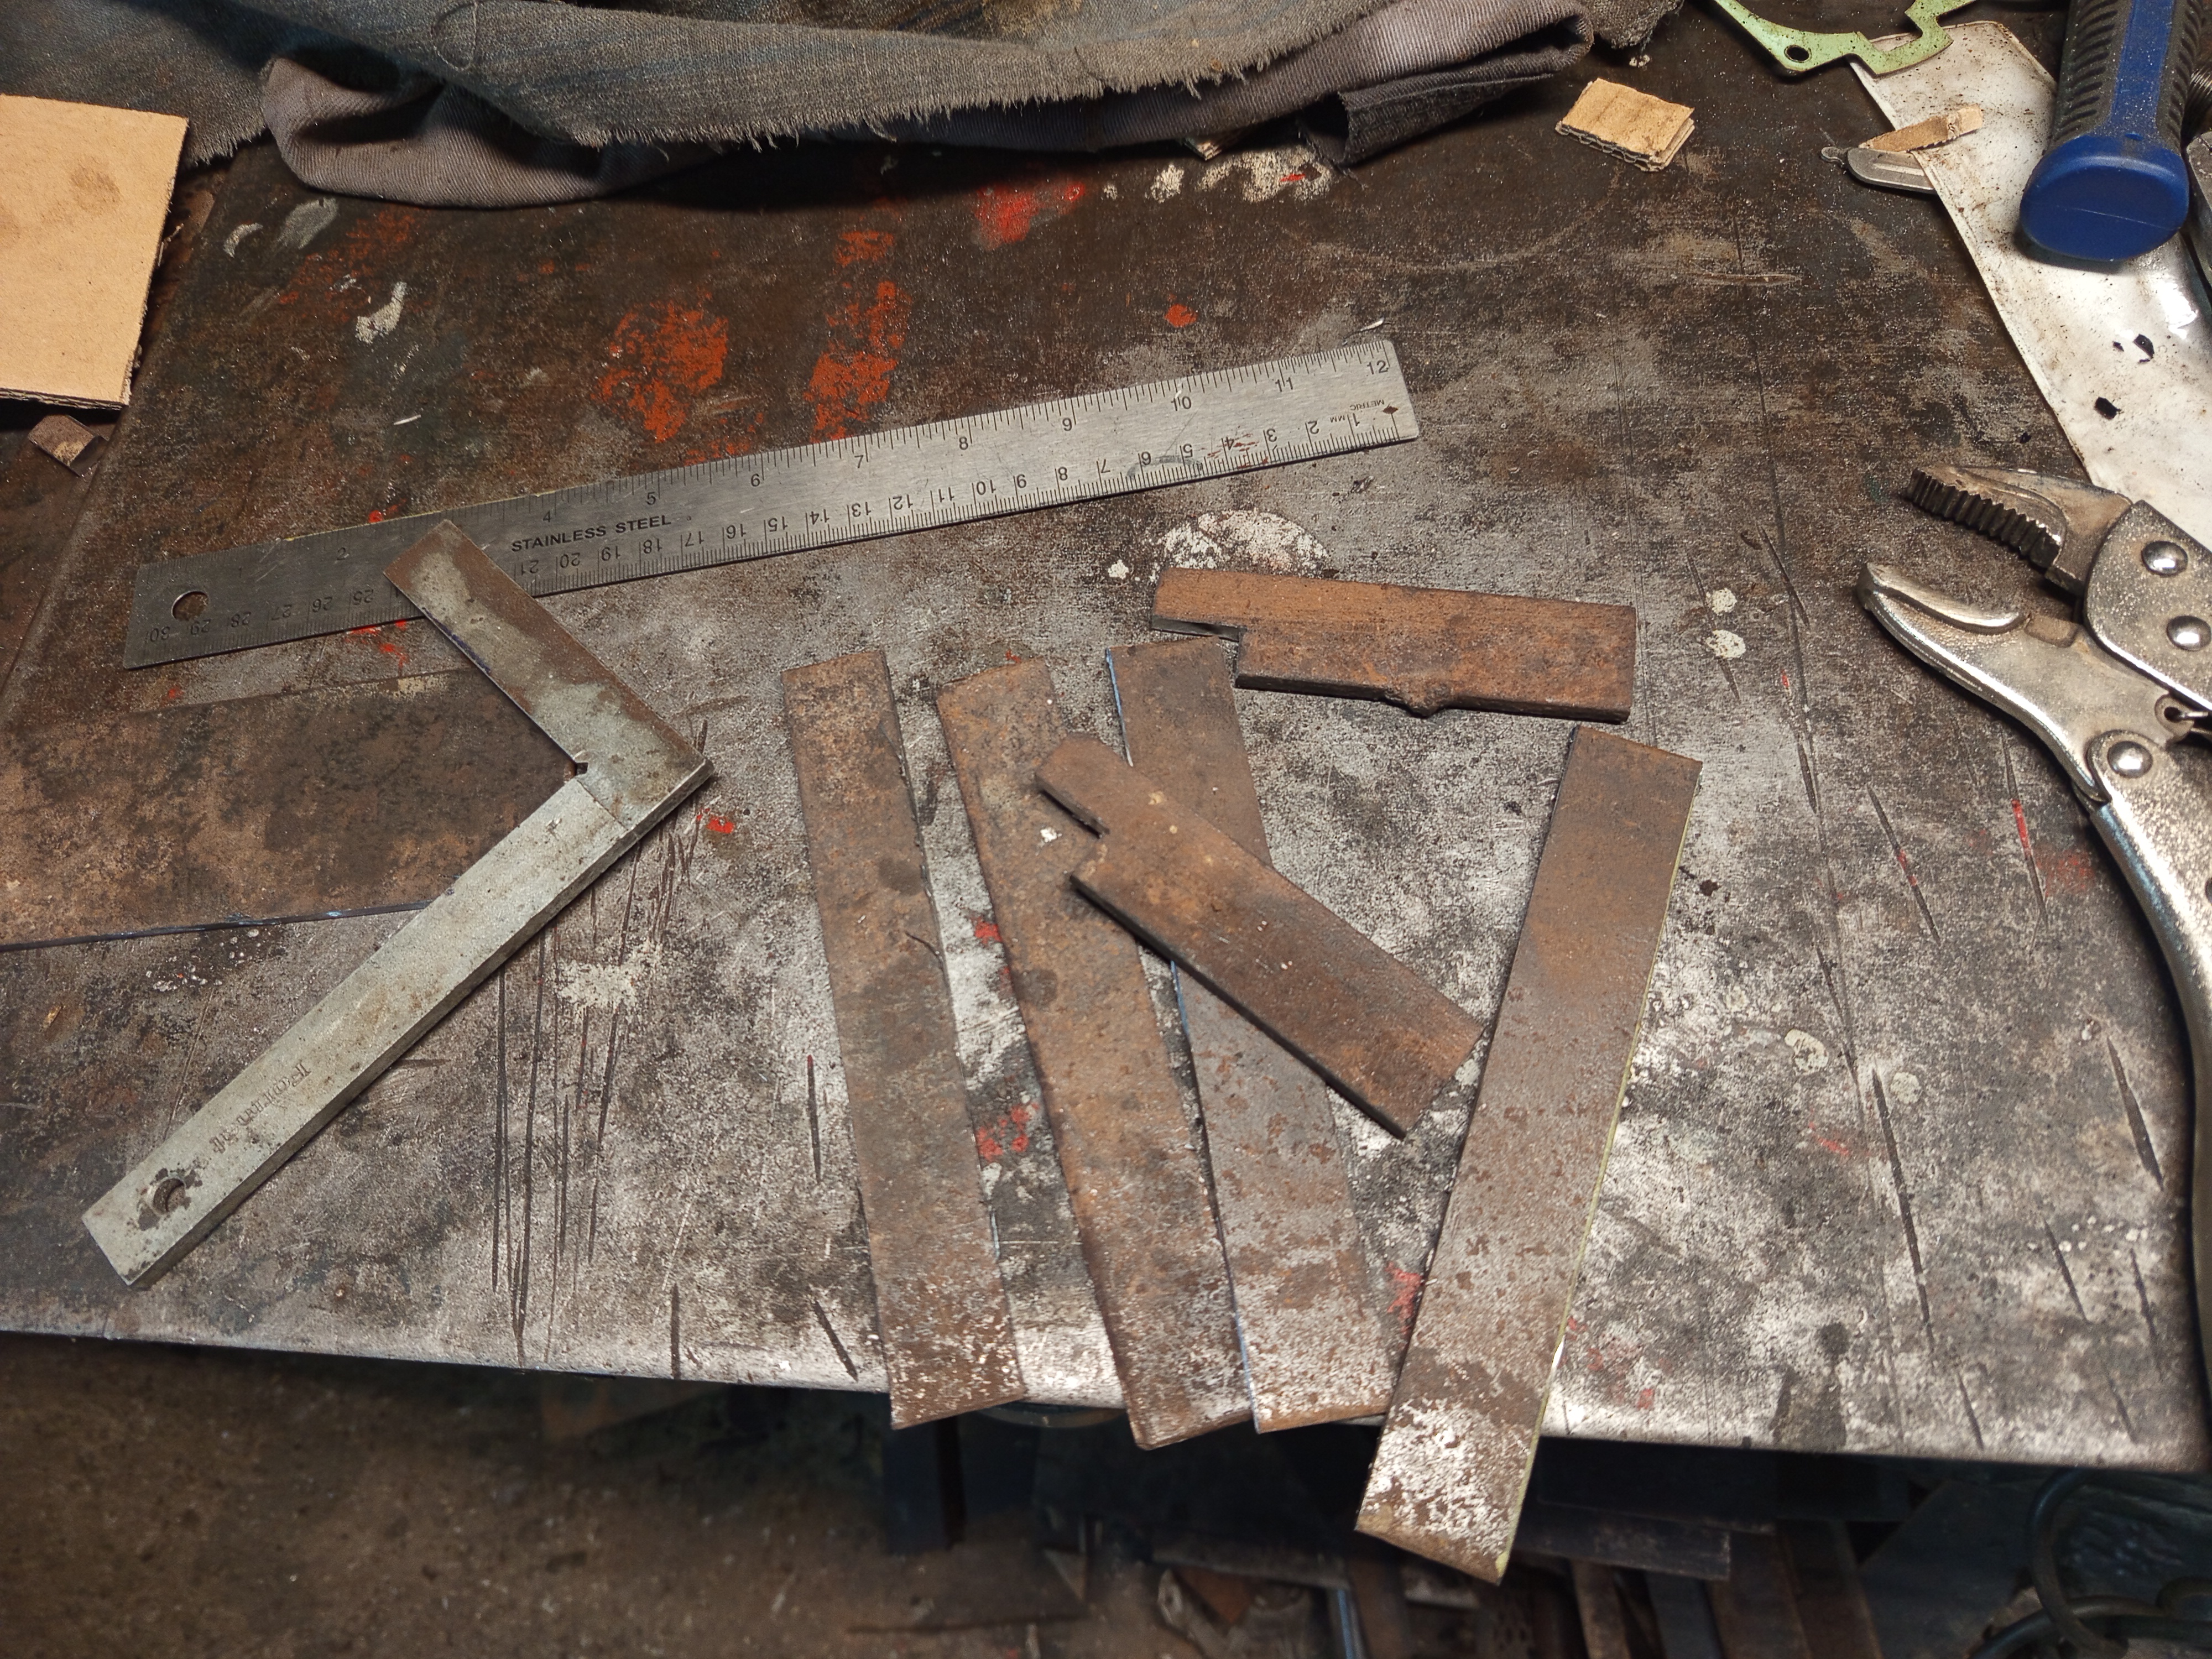
From a few pices of a flat bar I came up with this beauty. It can split the case by pushing out the crankshaft and by extension removing it from the other half. It’s not that nice I admit, but after heating up the case, and a bit of a struggle, it did work.
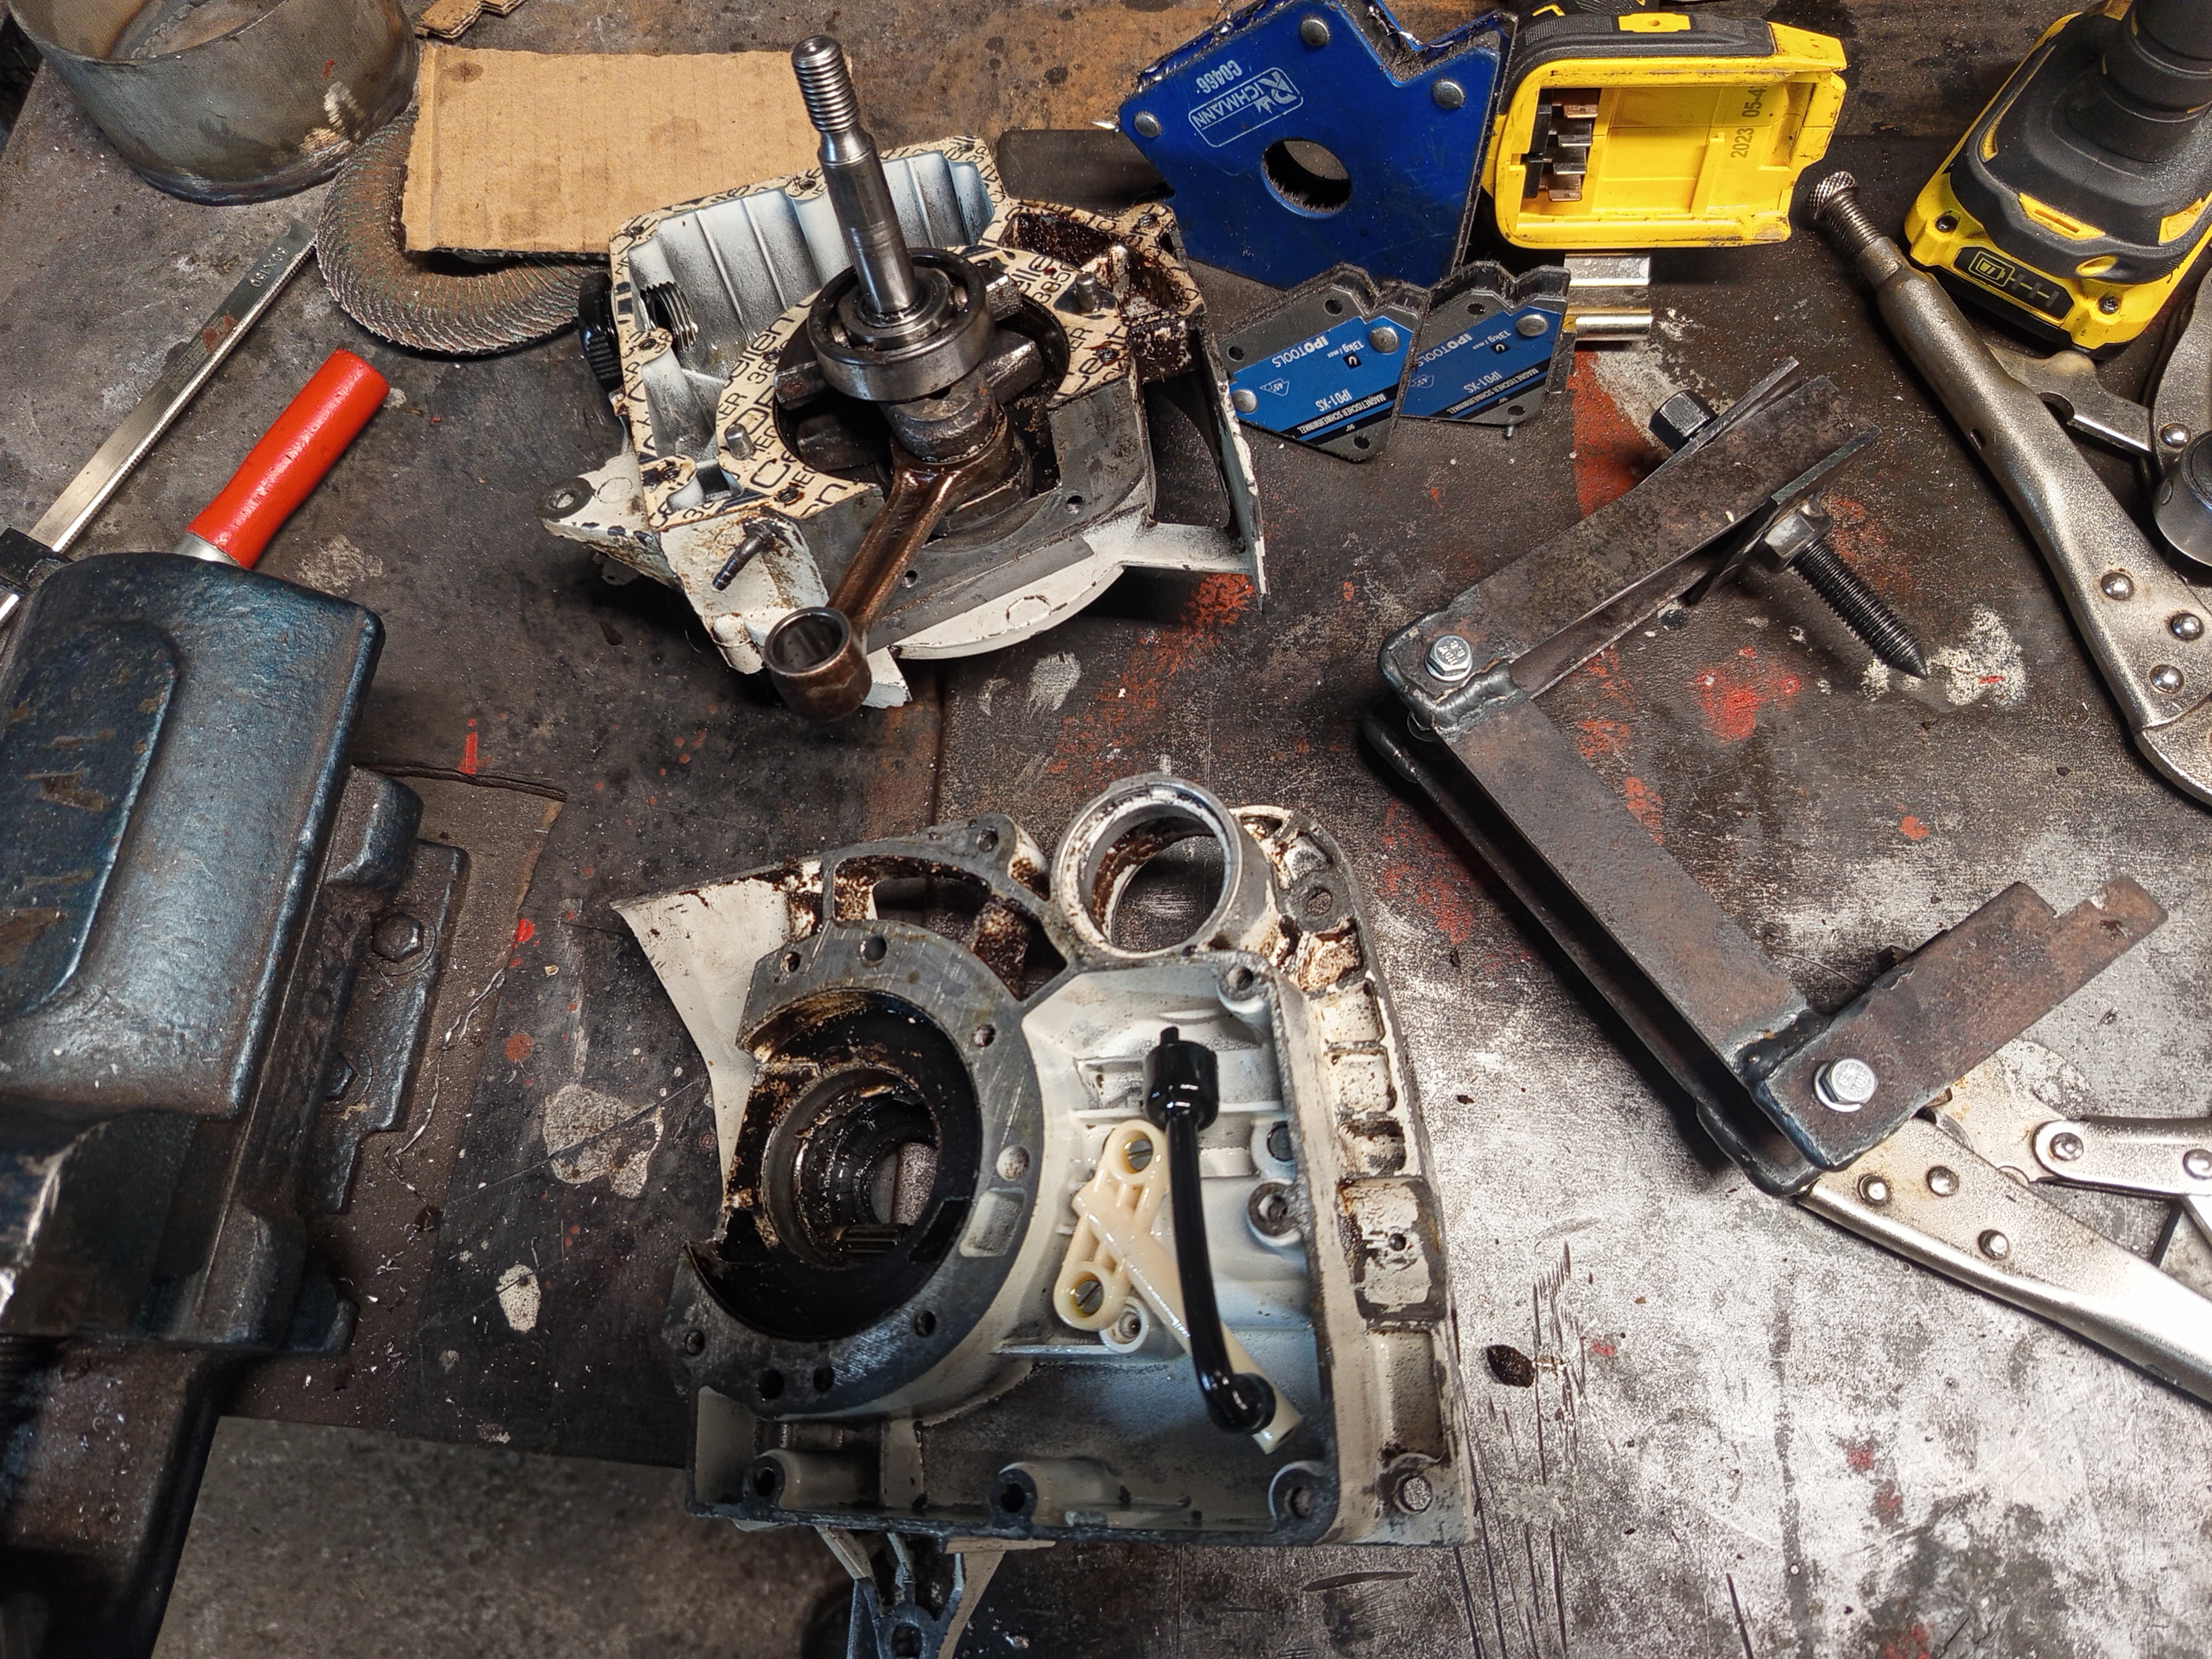
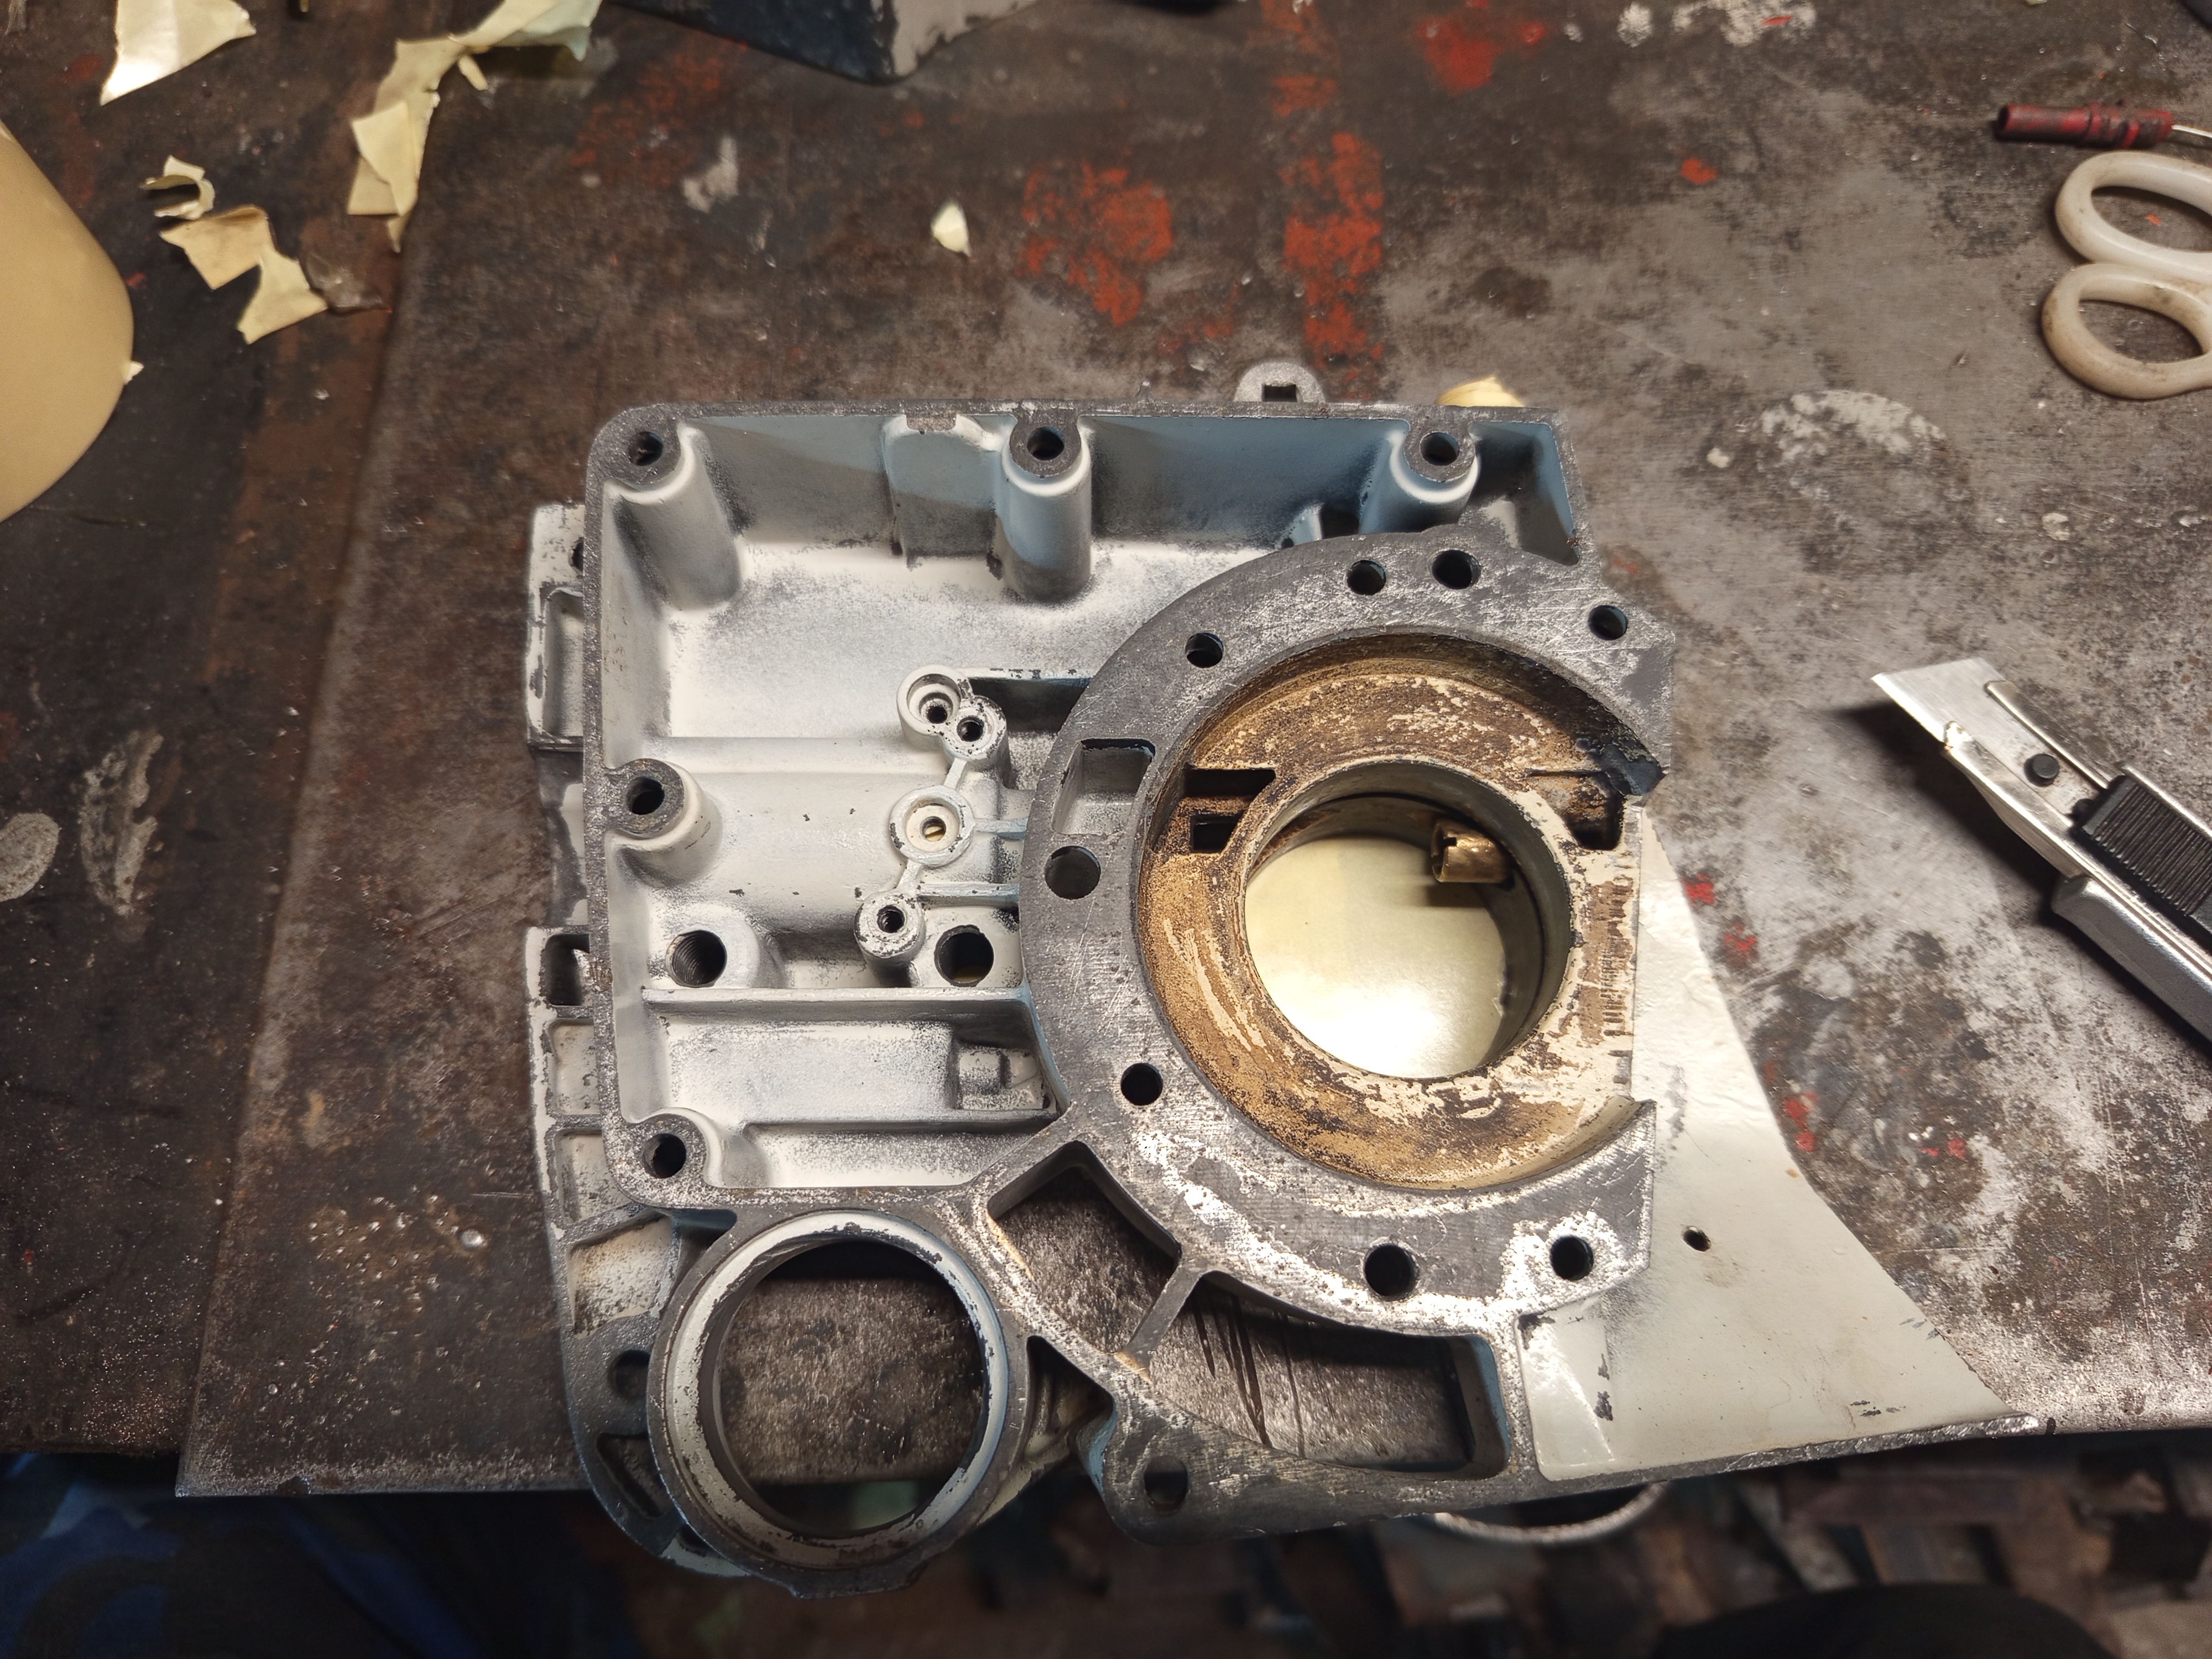
The bearings don’t look bad really, maybe they have a bit of a worn sound, but anyway they will be replaced with new ones.
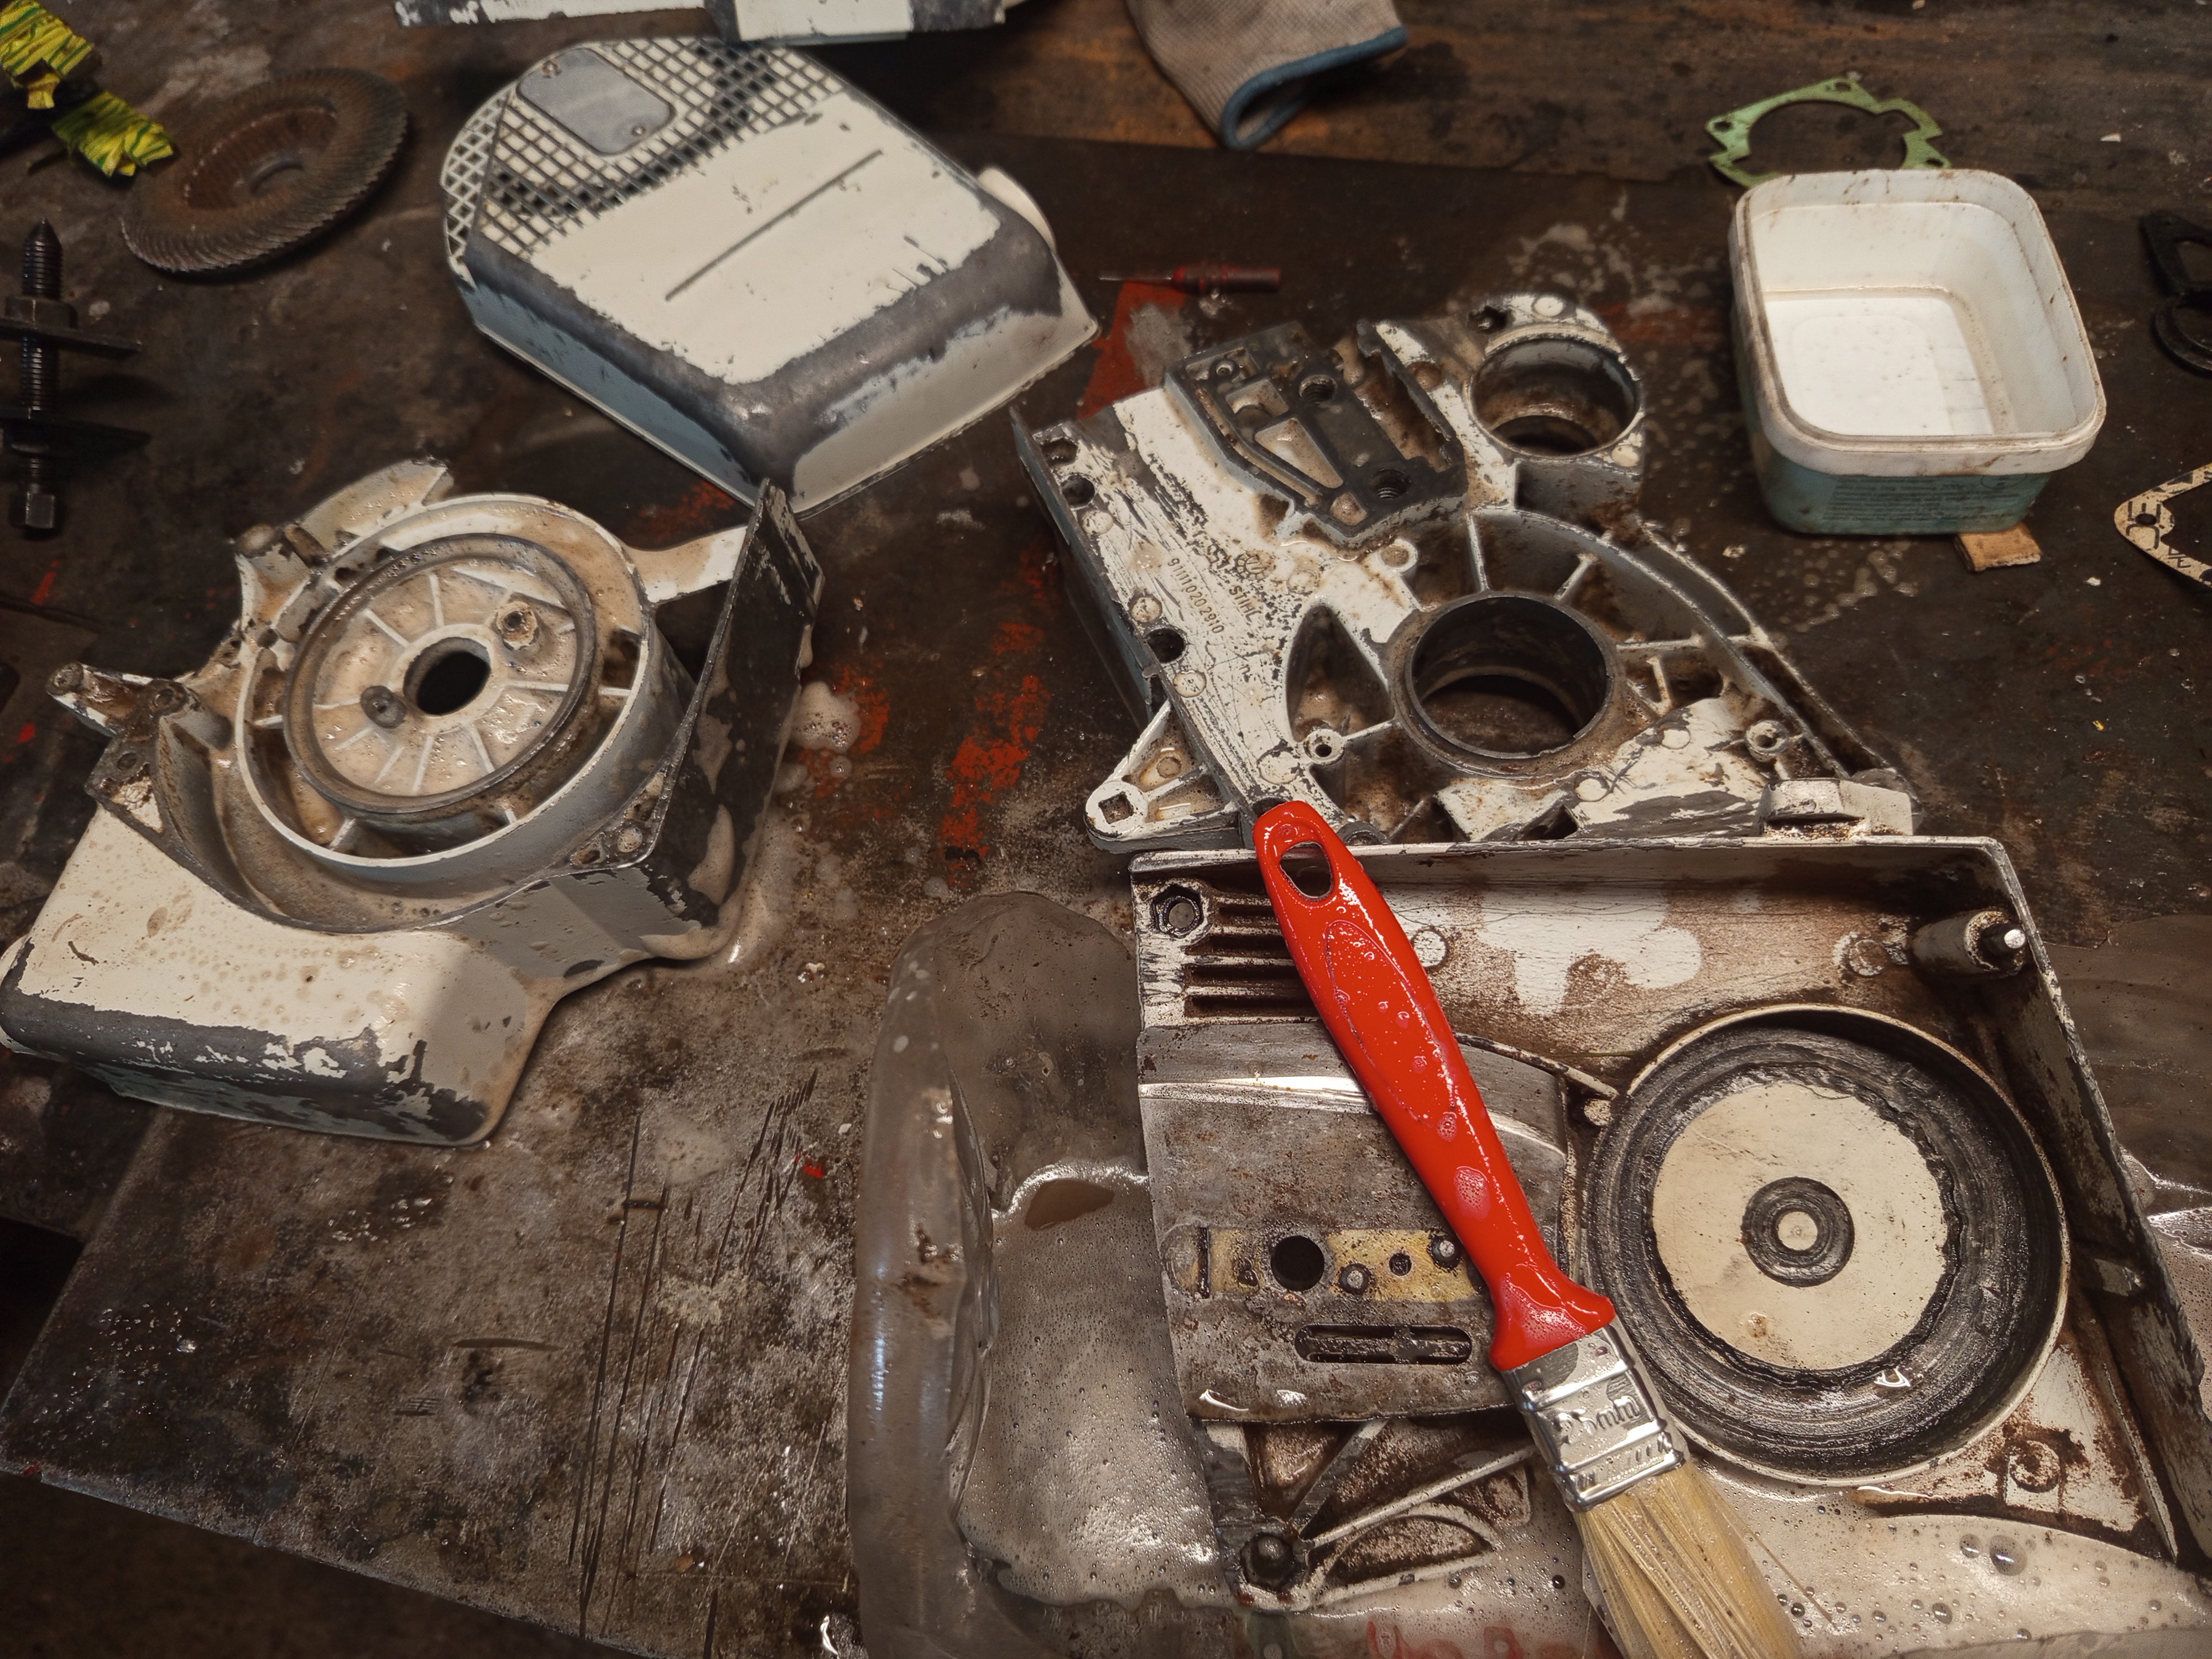
Cleaning
So we have even more parts, it’s time to clean these up with some degreaser and break cleaner. The dirt is not that bad actually. The good thing is there are no surprises inside, everything looks okay, and only worn parts need to replaced.